I can’t honestly say I’d describe myself as being crafty or having any particular skillset in that domain. Perfectly happy to paint a wall or try and figure out how to fix a boiler but doing “pretty” things is still something that’s challenging to me. So last week I had the perfect opportunity to try and correct things by spending the evening in the lovely company of Julianna from Barnaby & Co and Kate from Made By Mrs M at Pop Brixton on a little hand-sewing masterclass.
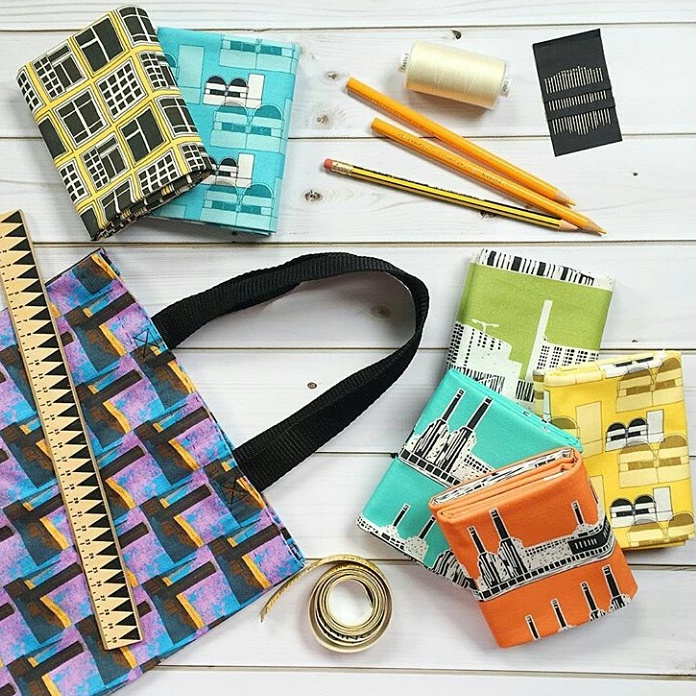
Image Courtesy of Made By Mrs M
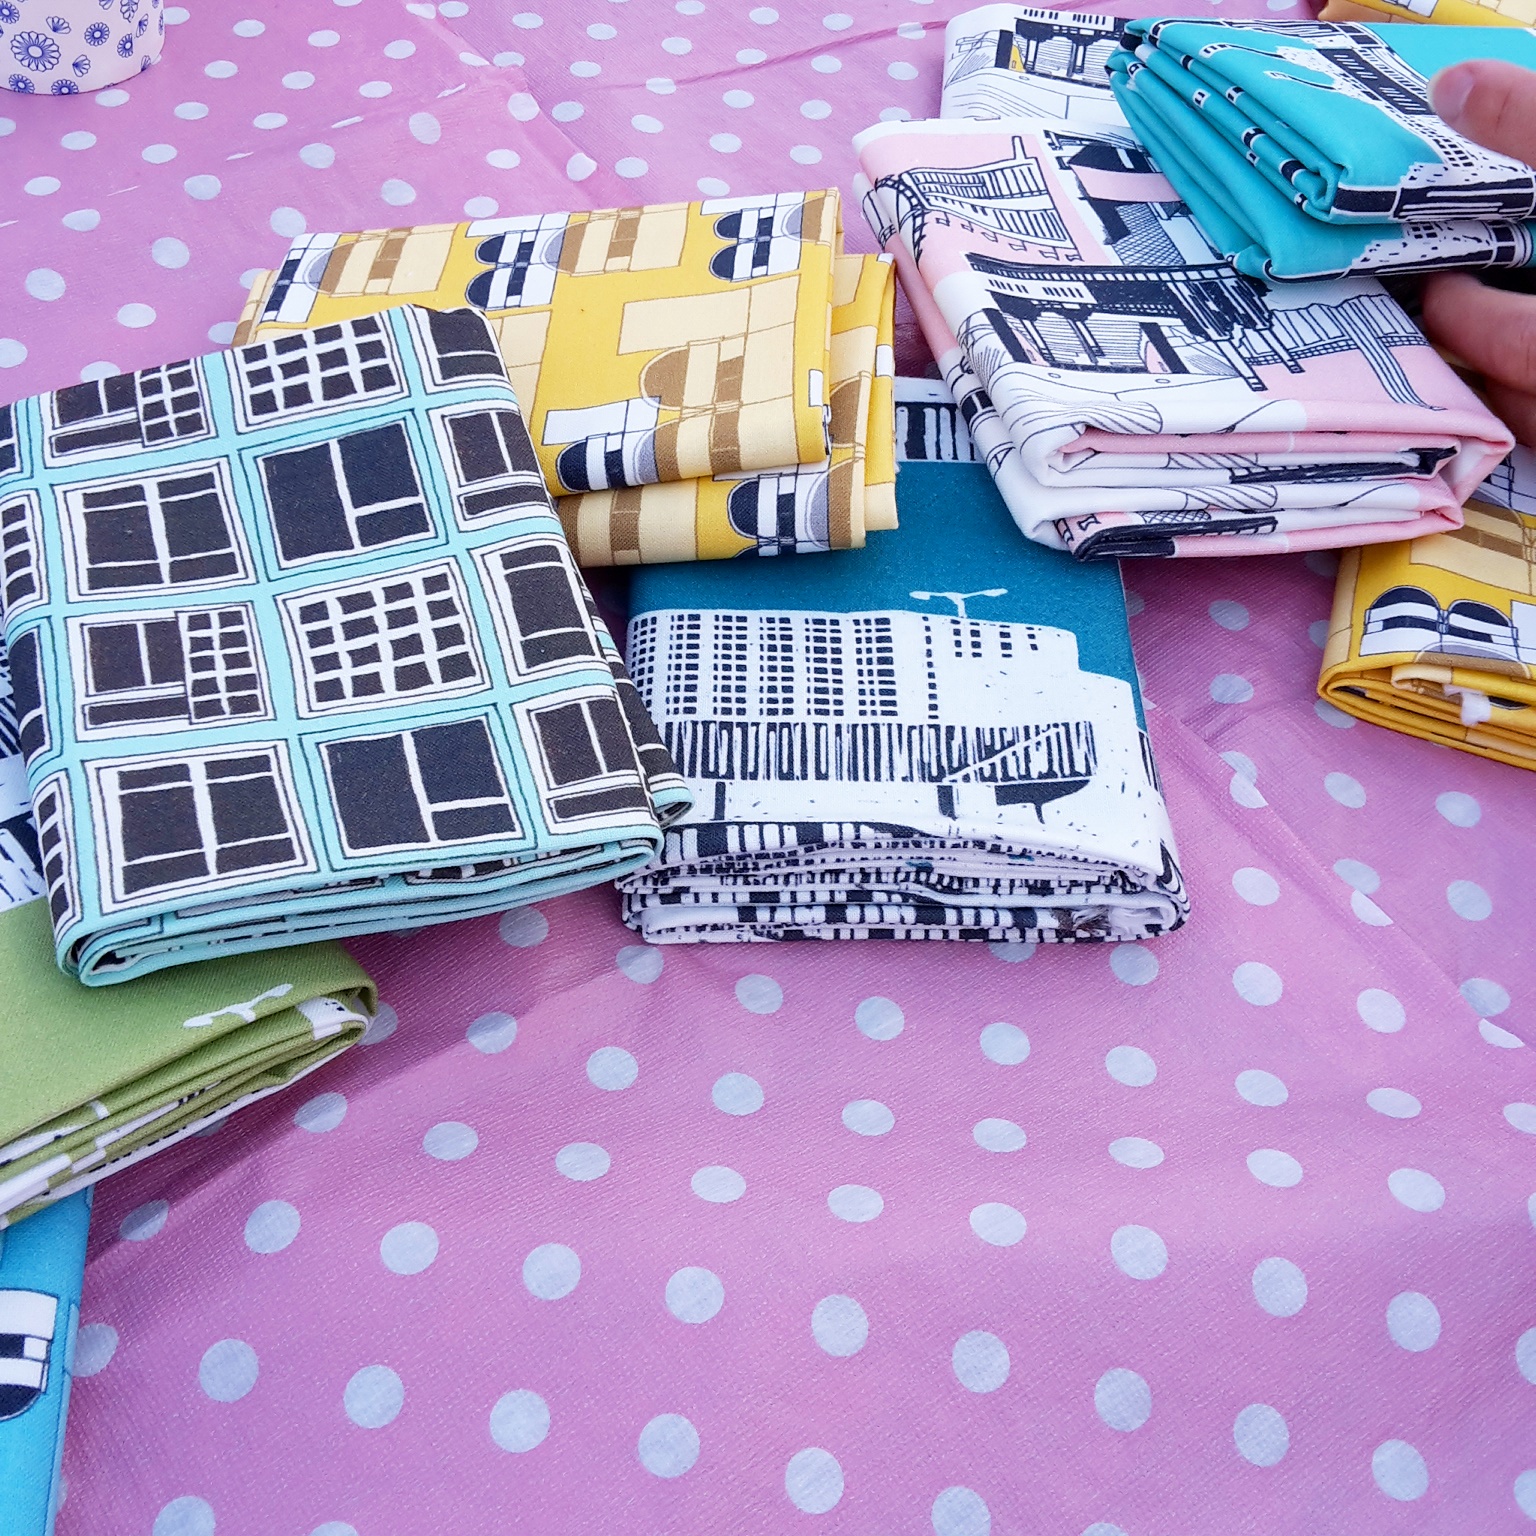
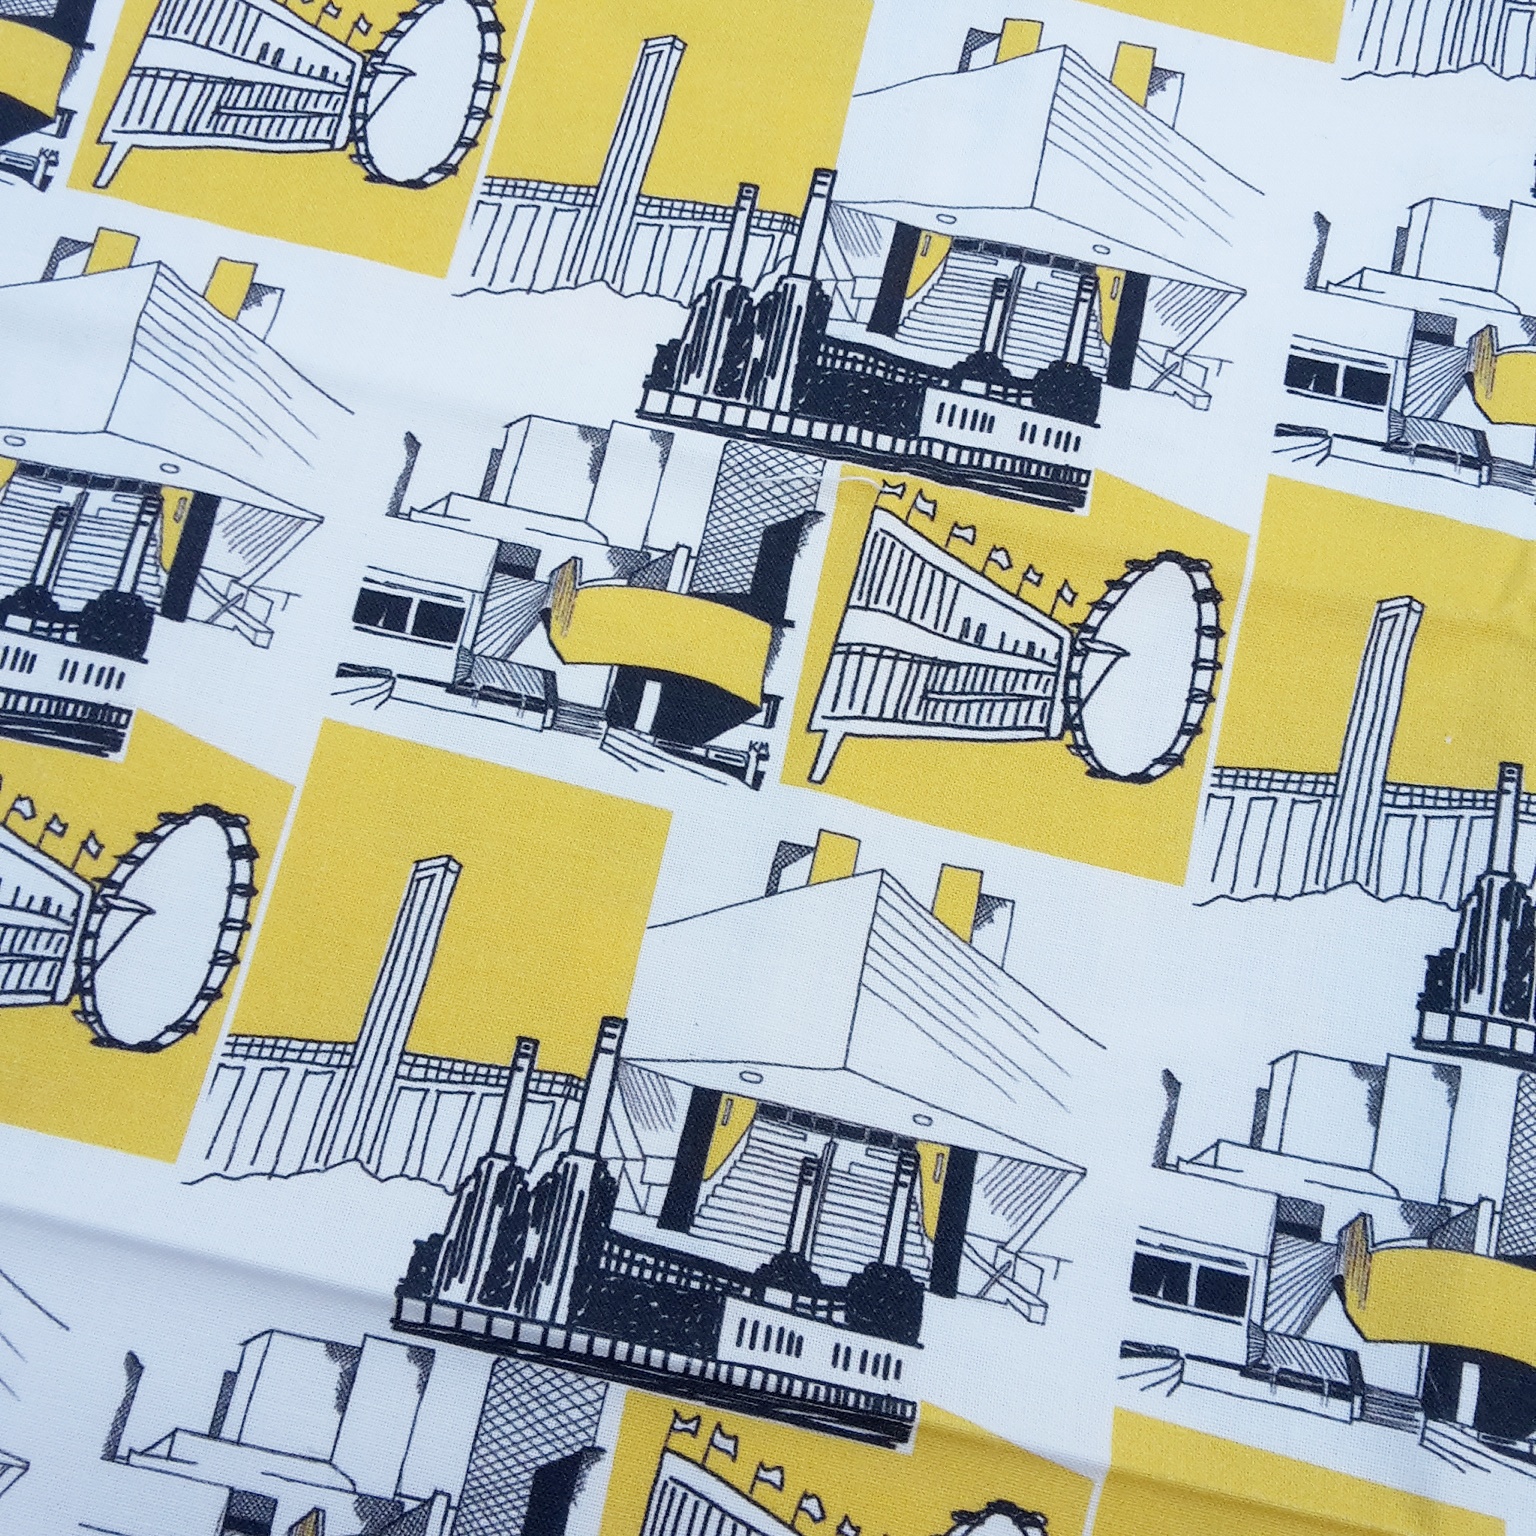
If you’ve followed the blog for a while you’ll know that Julianna is a friend of mine who runs an interiors pop-up at Pop Brixton as she’s popped up (ha!) in a few of my previous posts. Her eye for beautiful homewares is spot on and you can check out her physical shop if you’re London-based or visit her website to get some inspiration for your own interiors projects. Made By Mrs M is the creative outlet for designer Kate Marsden who has reclaimed her love of designing patterns for textiles and homewares after a London-based career and her collection showcases her love of architecture, vibrant colours and unique mid-century inspiration.

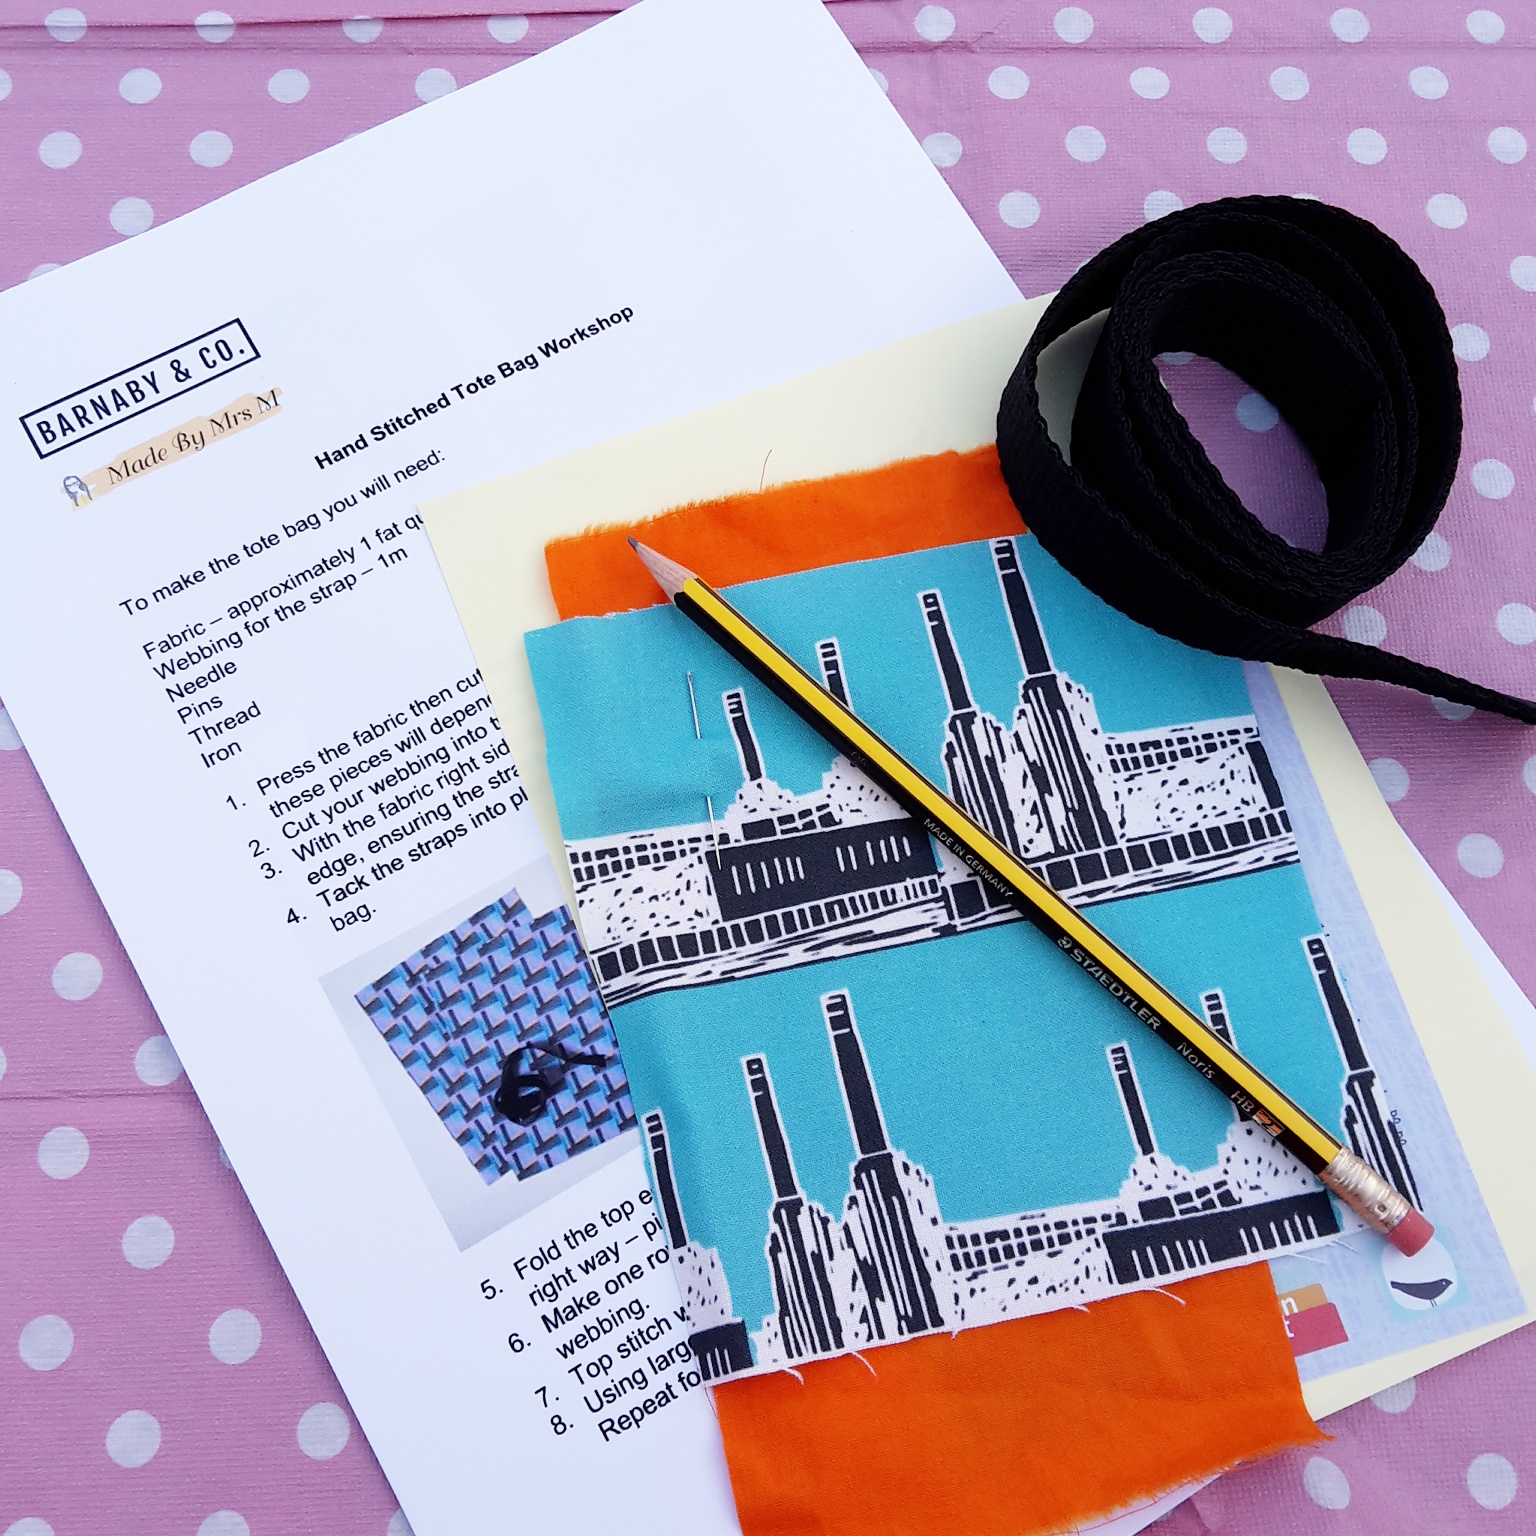
Our brief for the evening was to create a hand-sewn tote bag under the guidance of Kate and using her beautiful array of fabrics – lucky us! Now my last textiles lesson was more than 20 years ago since I dropped anything remotely crafty based in the years prior to my GCSEs and focused only on what were considered more “academic” subjects at the time. If sewing isn’t my strong point at 36, it certainly wasn’t at 14 whereas my best friend still has a lot of the bits and bobs we had to make in class, I think my Mum secretly binned mine when my back was turned.
These days though I’m game for just about anything and a group of us sat down around a large table with wine and nibbles to fuel us as Kate patiently took us step-by-step through the guidelines. She explained that normally it would take her around an hour to 90 minutes to make a bag and finds it very therapeutic. Of course she doesn’t need to focus as intently as I do and said it’s something you can do once you know how whilst watching TV. It might take me a while to get to that point, had I been 6 years old there definitely would have been a tongue poking out with sheer concentration.
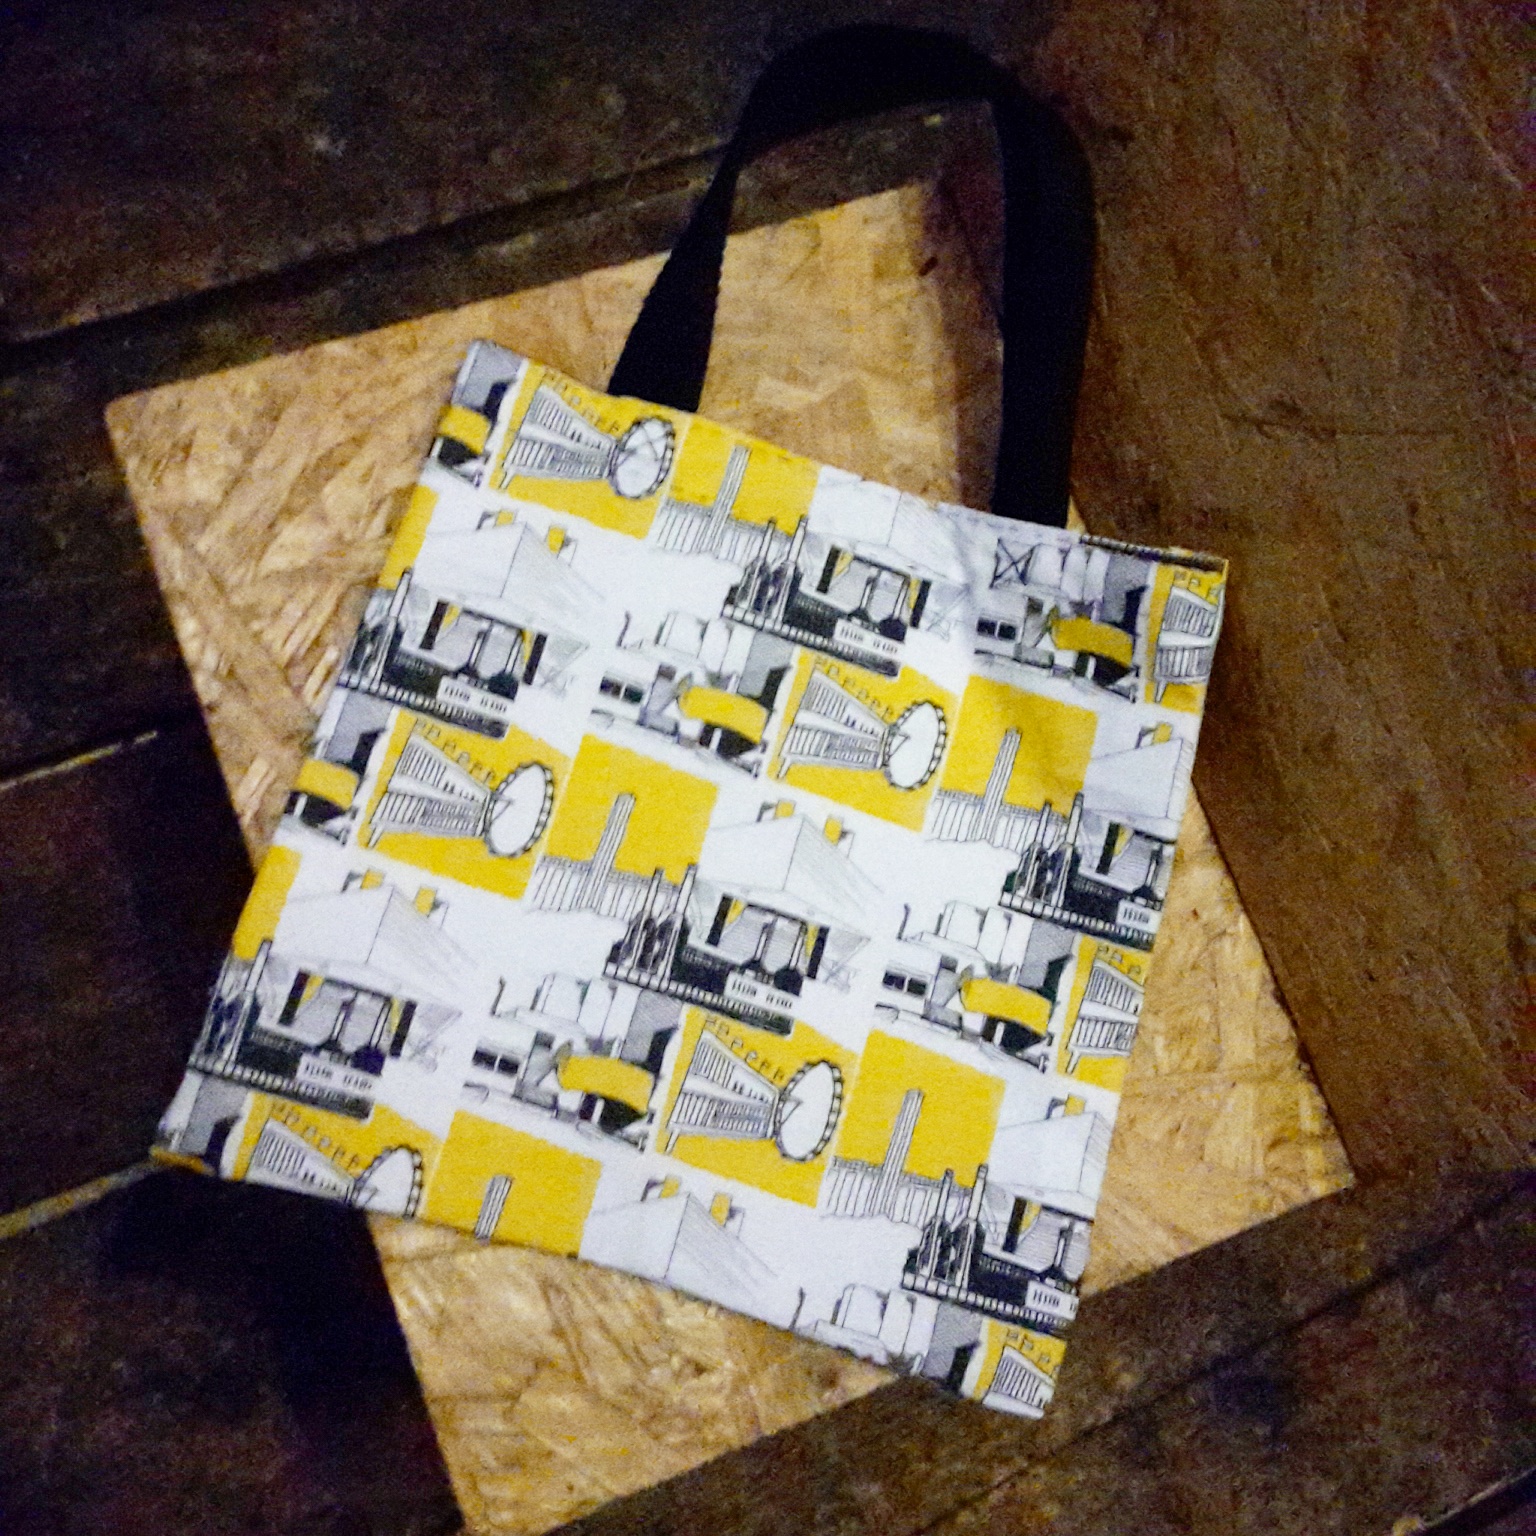
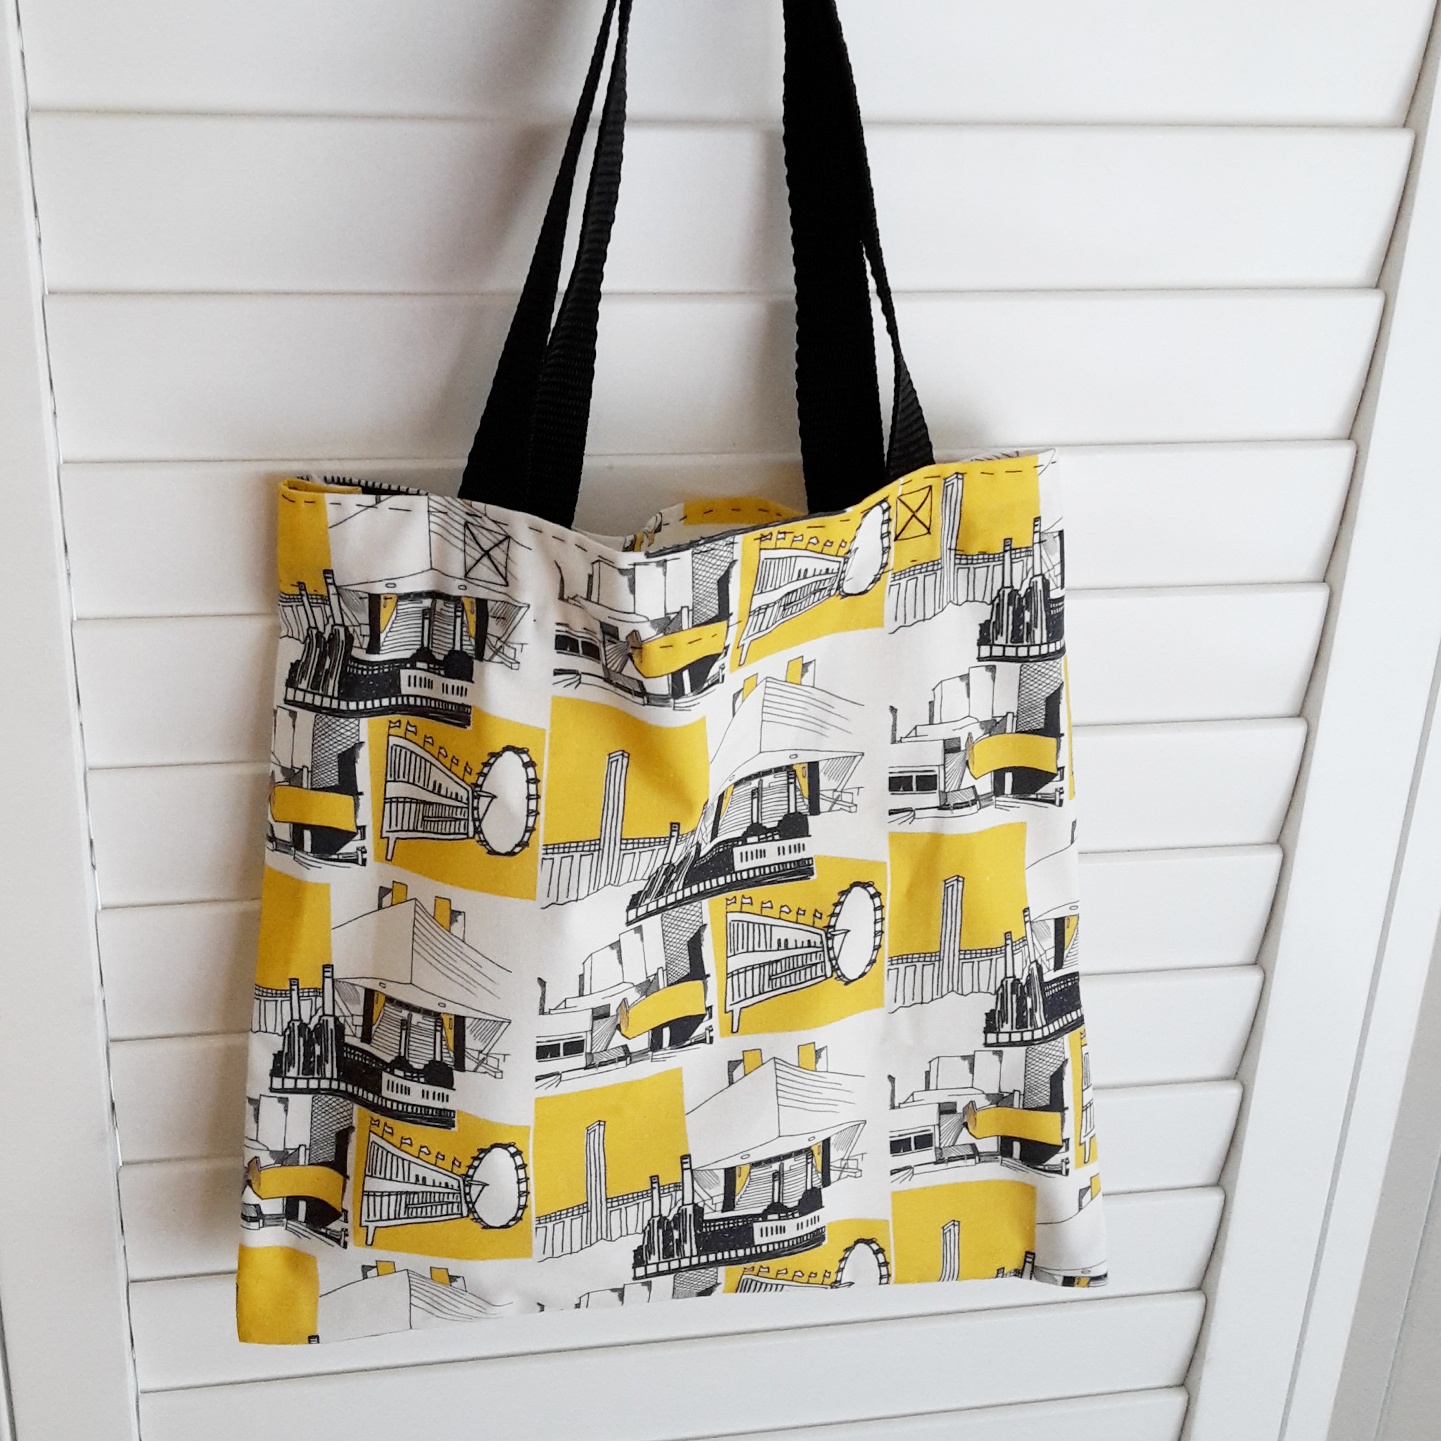
The fabric I chose was this beautiful yellow because it’s not a colour I typically go for and wanted something different. We had fat quarters to work with and had to determine how large we wanted the bag to be before cutting two identically sized pieces for front and back and pressing the fabric. My idea was to go for a mid-sized square-ish bag but well, it ended up being slightly smaller than I expected as you’ll see later on.
For the straps, we had a 1m length of black webbing to be cut in half again depending how long we wanted the straps. I must confess, with anything other than the house perfectionism is not my strong point and there were points where I possibly should have been more precise but sometimes you just have to wing things…! Once the webbing was cut, the next step was to measure and pin the webbing in place on the right side of the fabric, taking care to ensure it wasn’t twisted in doing so. First pinning the straps on before tacking meant the straps were secure before we tackled the tops of our bags.
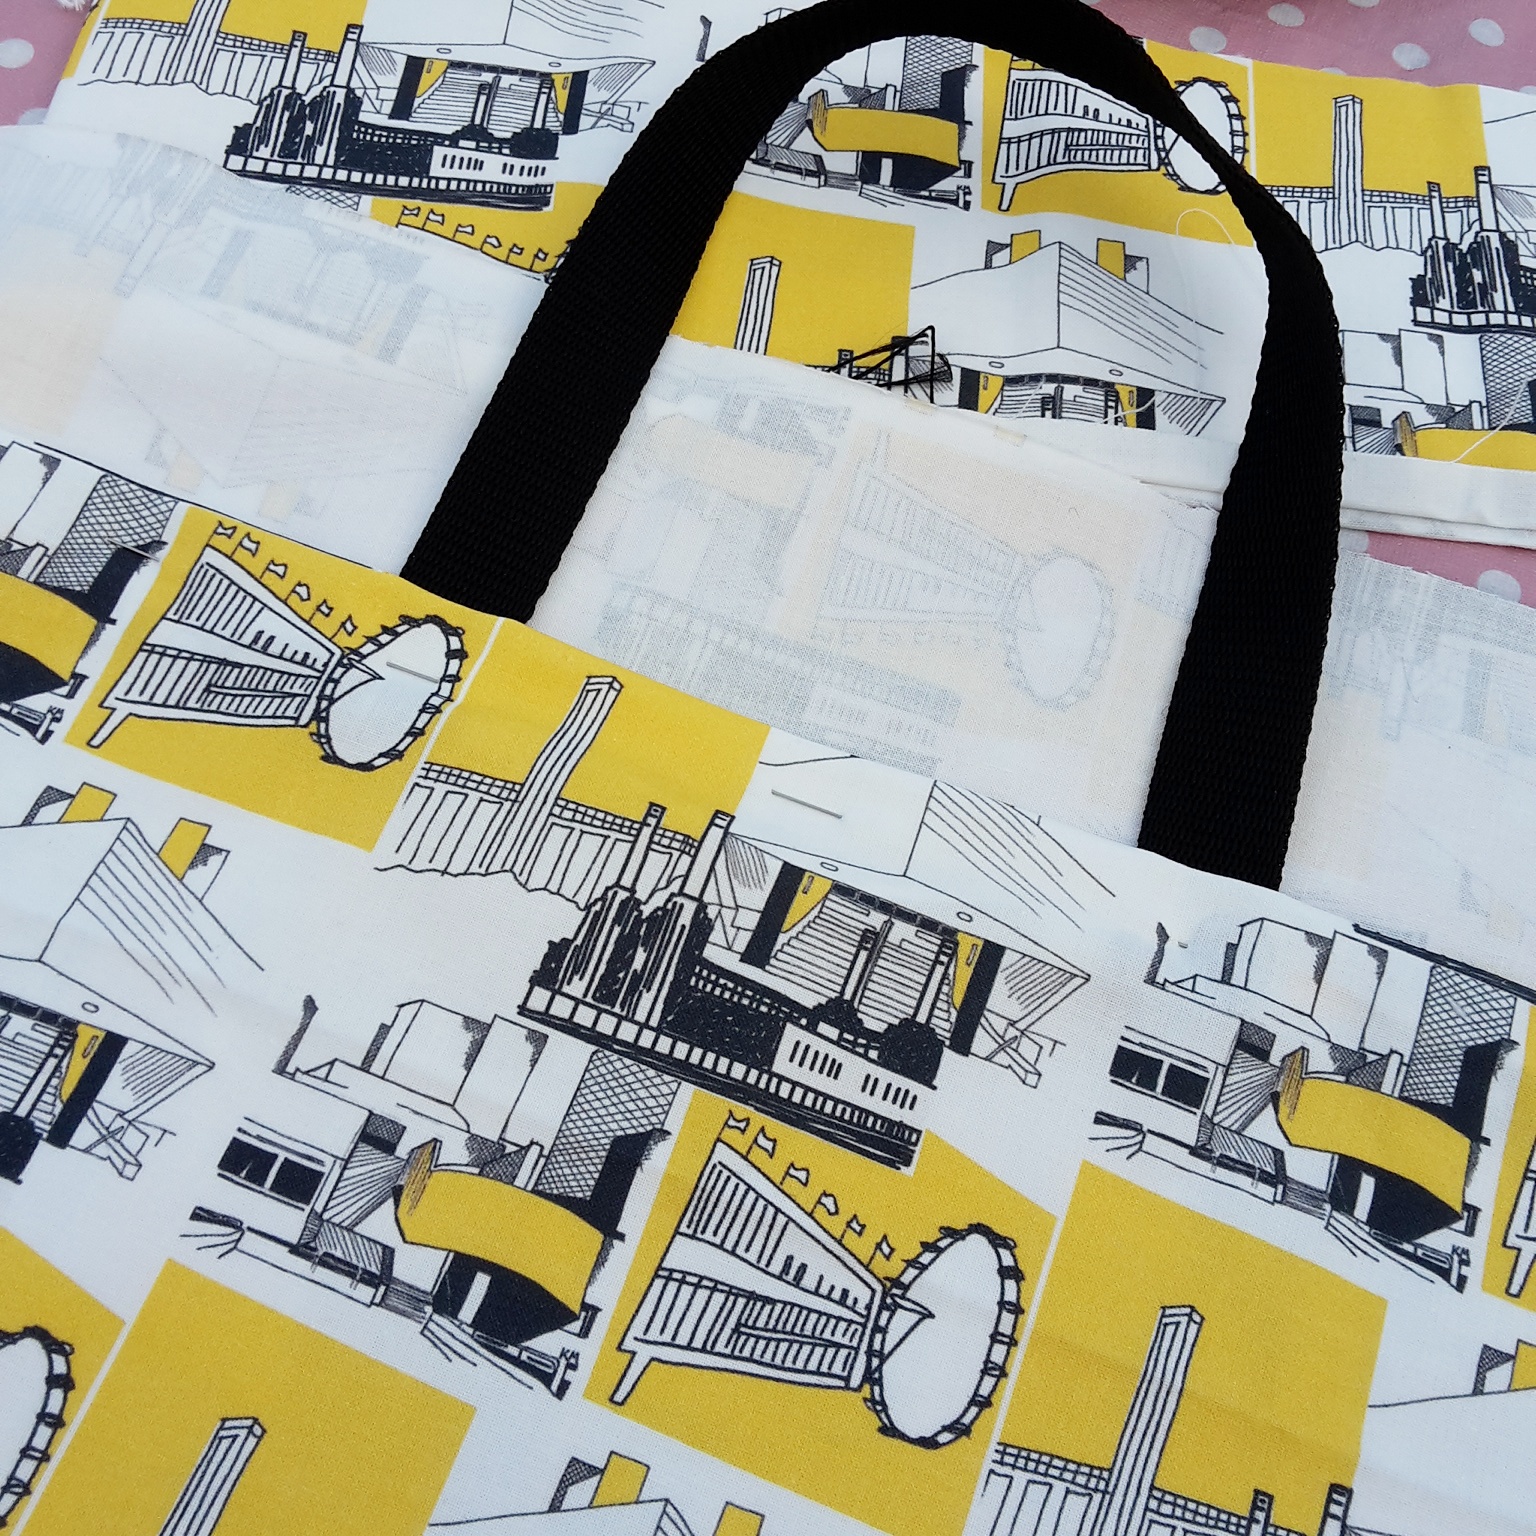
We had to fold the top edge over twice to hide the raw edging and then turn the handles back the right way to pin along the edge creating a nice even top to the bag before turning the handles back the right way and pinning along the edge, ready for sewing. Next, we sewed the bottom edge using a running stitch fairly close together, making sure we captured the webbing so it stayed secure. Then, another row of running stitch along the top edge. Part of the issue that I’ve always had with sewing is not understanding the terminology, now I finally know what a running stitch is so if someone told me to do it, I can. That in itself is a result.
Once the top was finished, we had to create a cross at the base of each strap to strengthen it which was probably the most straightforward element for me before pressing the top edges taking care to avoid the webbing since it will melt with the heat of the iron. At this point it was really starting to take shape, and we pinned the two pieces wrong side together ready for a large running stitch around the sides and base of the bag, approximately 0.5cm from the edge. It’s at this point that I wish I’d taken care to trim my excess fabric because we then had to turn the bag inside out, press and pin before using a small backstitch to sew all three sides ensuring the raw edges were enclosed. If I’d trimmed my edges, I would have had less fabric to try and capture with my backstitching and been able to sew closer to the edge. As it was I had to lose quite a large chunk of space to make sure those raw edges were captured.
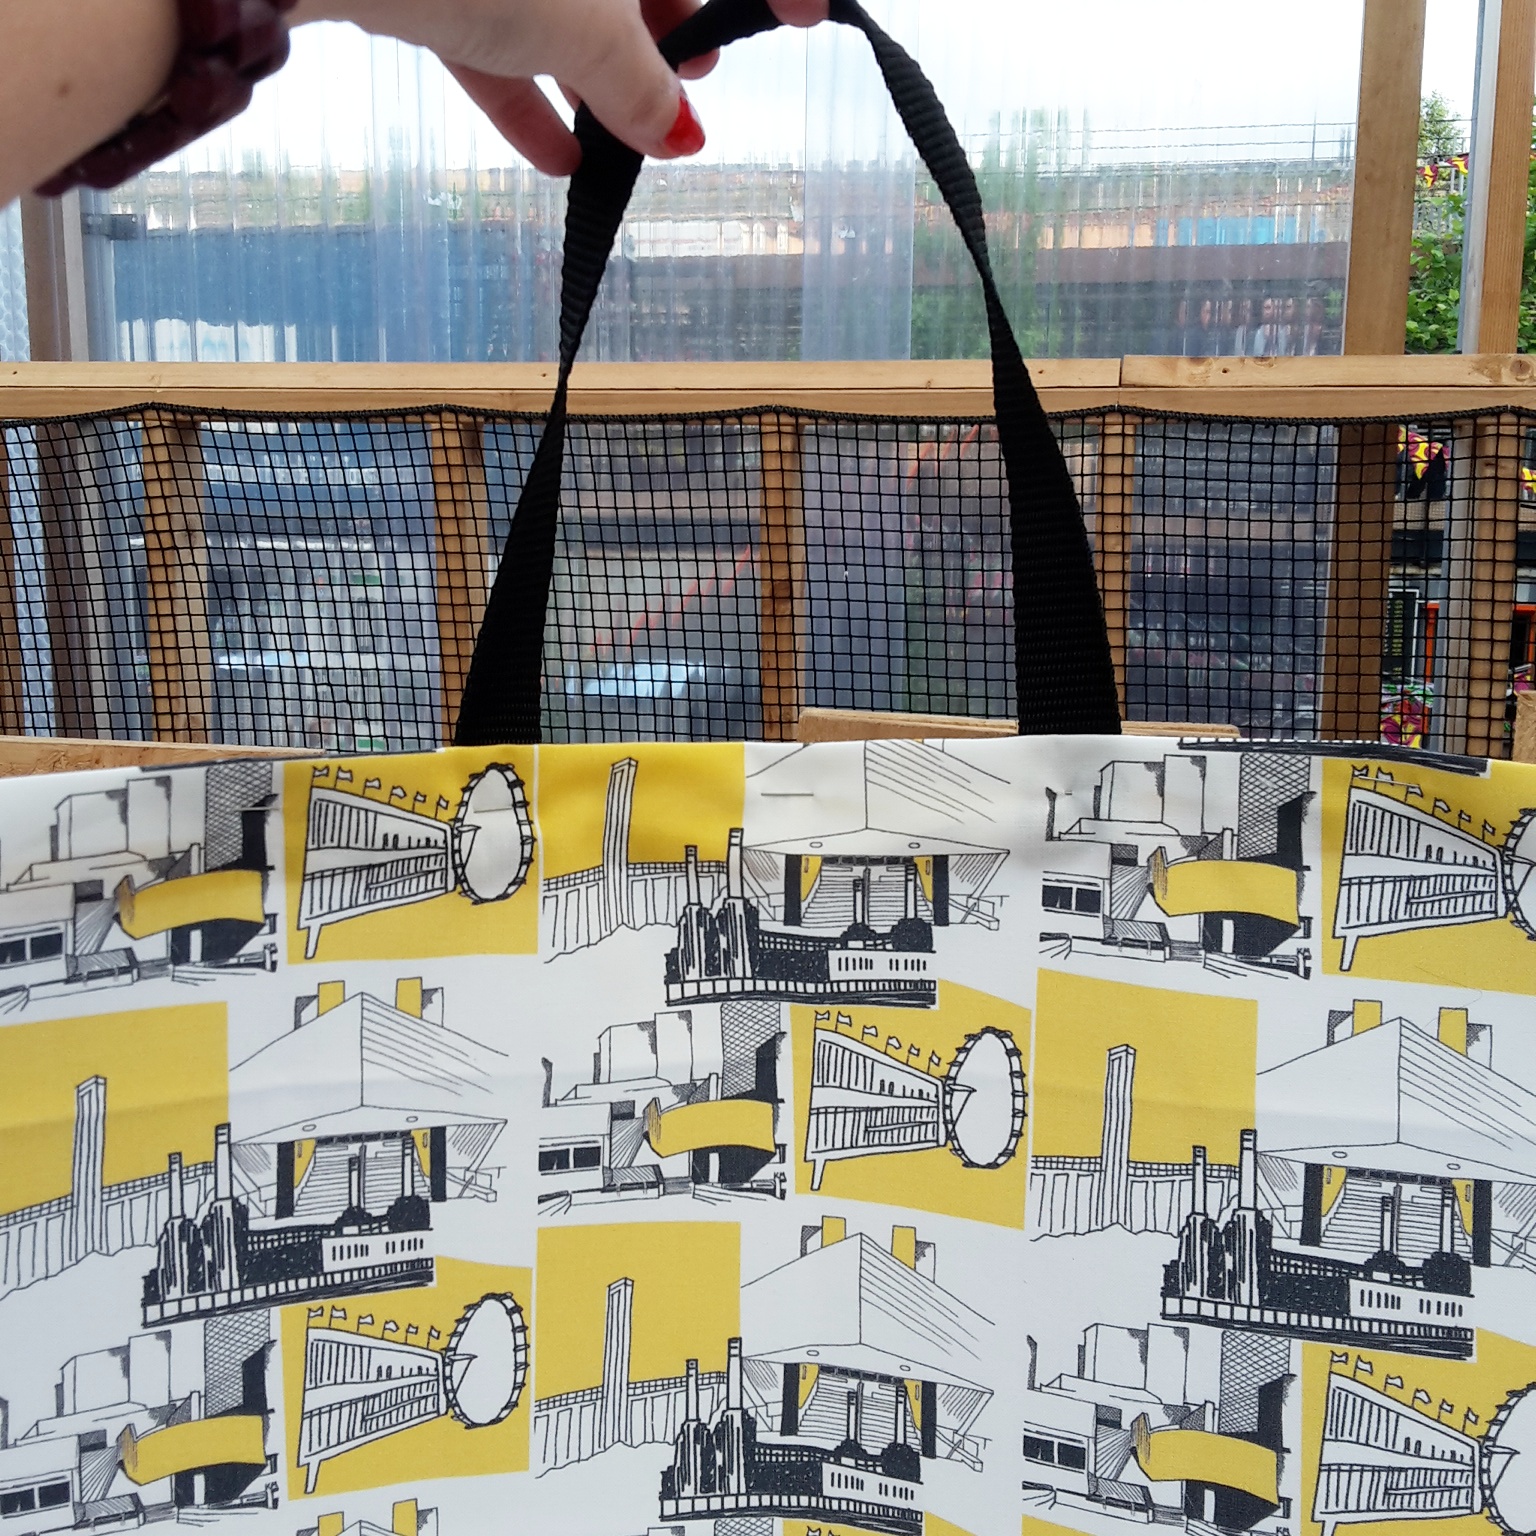
Incredibly, the bag was finished and it hasn’t all unravelled and looks beautiful. Kate’s fabrics are so great to work with and means that you end up with something so unique and stylish. I’ve already used my little bag a few times and it’s the perfect size for all my necessary bits and bobs. I’m thrilled that in about 2 and a half hours I went from barely being able to sew buttons on to making an entire bag and without a single sewing machine in sight!
Thank you so much to Barnaby & Co for inviting me to participate in this workshop free of charge in return for a review. The next workshop is taking place on Tuesday 12th July and is Lampshade Making with Rosa & Clara Designs – tickets can be purchased here.
Follow me on Facebook | Instagram | Pinterest | Twitter
Click here to visit our webshop, DaisychainBaby.co.uk

