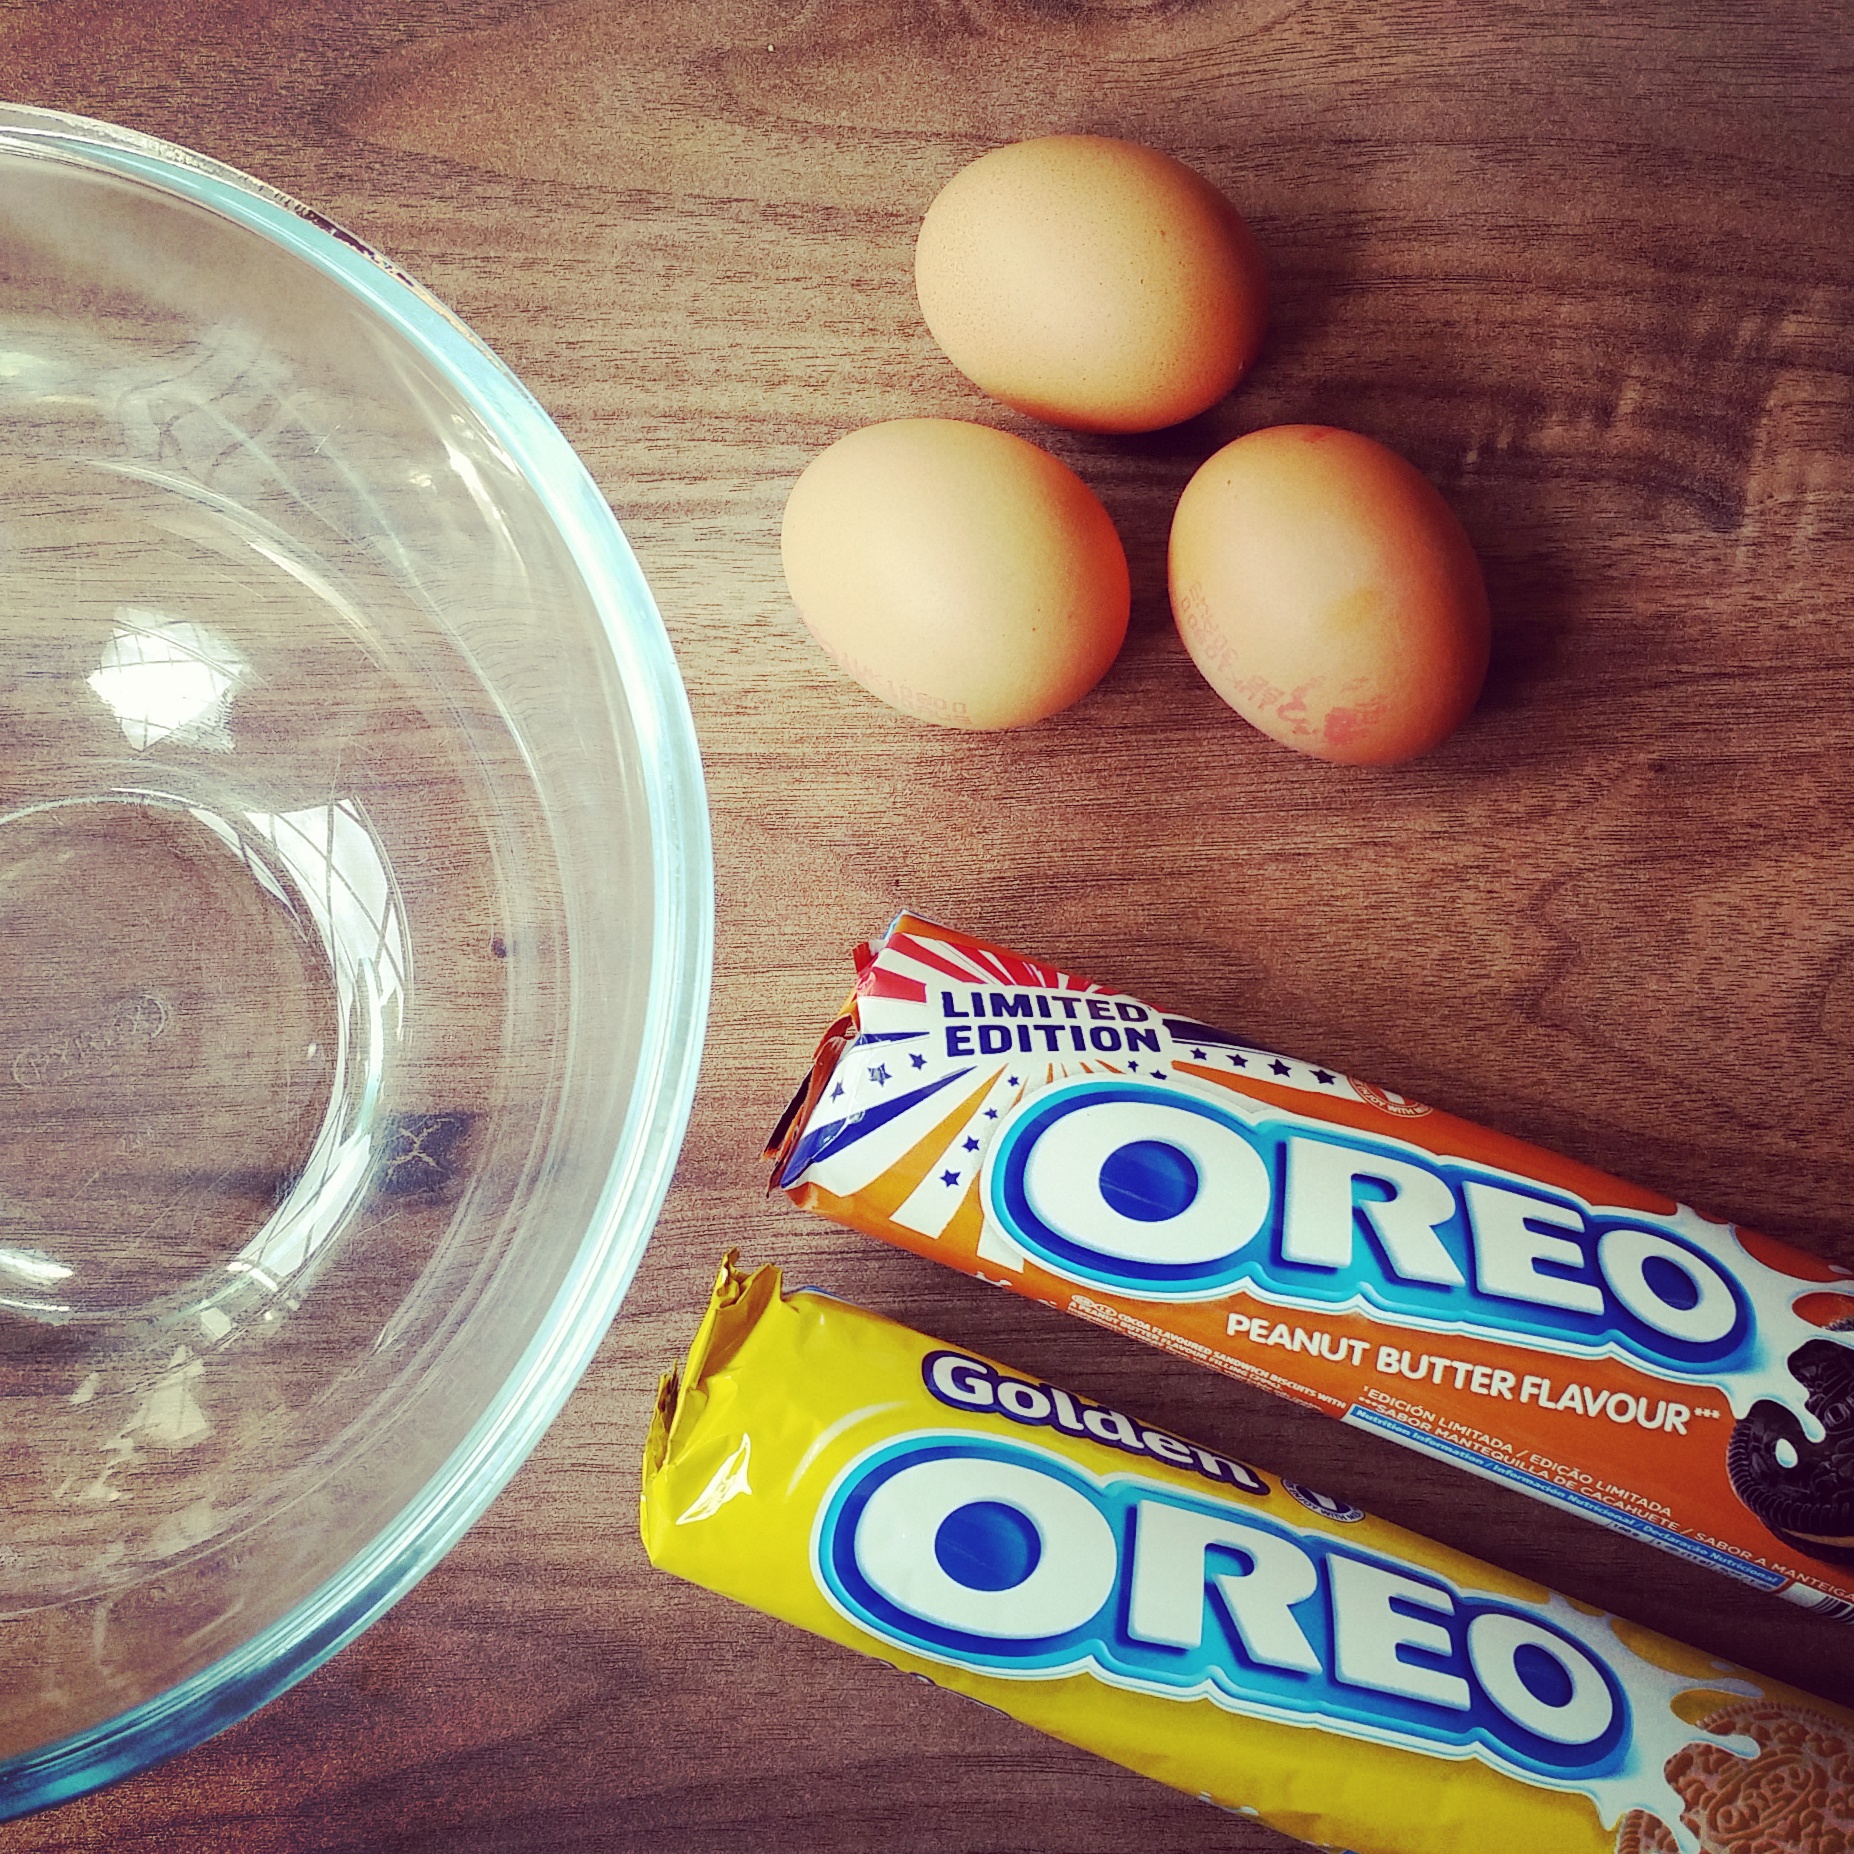
I have received product from Oreo for this post. It is an entry to the Foodies100 Wonderfilled recipe challenge sponsored by Oreo, which marks the launch of two exciting new flavours: Peanut Butter and Golden. The delicious new flavours are available in all major supermarkets at an RRP of £1.08. To find out more, visit www.facebook.com/oreo
Ah, baking. My one true nemesis (apart from riding a bike). Not helped by a kitchen smaller than a wasp’s wing and an archaic fan-only oven that I have to wrestle with just to heat up a pizza, let alone actually try to make something from scratch.
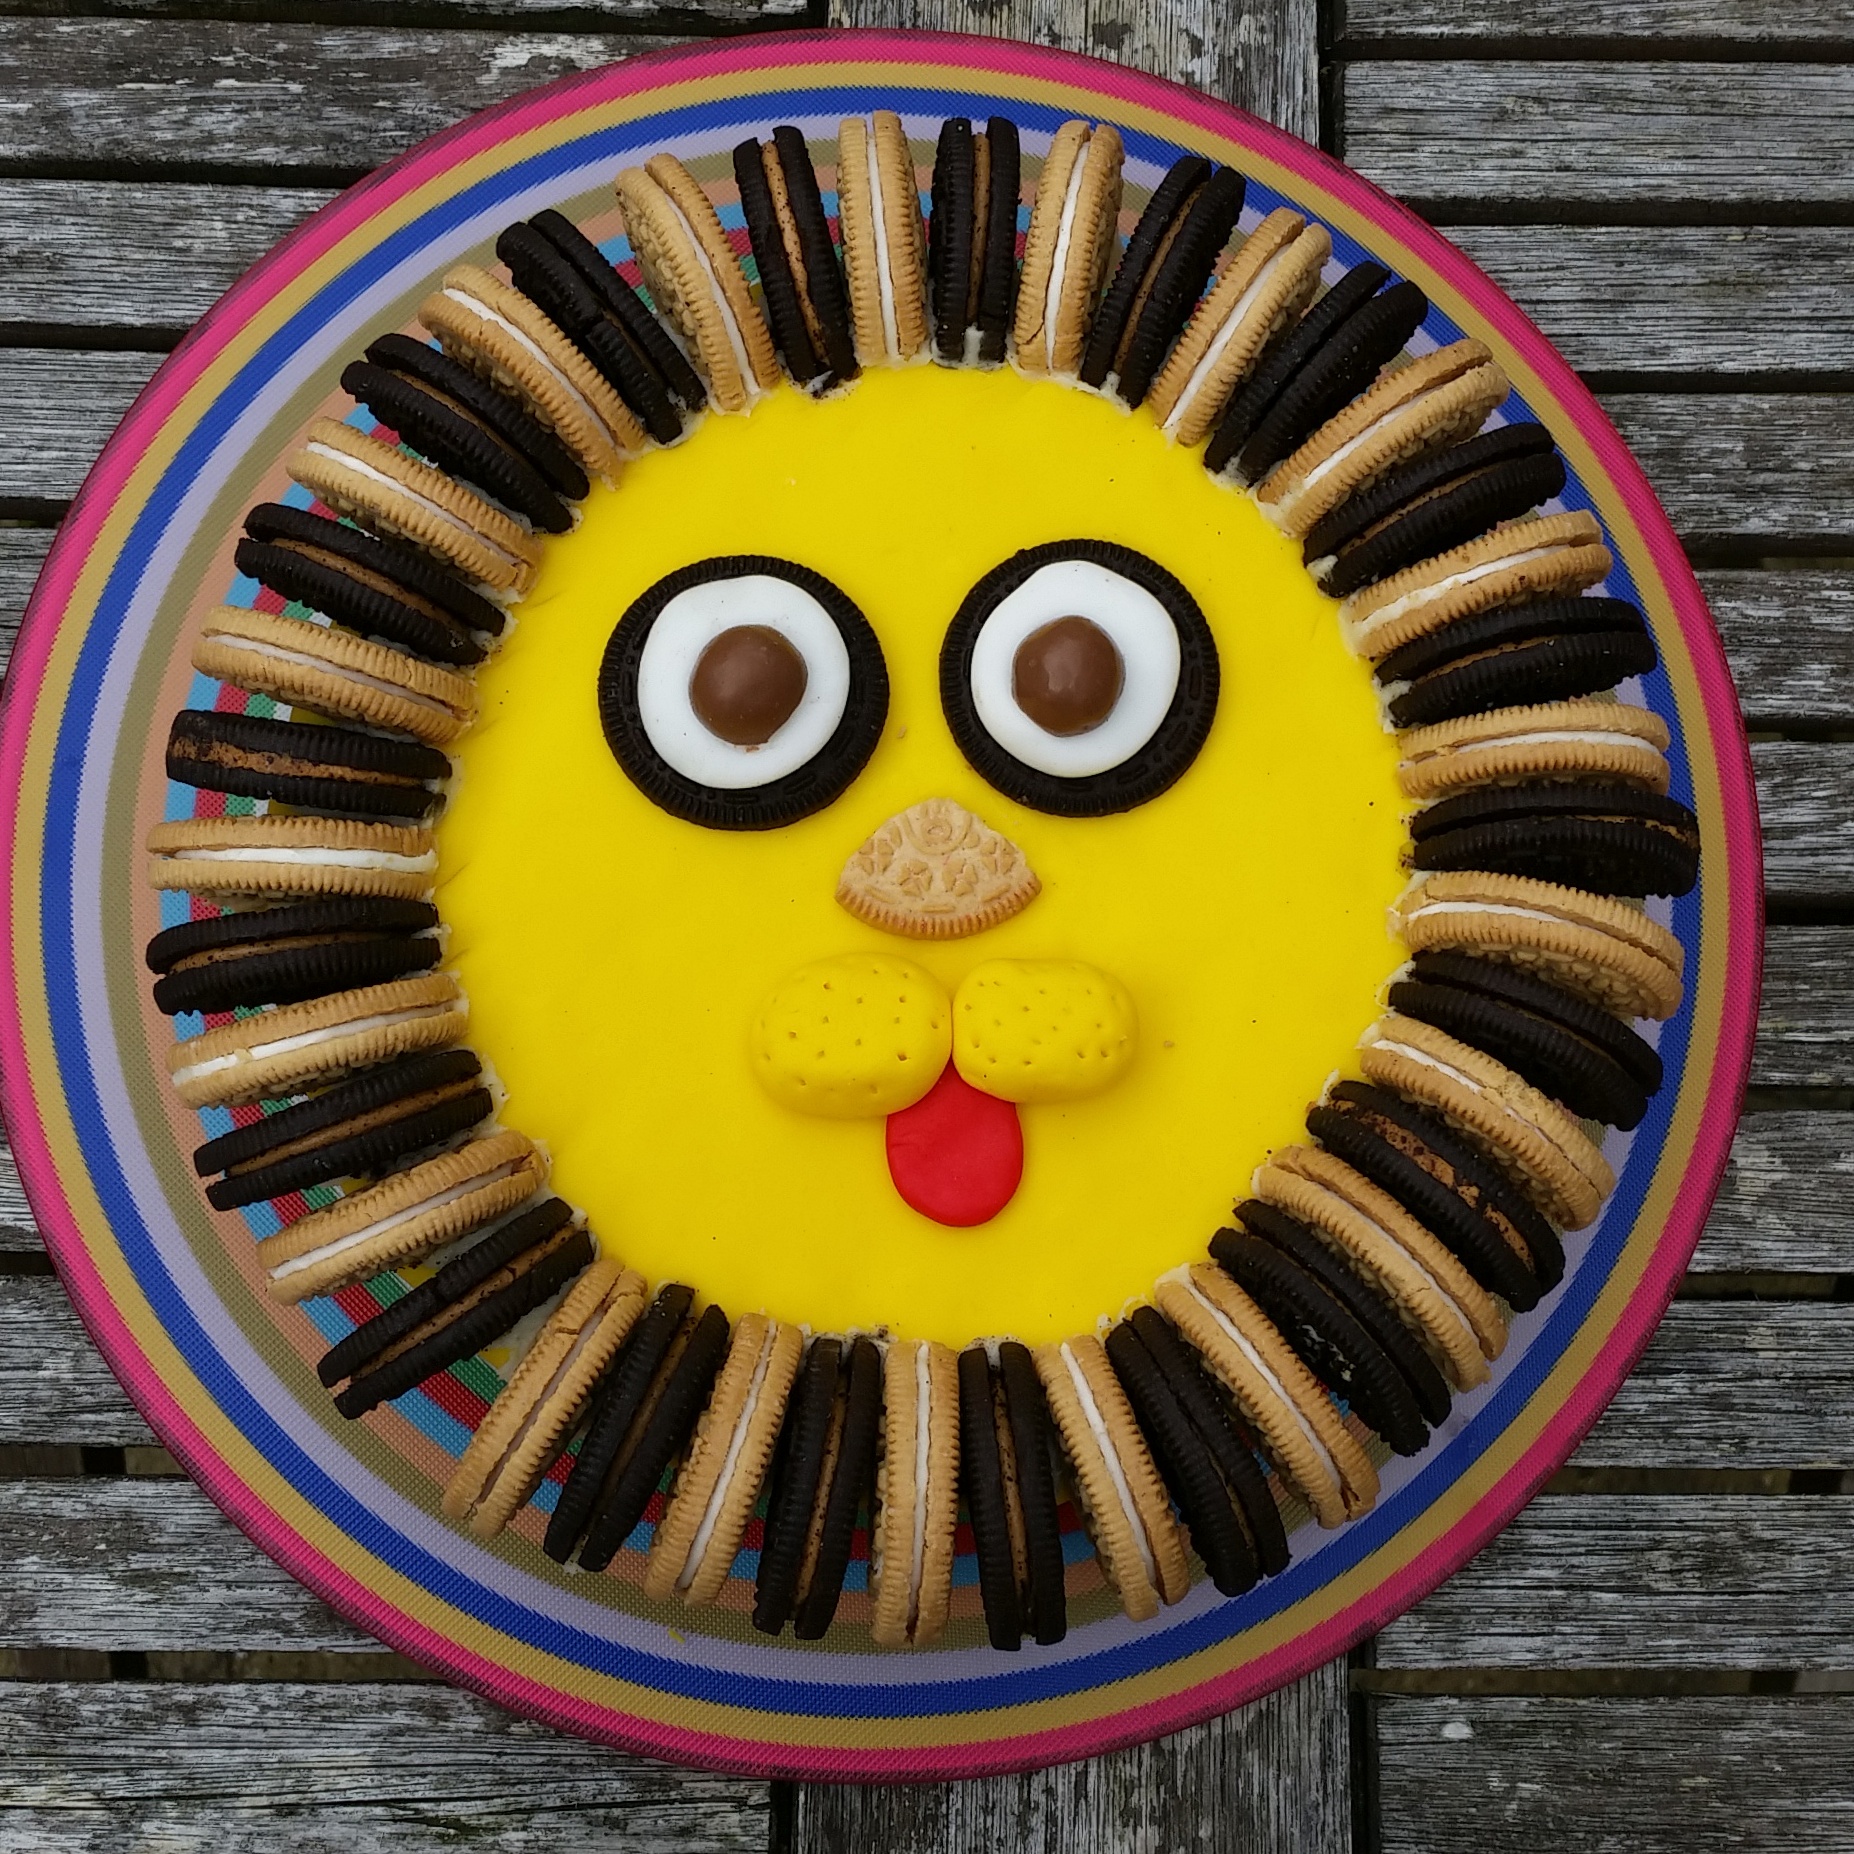
However, my 30s are all about challenging myself to try new things and so I leapt at the chance to come up with a recipe using new Oreo cookies, Peanut Butter and Golden. Without further ado, here is my Friendly Lion Madeira Oreo Cake!
What You’ll Need (makes one 8″ cake)
For the Madeira Cake
- 175g/6oz butter, at room temperature (tip: I used Lurpak unsalted)
- 175g/6oz caster sugar
- 3 free-range eggs
- 250g/9oz self-raising flour
- 2-3 tbsp milk
- 1 lemon, zest only
For the Decoration
- 140g/5oz butter, softened (tip: I used Lurpak unsalted)
- 280g/10oz icing sugar
- 1-2 tbsp milk
- 1 pack of Oreo Peanut Butter cookies
- 1 pack of Oreo Golden cookies
- Ready to roll yellow fondant icing, as well as a little bit of red and white
- A malteser
METHOD
1) Pre-heat the oven to 180C (or for fan ovens, 170). Grease the bottom and insides of your cake tin, then place some baking paper in the bottom and grease that too.
2) Cube the butter into a large mixing bowl and cream in the sugar until pale and fluffy. I did use an electric whisk for this but you can do it by hand also – good for the arm muscles! Beat the eggs into the mixture, one at a time. As you add the final egg, pop in a tablespoon of your flour and mix together well.

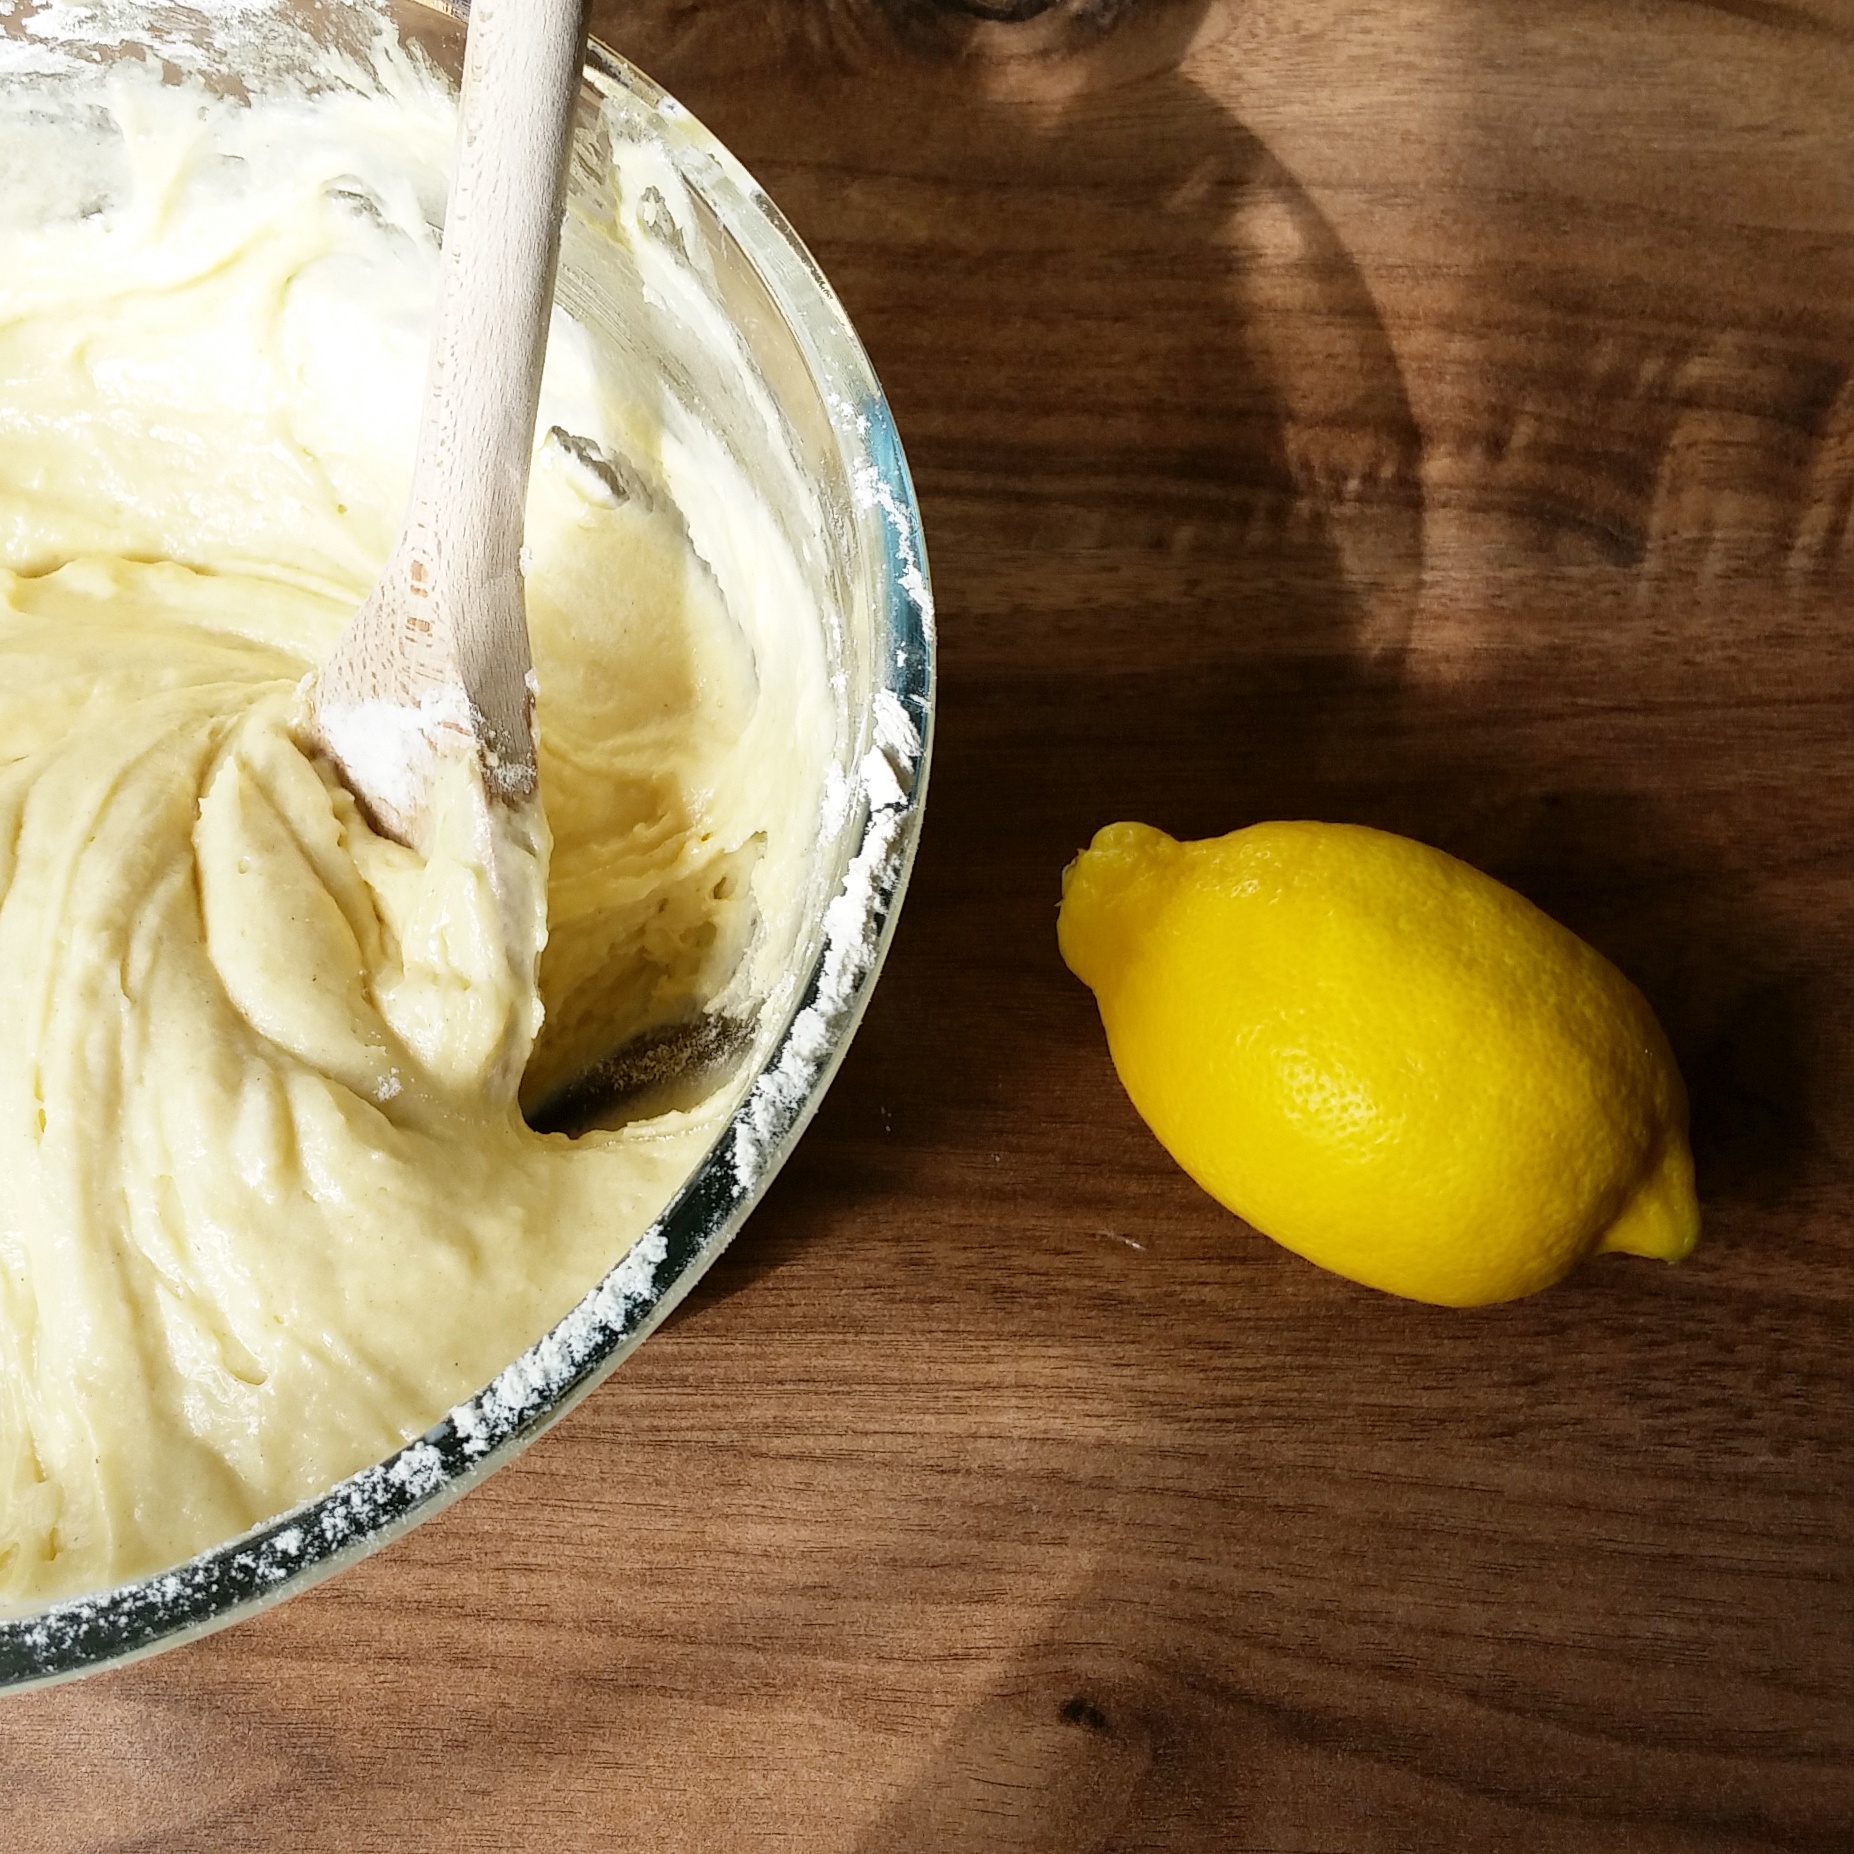
3) Sift the flour and carefully mix into the bowl, adding a little milk at a time as you go until your mixture is just wet enough to slide slowly off the spoon. Finally fold in the lemon zest (tip: if you like your cakes with a very lemony taste, add more zest)
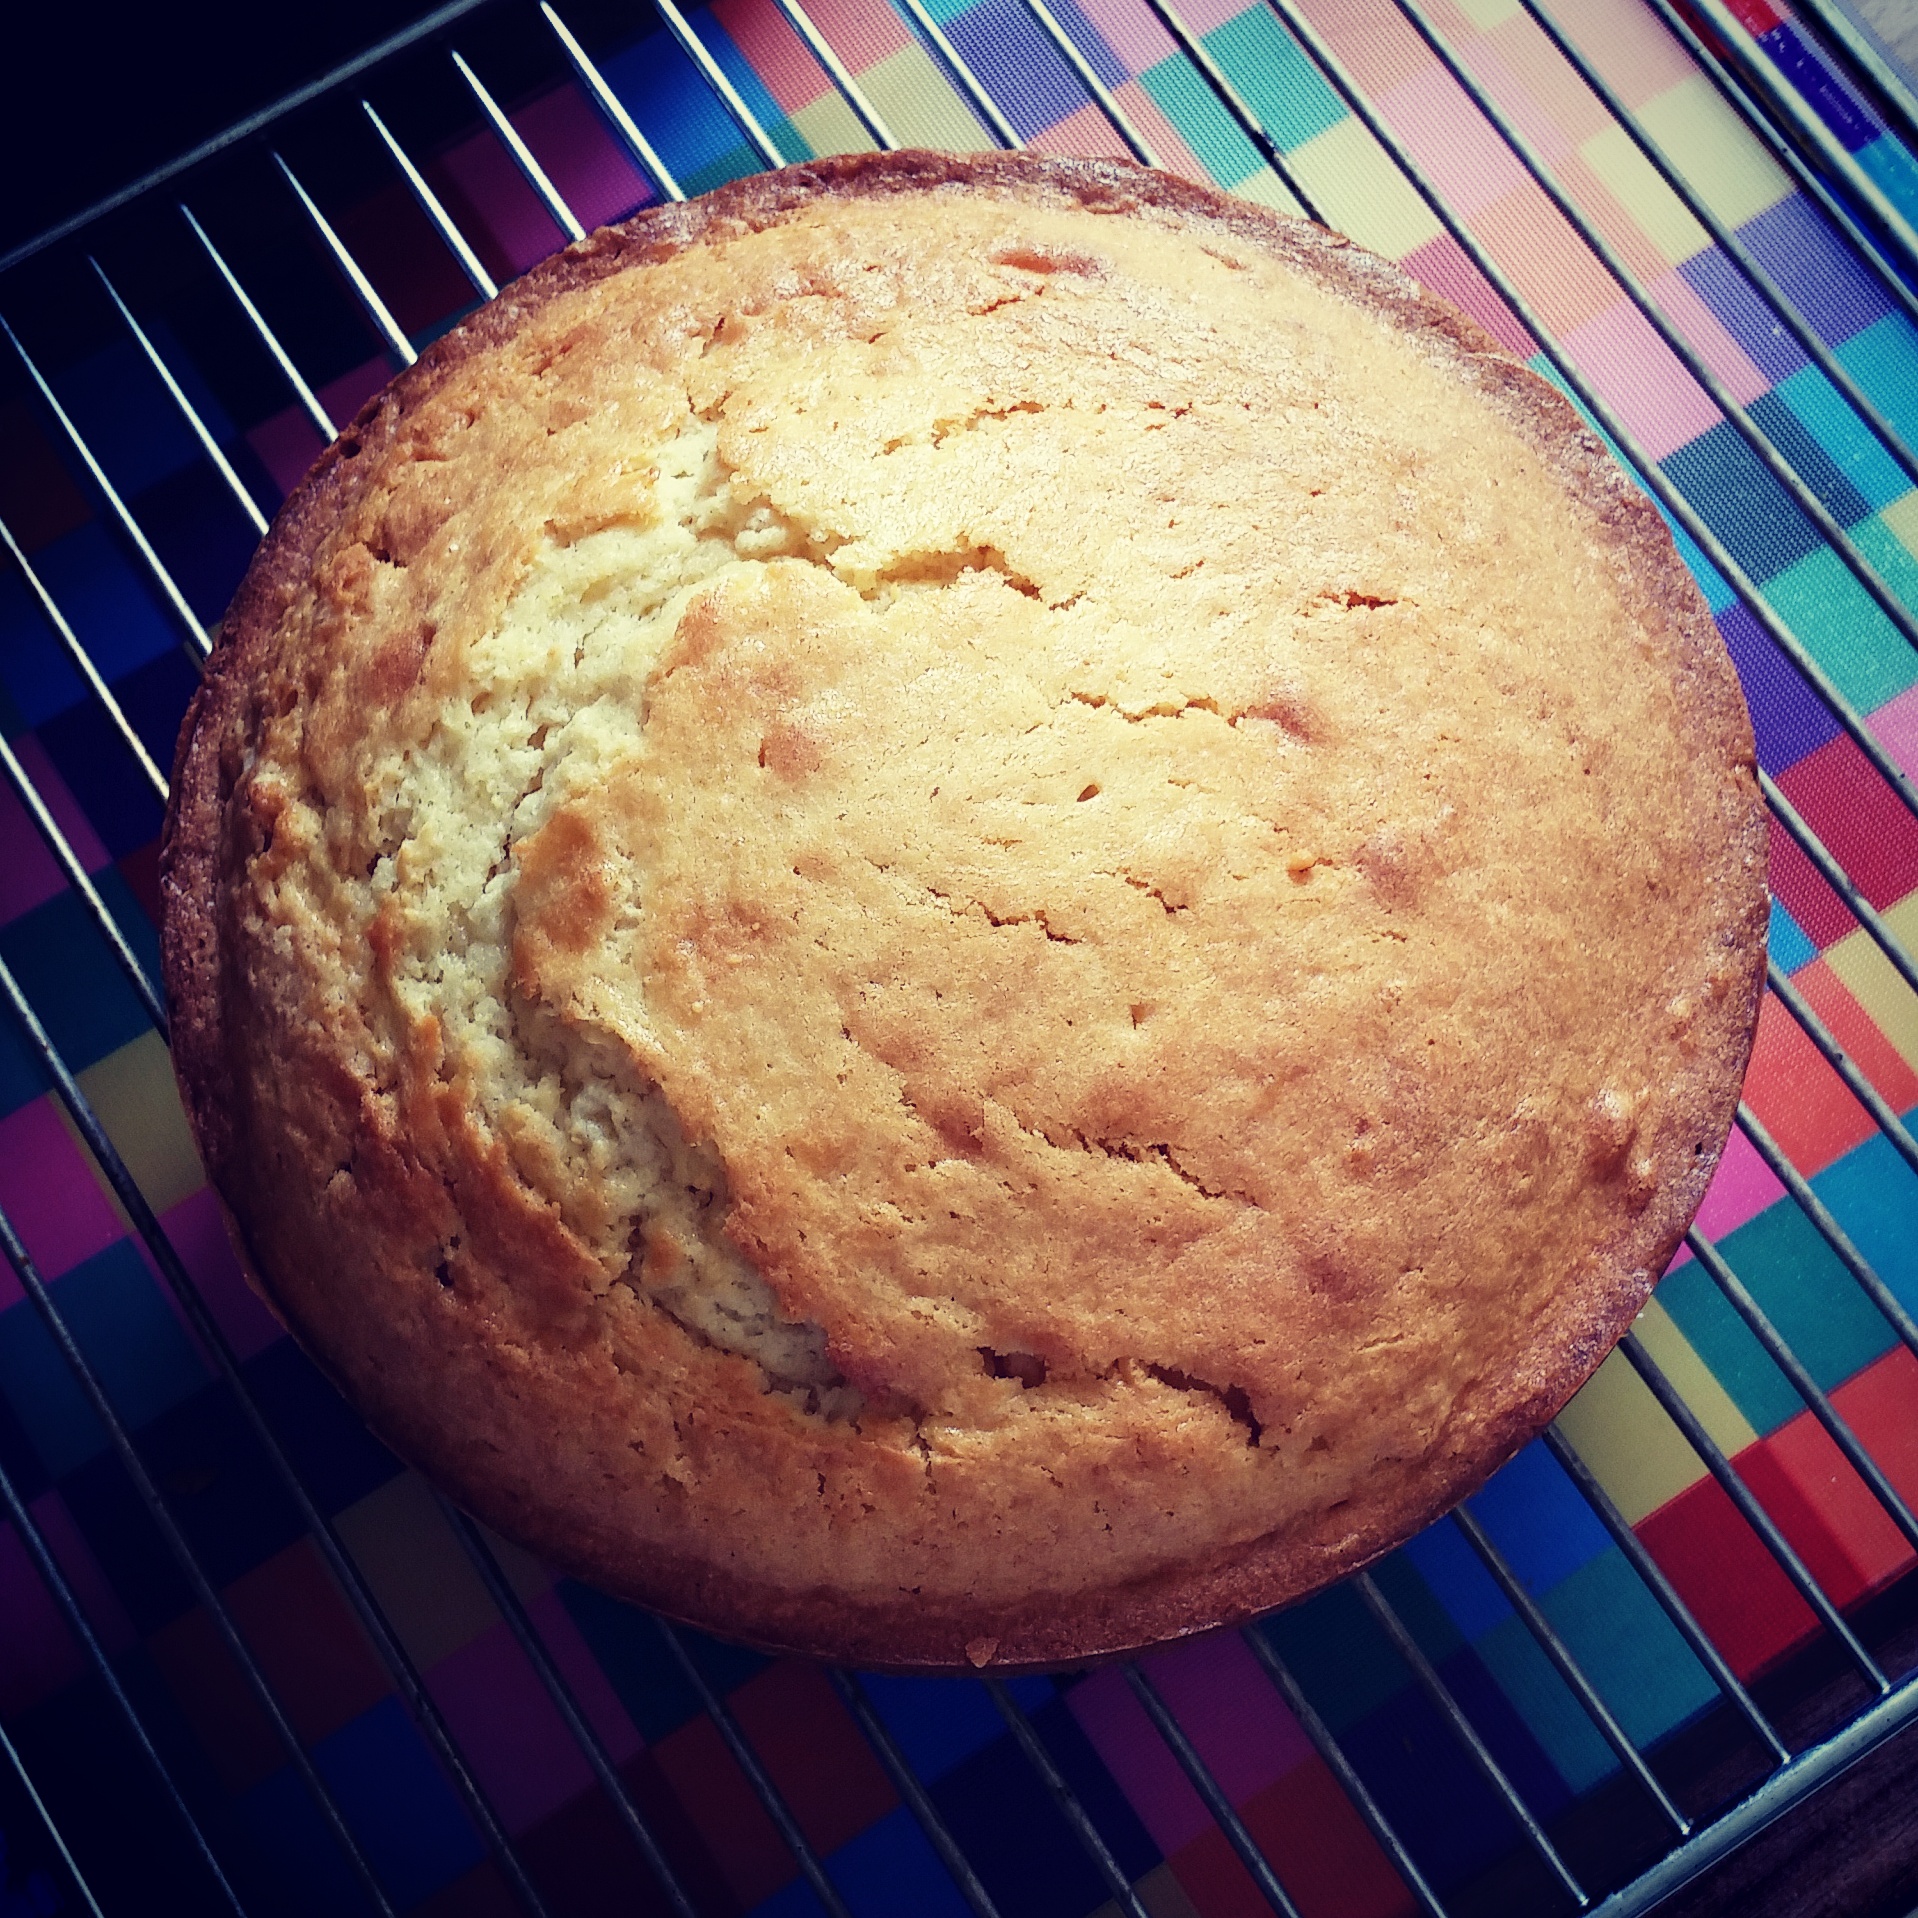
4) Pop the mixture into your prepared cake tin and smooth. Place on the middle shelf of the oven for 30-40 minutes (it took 45 minutes for me!) until golden brown on top and a skewer comes out clean (tip: if you’re using an odd oven like me, towards the end try rotating the tin if it’s baking lopsidedly!)

5) Once baked, remove the cake and leave to cool in the tin for 10 minutes before removing from the tin and leaving to cool completely on a wire rack (tip: I baked the cake one day and then did the decorating the next day)
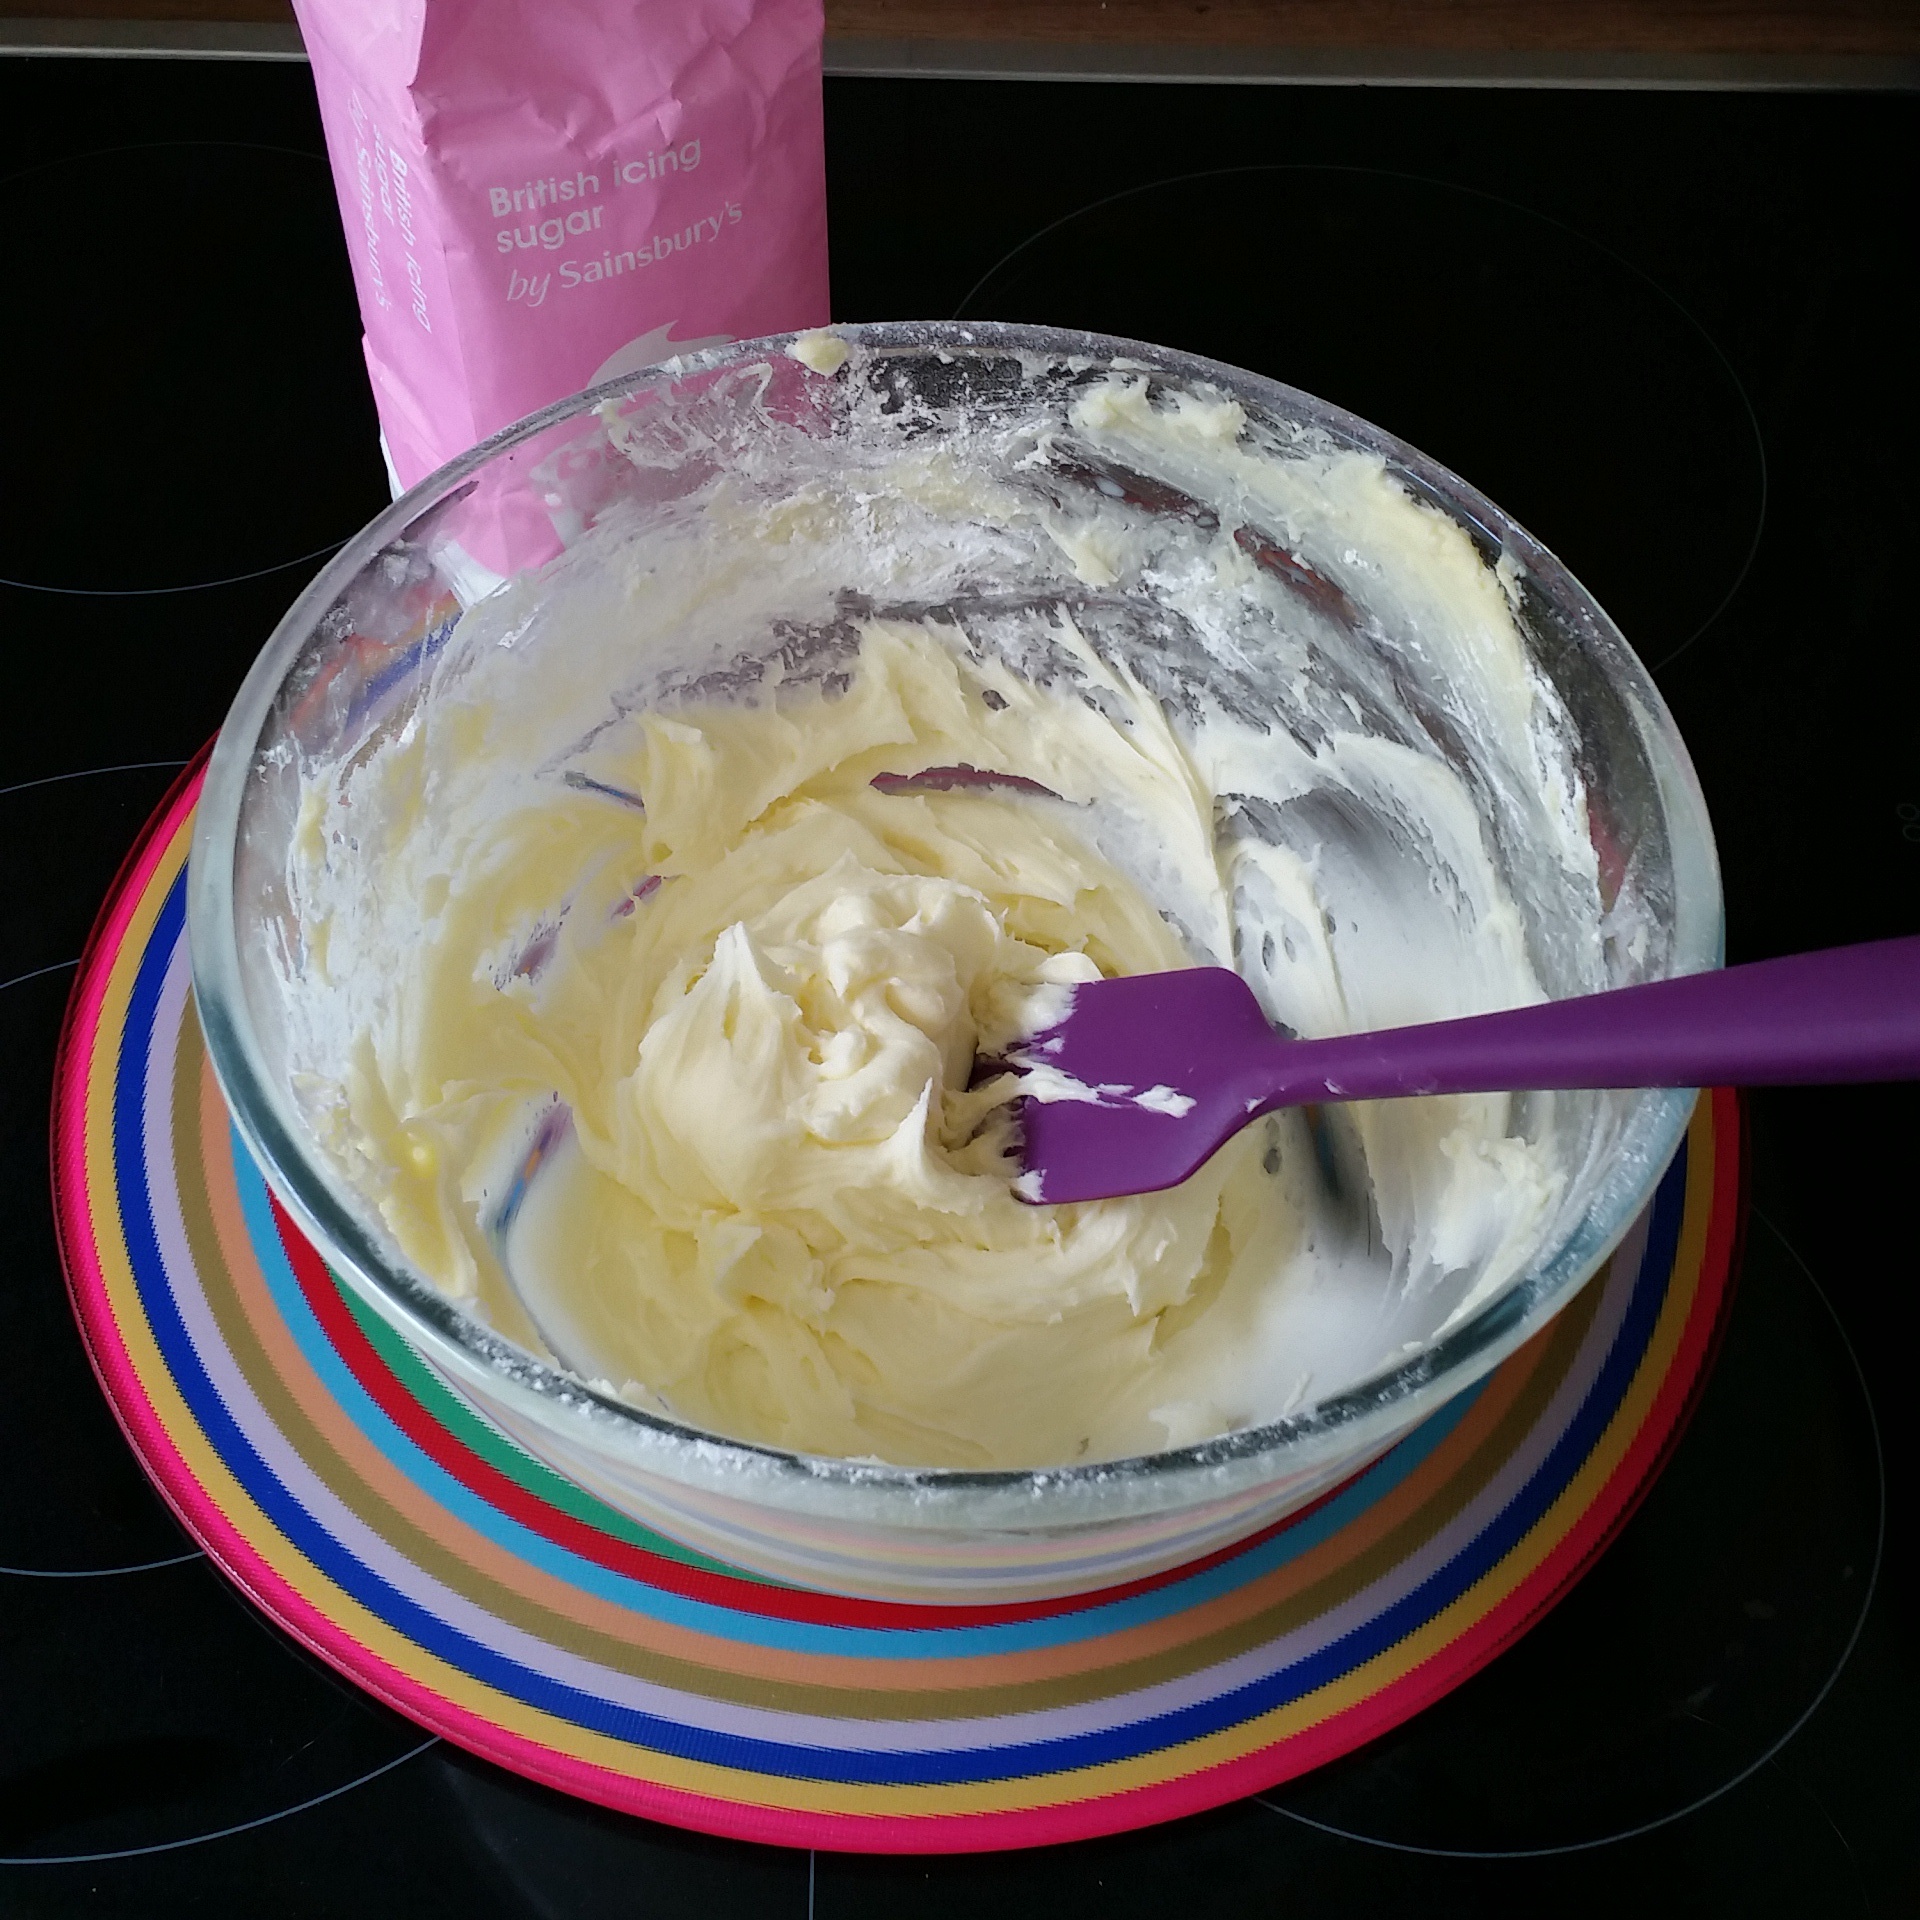
6) When you’re ready to decorate, make some buttercream icing which will act as a glue for the fondant icing to stick to and also for the cookies to stick on top – cube the butter into a large bowl and beat it until soft. Mix in half your icing sugar, beating again until well mixed before adding the remainder and a little bit of milk. You want the buttercream to be soft enough to spread with a spatula or other tool but not too runny. Slice the domed top off your cake and spread a thin layer of buttercream over the top and around the sides (tip: once your cake is iced, pop it in the fridge for 15 minutes)

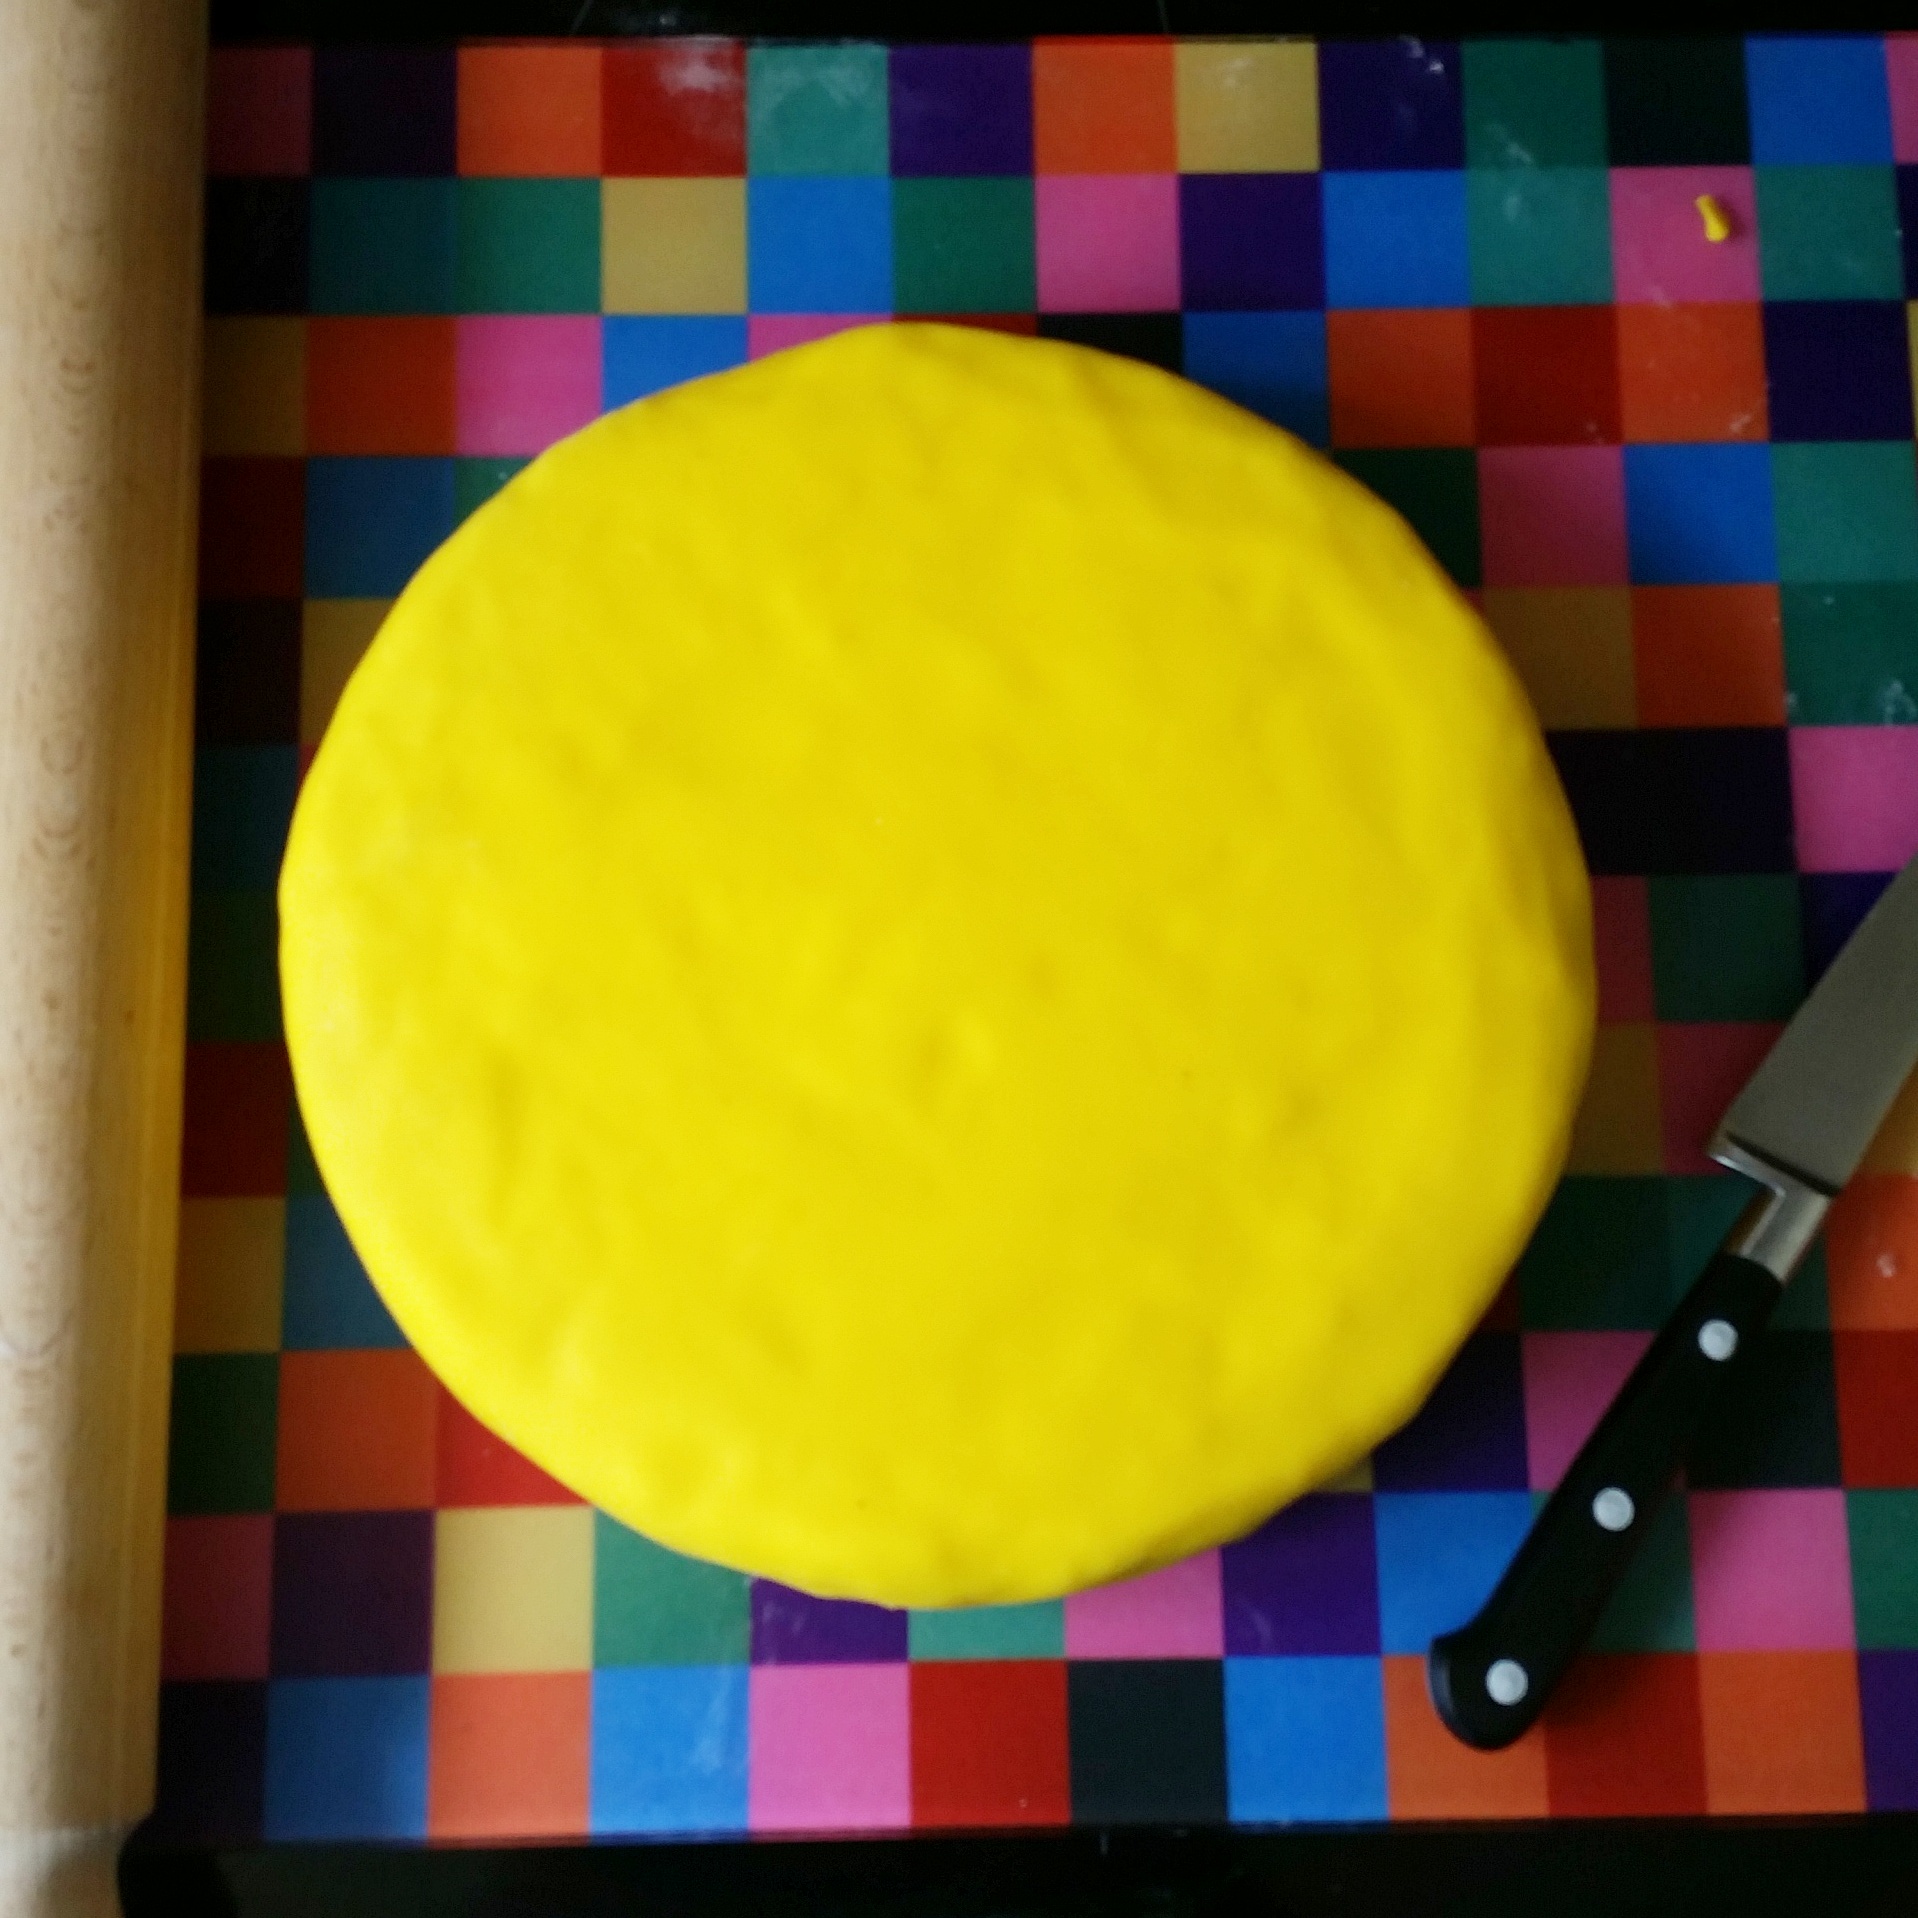
7) Preparing the fondant icing – this is the bit I found the trickiest and it took me 4 attempts. Knead the icing to soften, then scatter some icing sugar onto a work surface or board. Gradually roll out the fondant icing to a size approximately twice that of your cake. Apparently using a non-wooden rolling pin is better but I didn’t have one so made do with my wooden one. Remember to move your fondant around as you roll it, but don’t turn it over. Once it’s the required size, using your rolling pin carefully drape it over the cake and smooth down, cutting off any excess at the bottom with a sharp knife.
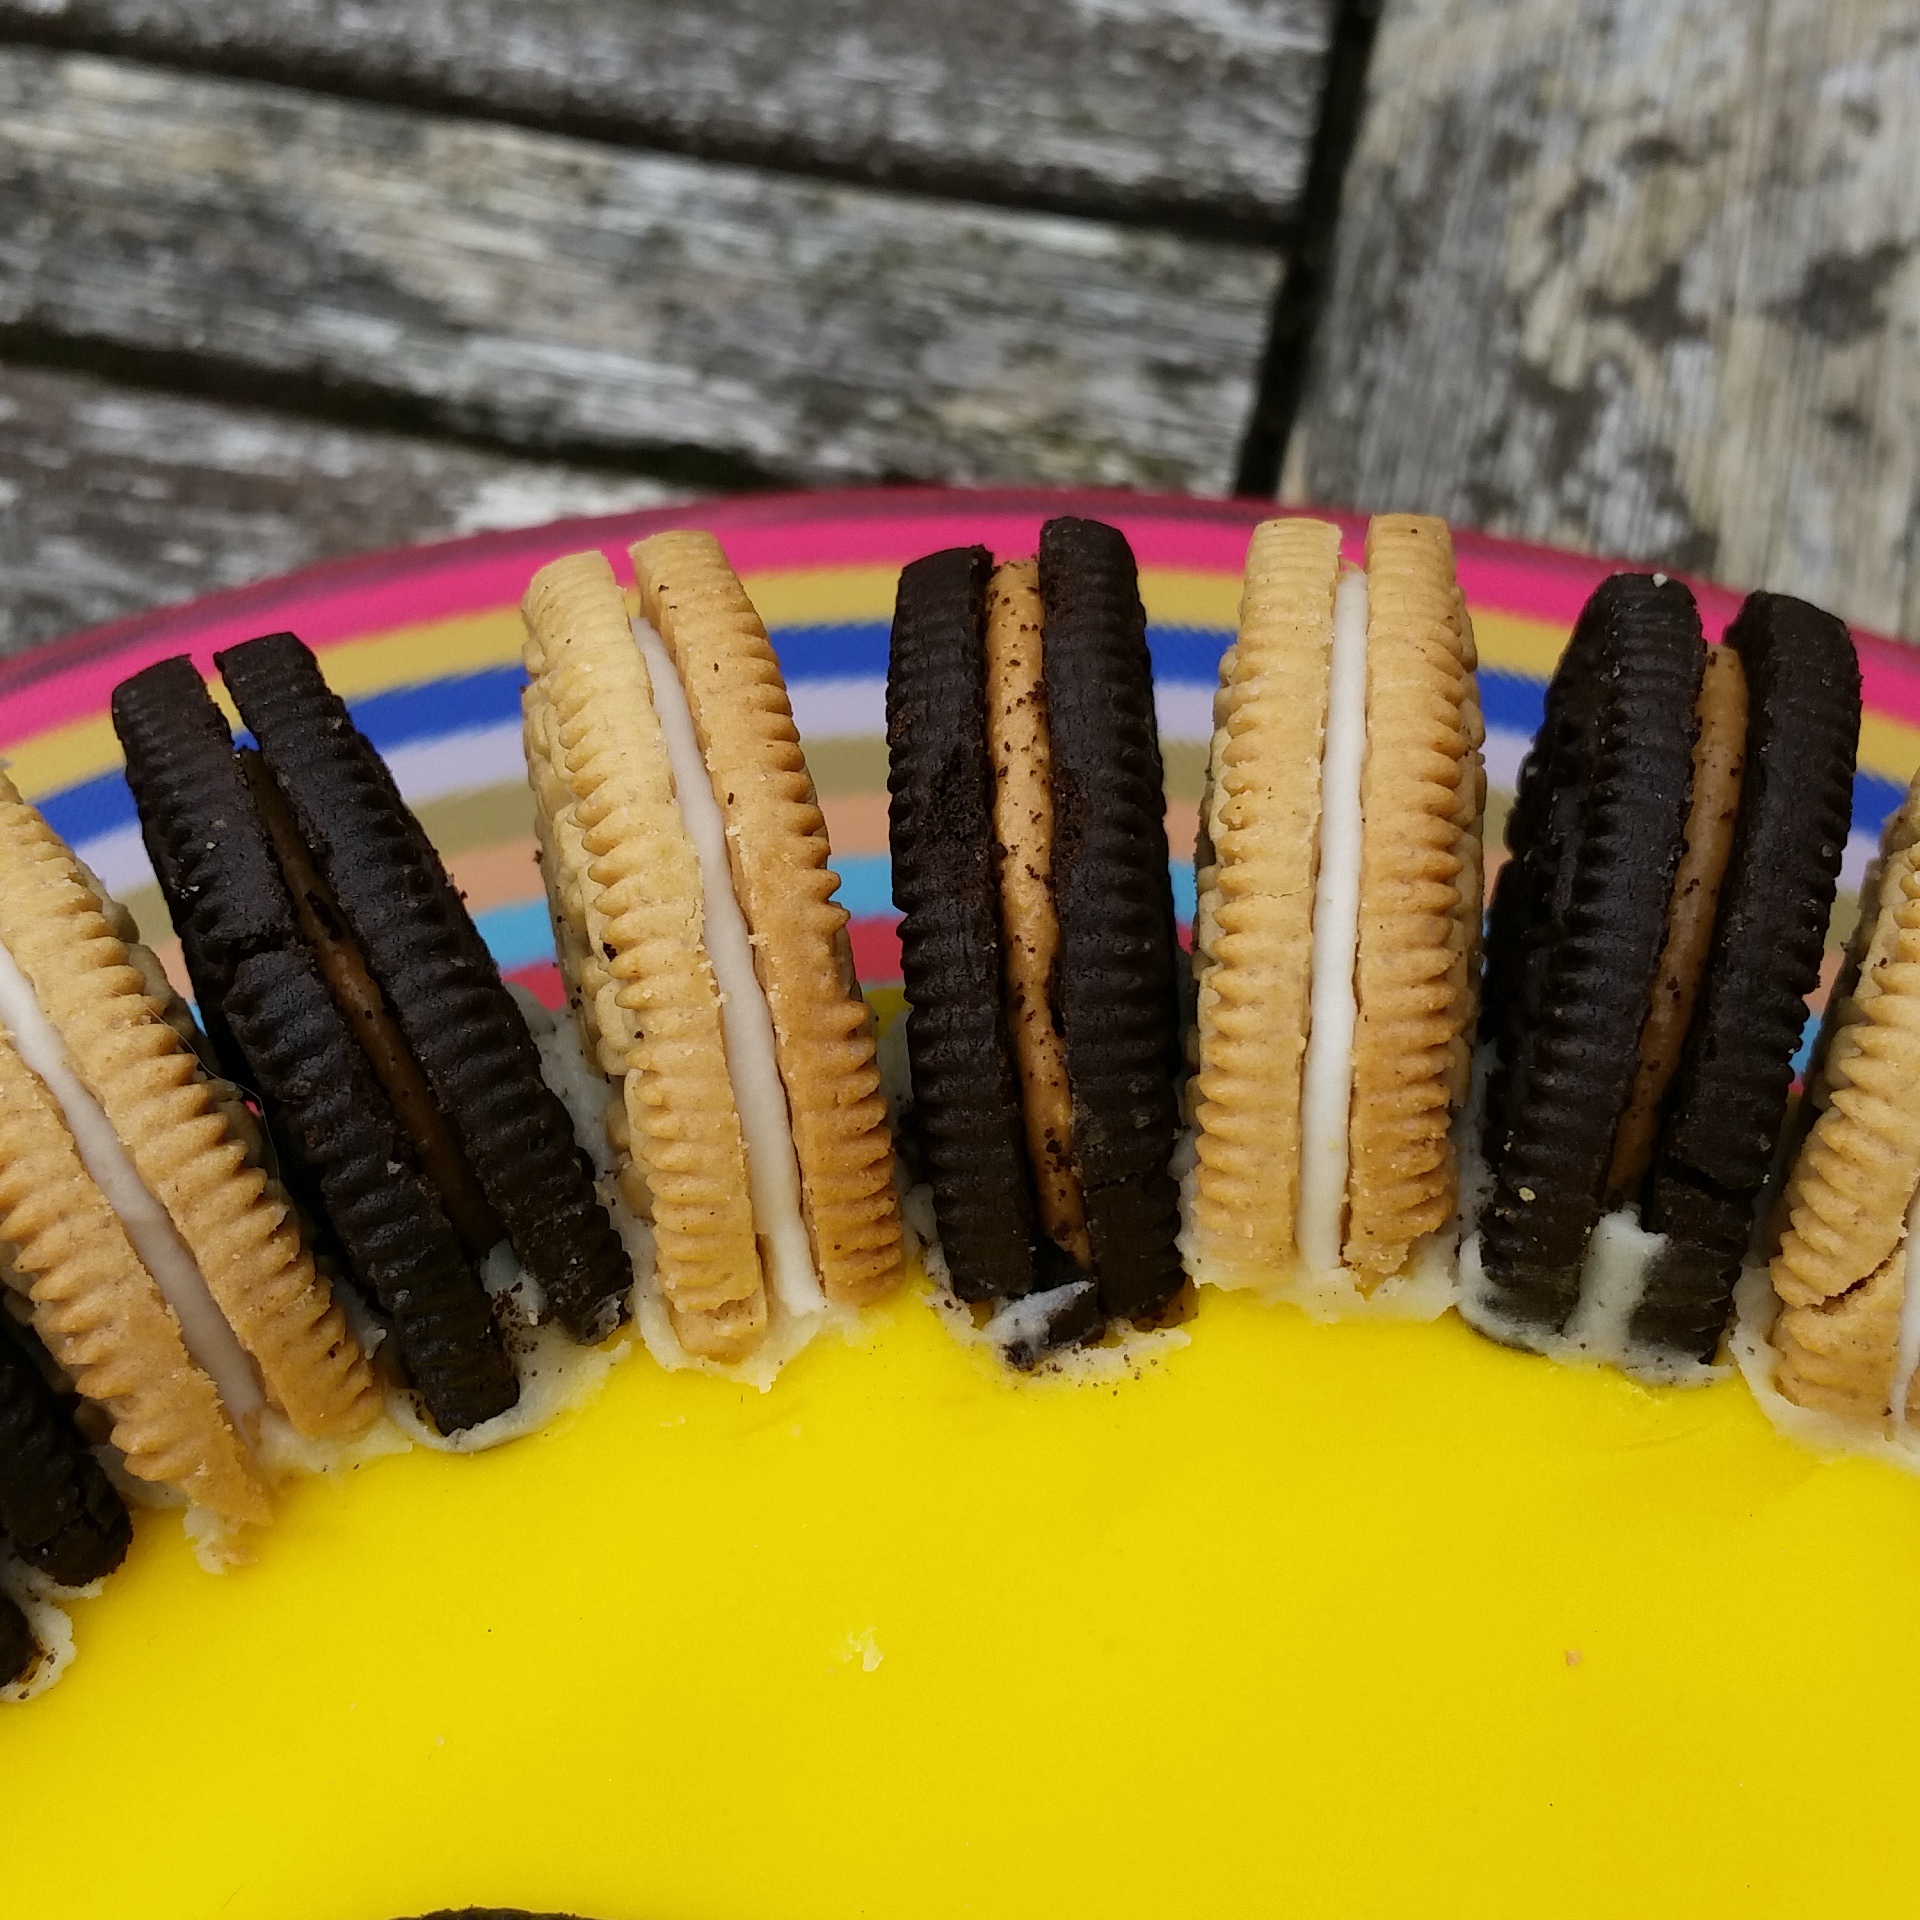
8) Now for the decorating! Carefully slice the Oreo cookies in half using a small, sharp knife. I found it best to cut them in a half on a tea towel and they seemed less likely to break than on a chopping board. Take one of the halves and paste a tiny bit of buttercream icing half way along the flat edge of the cookie, where you can see the cookie filling. Place the cookie onto the cake at the 12 o clock position, pressing down so the buttercream glues to your cake. You should end up with half the cookie on the cake, half off.
9) Take the opposite colour cookie from the one you just used and repeat the step above, placing it next to the one which is already in place. Alternate the cookies all the way around until the entire cake has an outer “mane” effect.


10) Once the mane is finished, take one of the Peanut Butter cookies and slice it through the middle, ie where the filling is. Slice off the filling and place each part of the cookie brand side up. Use a small amount of white fondant to make a flat circle a bit smaller than the cookie and press it down on top. Take a malteser and slice it in half, placing each half on top of each fondant circle. Pop your eyes onto the cake.
11) Finally, use a small bit of the Golden cookie and shape a piece out of it to use as a nose. Use two small balls of yellow fondant to place under the nose, and create little dips with a fork prong. Use a small piece of red fondant to shape into a tongue and you’re finished!! Your very own Friendly Lion Madeira Oreo Cake!

Thank you so much to Oreo and Foodies100 for challenging me to think creatively – what would you make with the new Oreo flavours?
This is a collaborative post.
Click here to visit our webshop, DaisychainBaby


That is AMAZING! I took part in this challenge and have seen a lot of others but yours is by far my favourite – definitely wonderfilled! x
Aw Donna!! *blushes* that’s such a lovely thing to say, thank you so much X
Yey you found the energy to write it up! Looks great!
Thanks Louise! Definitely glad I don’t have to do things like this very regularly, it would me go greyer! X
This is brilliant! I never would of thought of something like this, it would make a great kids birthday cake x
AW thanks Sharon! Yes my husband said the same thing, maybe I could make kids birthday cakes but the stress would kill me! X
My youngest Bea loves lions- this would make a great birthday cake idea for her next year! Xx
Thanks Kat, my middle godson loves them too apparently he was very impressed when he saw a picture of it! Xx
this is AMAZING! I’m so impressed with this xx
Thanks so much Sarah!! I have to say I impressed even myself, it’s rare! Xx