One of my absolute favourite blogs and go-to places for DIY inspiration is Little House on the Corner, by couple Christine and Jan who are renovating and restoring their Edwardian home up in Manchester.
I can’t even remember how I stumbled across their inspirational site but I absolutely love their dedication to the cause of period home renovation and kindness and generosity with tips on how to complete tasks, some of which aren’t always terribly glamorous but need to get done. They also very much appeal to my total anal retentiveness when it comes to working on the house which often makes Pete casts his eyes upwards in total despair, probably wondering why he can’t have a wife who will just settle for “best effort”.
When I feel like another project is beyond me, Little House on the Corner keeps me going and with this in mind I finally got around to painting the inside of our fireplace last weekend. Here’s a reminder of what our old, illegal gas fireplace looked like – lovely, no?
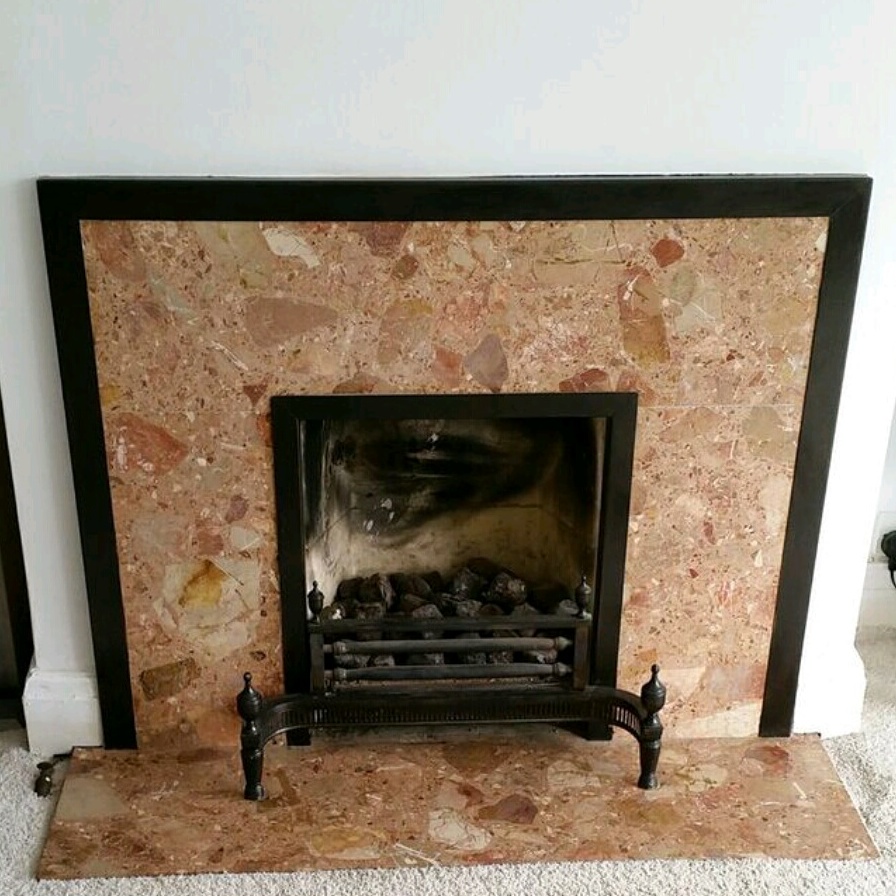
You can read about our experiences and tips to having a log burner fitted here and here – if you’ve read them before you’ll know it wasn’t the most seamless of our renovation projects so far.
Since June when the installation was completed, we’ve been left with an almost-finished project, almost but not quite and we weren’t really sure how to move forward.
Before I go on I have to state here and now that Pete is not a painter. I don’t know why since I’m sure he would be very good at it but so far all the painting projects around the house have been completed by me, learning my trade as I go. He does lots of other things very well and is very thorough but painting is definitely left up to me.
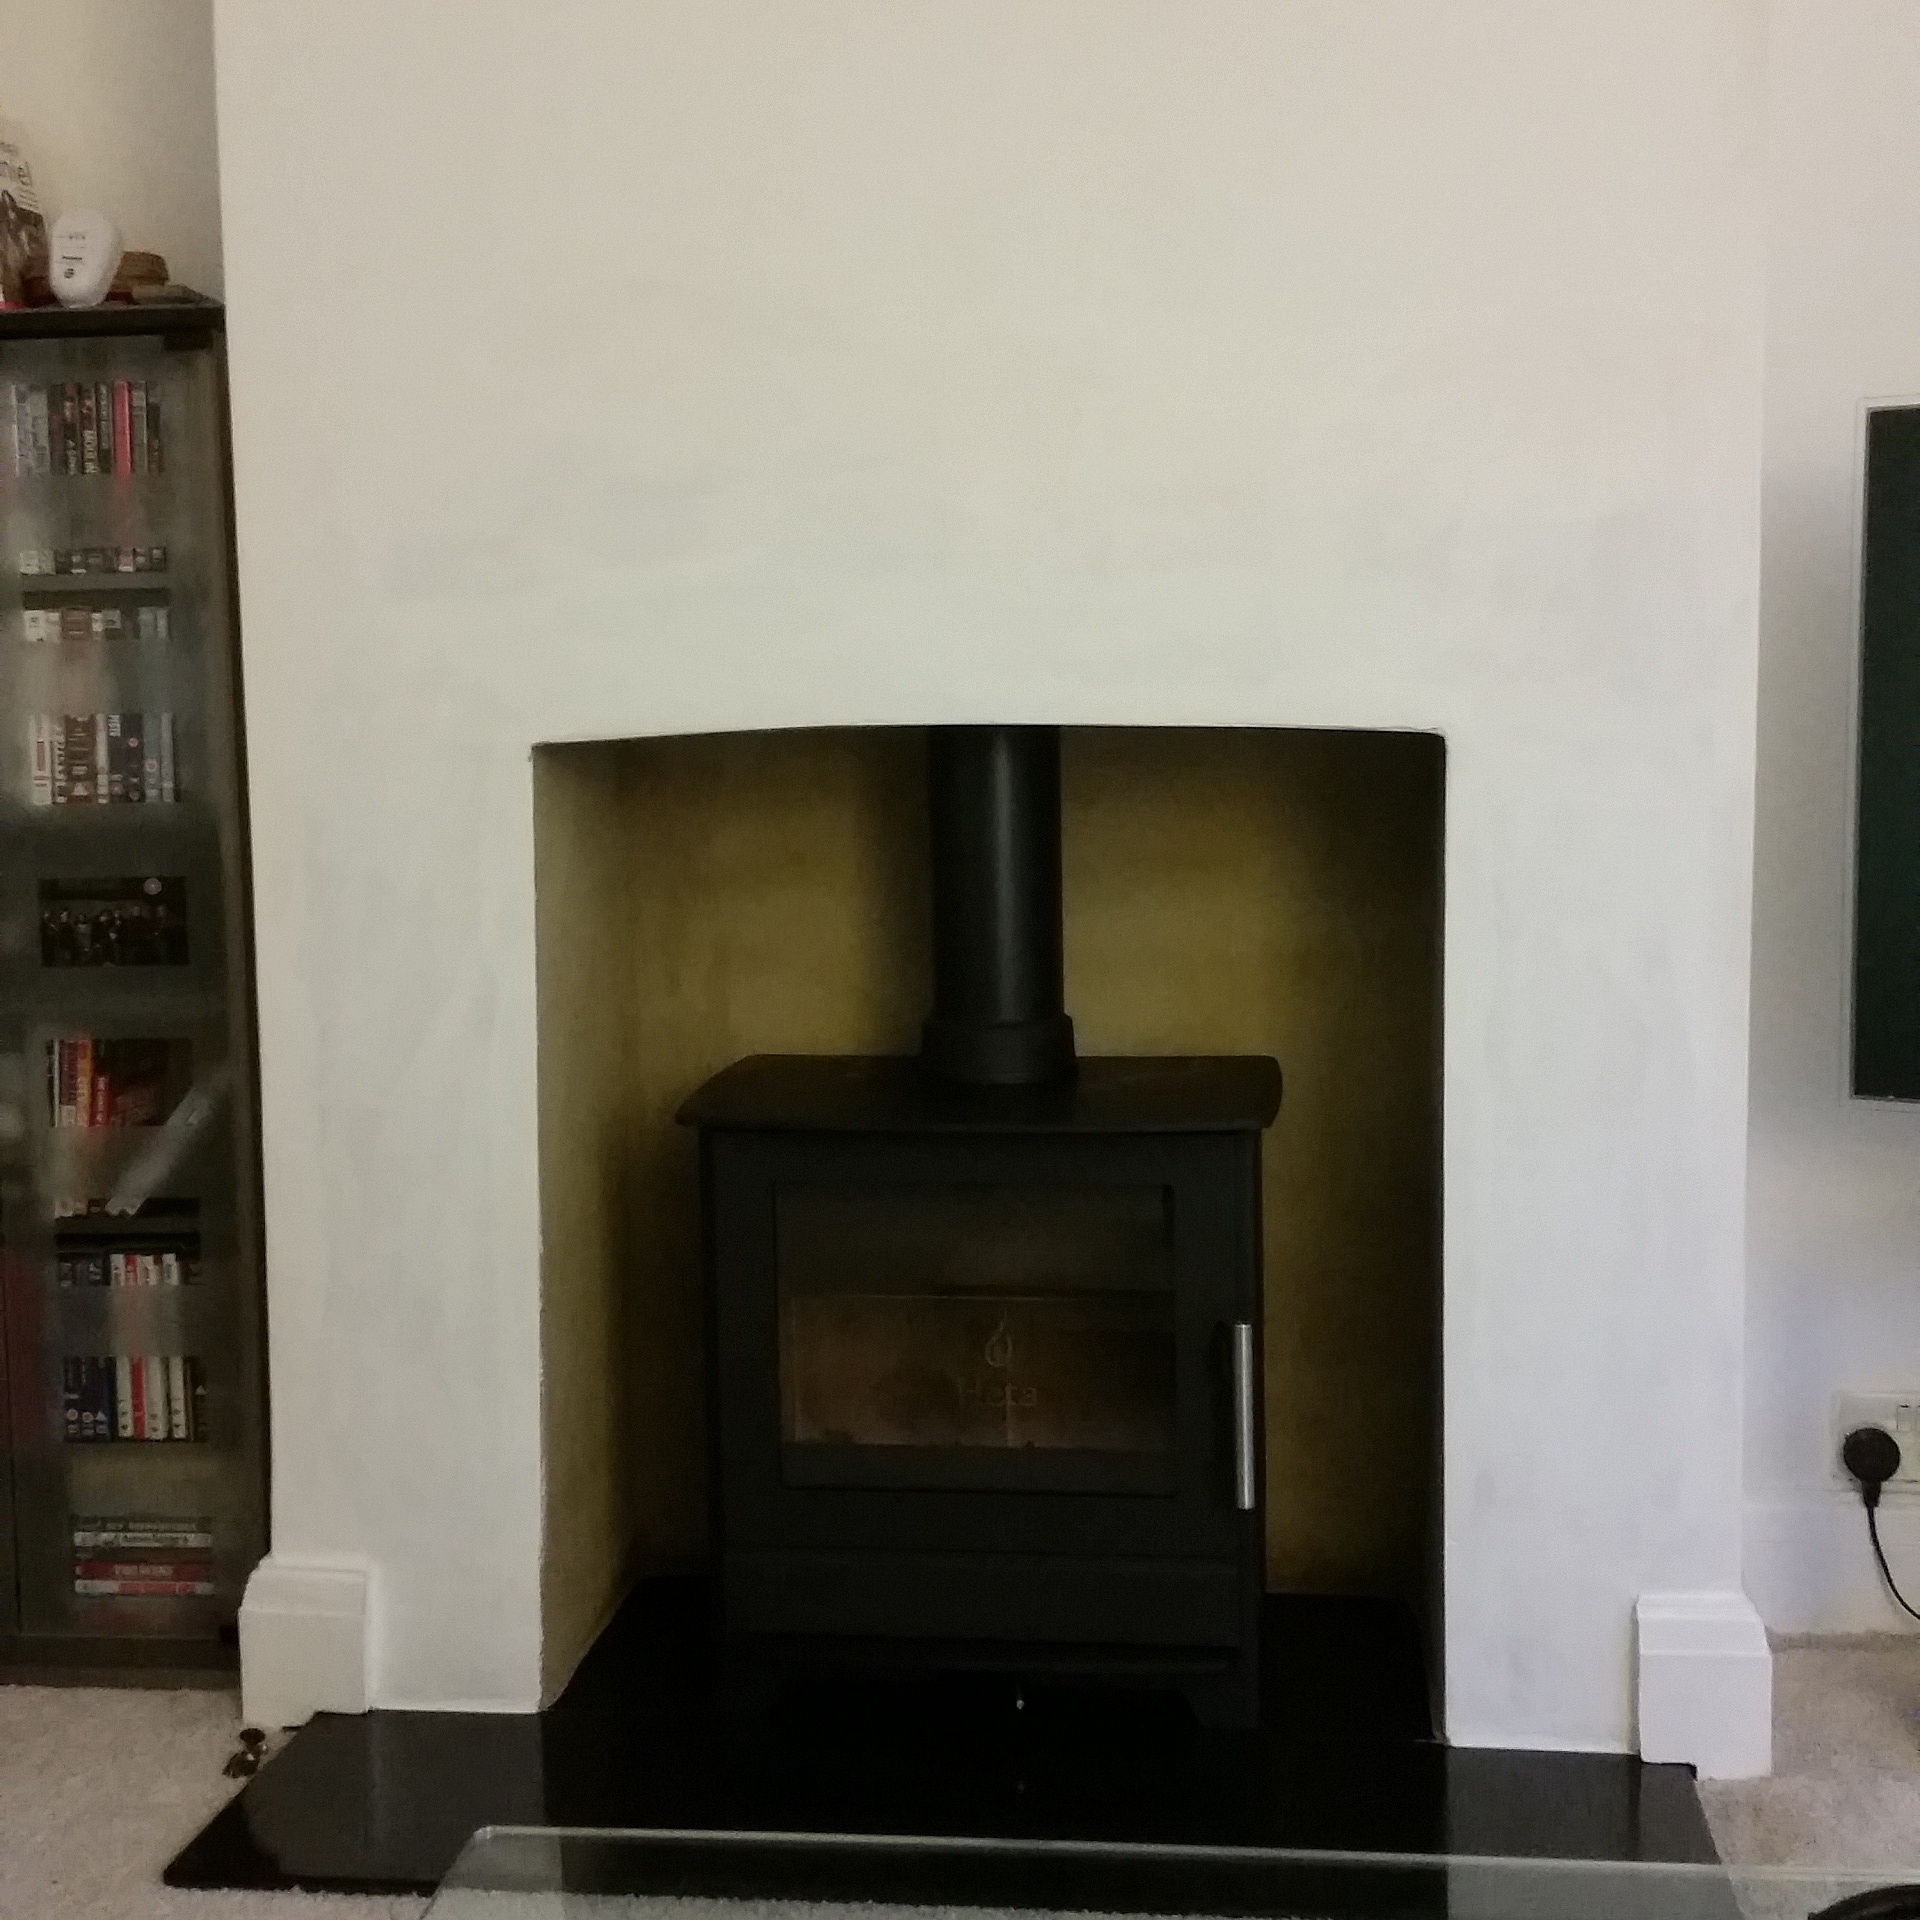
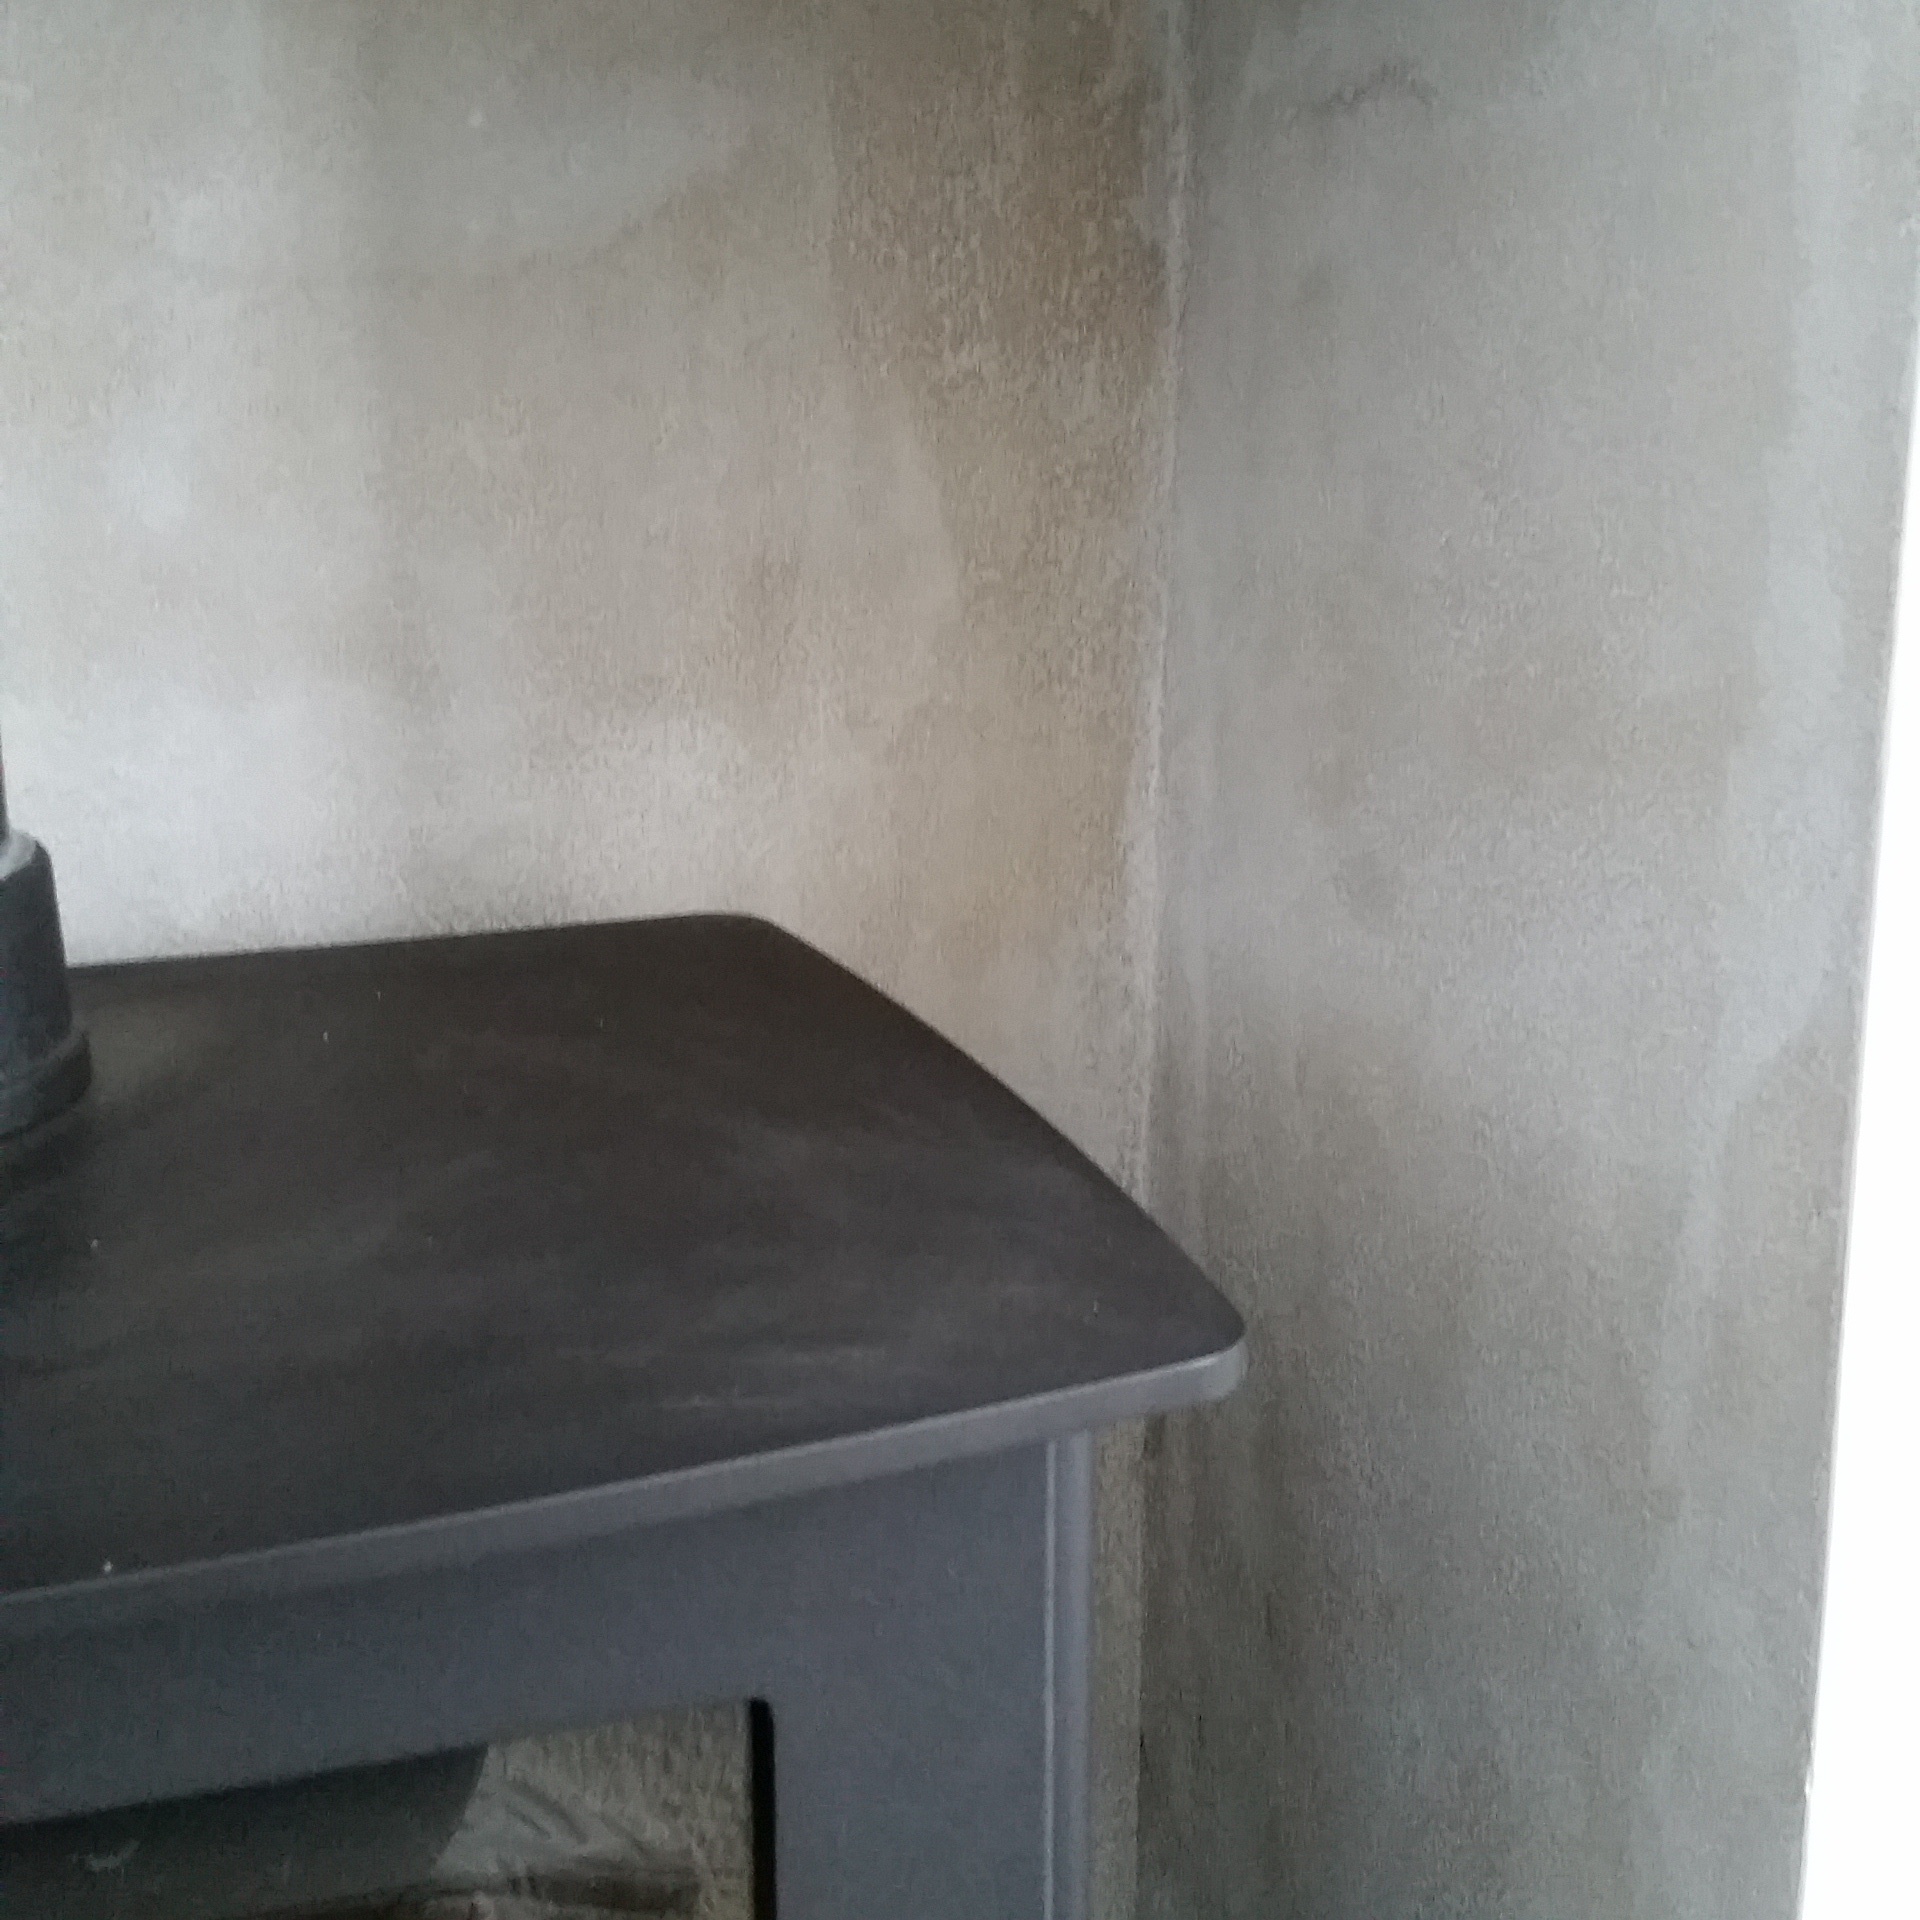
We came across various posts online and on speaking to people about why generally the inside of fireplaces after log burner installations are either left as render or fitted out with plaster board – apparently plastering is not a solution since the heat from the log burner causes it to bubble. Who knows whether that’s really the case but anyway, we had a pretty messy rendered finish to contend with and it really didn’t do the log burner any favours in terms of appearance.
We’d been to specialist paint shops and researched online about what paint would be suitable to use, again bearing in mind how hot the surface will get. One such “specialist” told us that there is heatproof paint on the market but it only comes in black or grey and whilst I didn’t argue the case I thought to myself “don’t tell me people pay out a lot of money for these things only to paint their fireplaces black – no way!”
So I finally decided just go to it alone and do what I think is best – after all, if you don’t believe everything you read in the news, why should you believe everything you read on the internet? Here’s my simple steps to painting the inside of a fireplace, or any internal render:
- Prepare your surface – had the render been more professionally finished, I would have smoothed out any lumps and bumps with some sandpaper, before brushing or using the brush attachment on a hoover to suck up all the dust and small particles. As it was, my main concern was that if I started sanding it would all just come away so I brushed up any residue to make the area as clean as I could.
- Mix your seal – render is a very porous surface so you shouldn’t paint straight onto it. The best thing to do is water down the paint you plan to use, and again you’ll see different guidelines. I used a ratio of 60% paint to 40% water, mixing in a paint kettle. It’s really essential that you do use the right paint, a water-based matt emulsion such as this one is ideal.
- Don’t be disheartened if your paintwork looks patchy at this stage, remember you’re just sealing the render so you can then paint on to it properly. Two coats should be just fine, and be careful because it’s very runny! The coats won’t take long to dry and then you’ll be ready for the main paint.
- Add a first coat of your chosen paint. You should already notice how much easier it is to apply and how much brighter the space is looking.
- Leave to dry and preferably the next day add a second coat. You will almost certainly need 2 coats and depending on how it looks after a second coat, possibly even a third one.
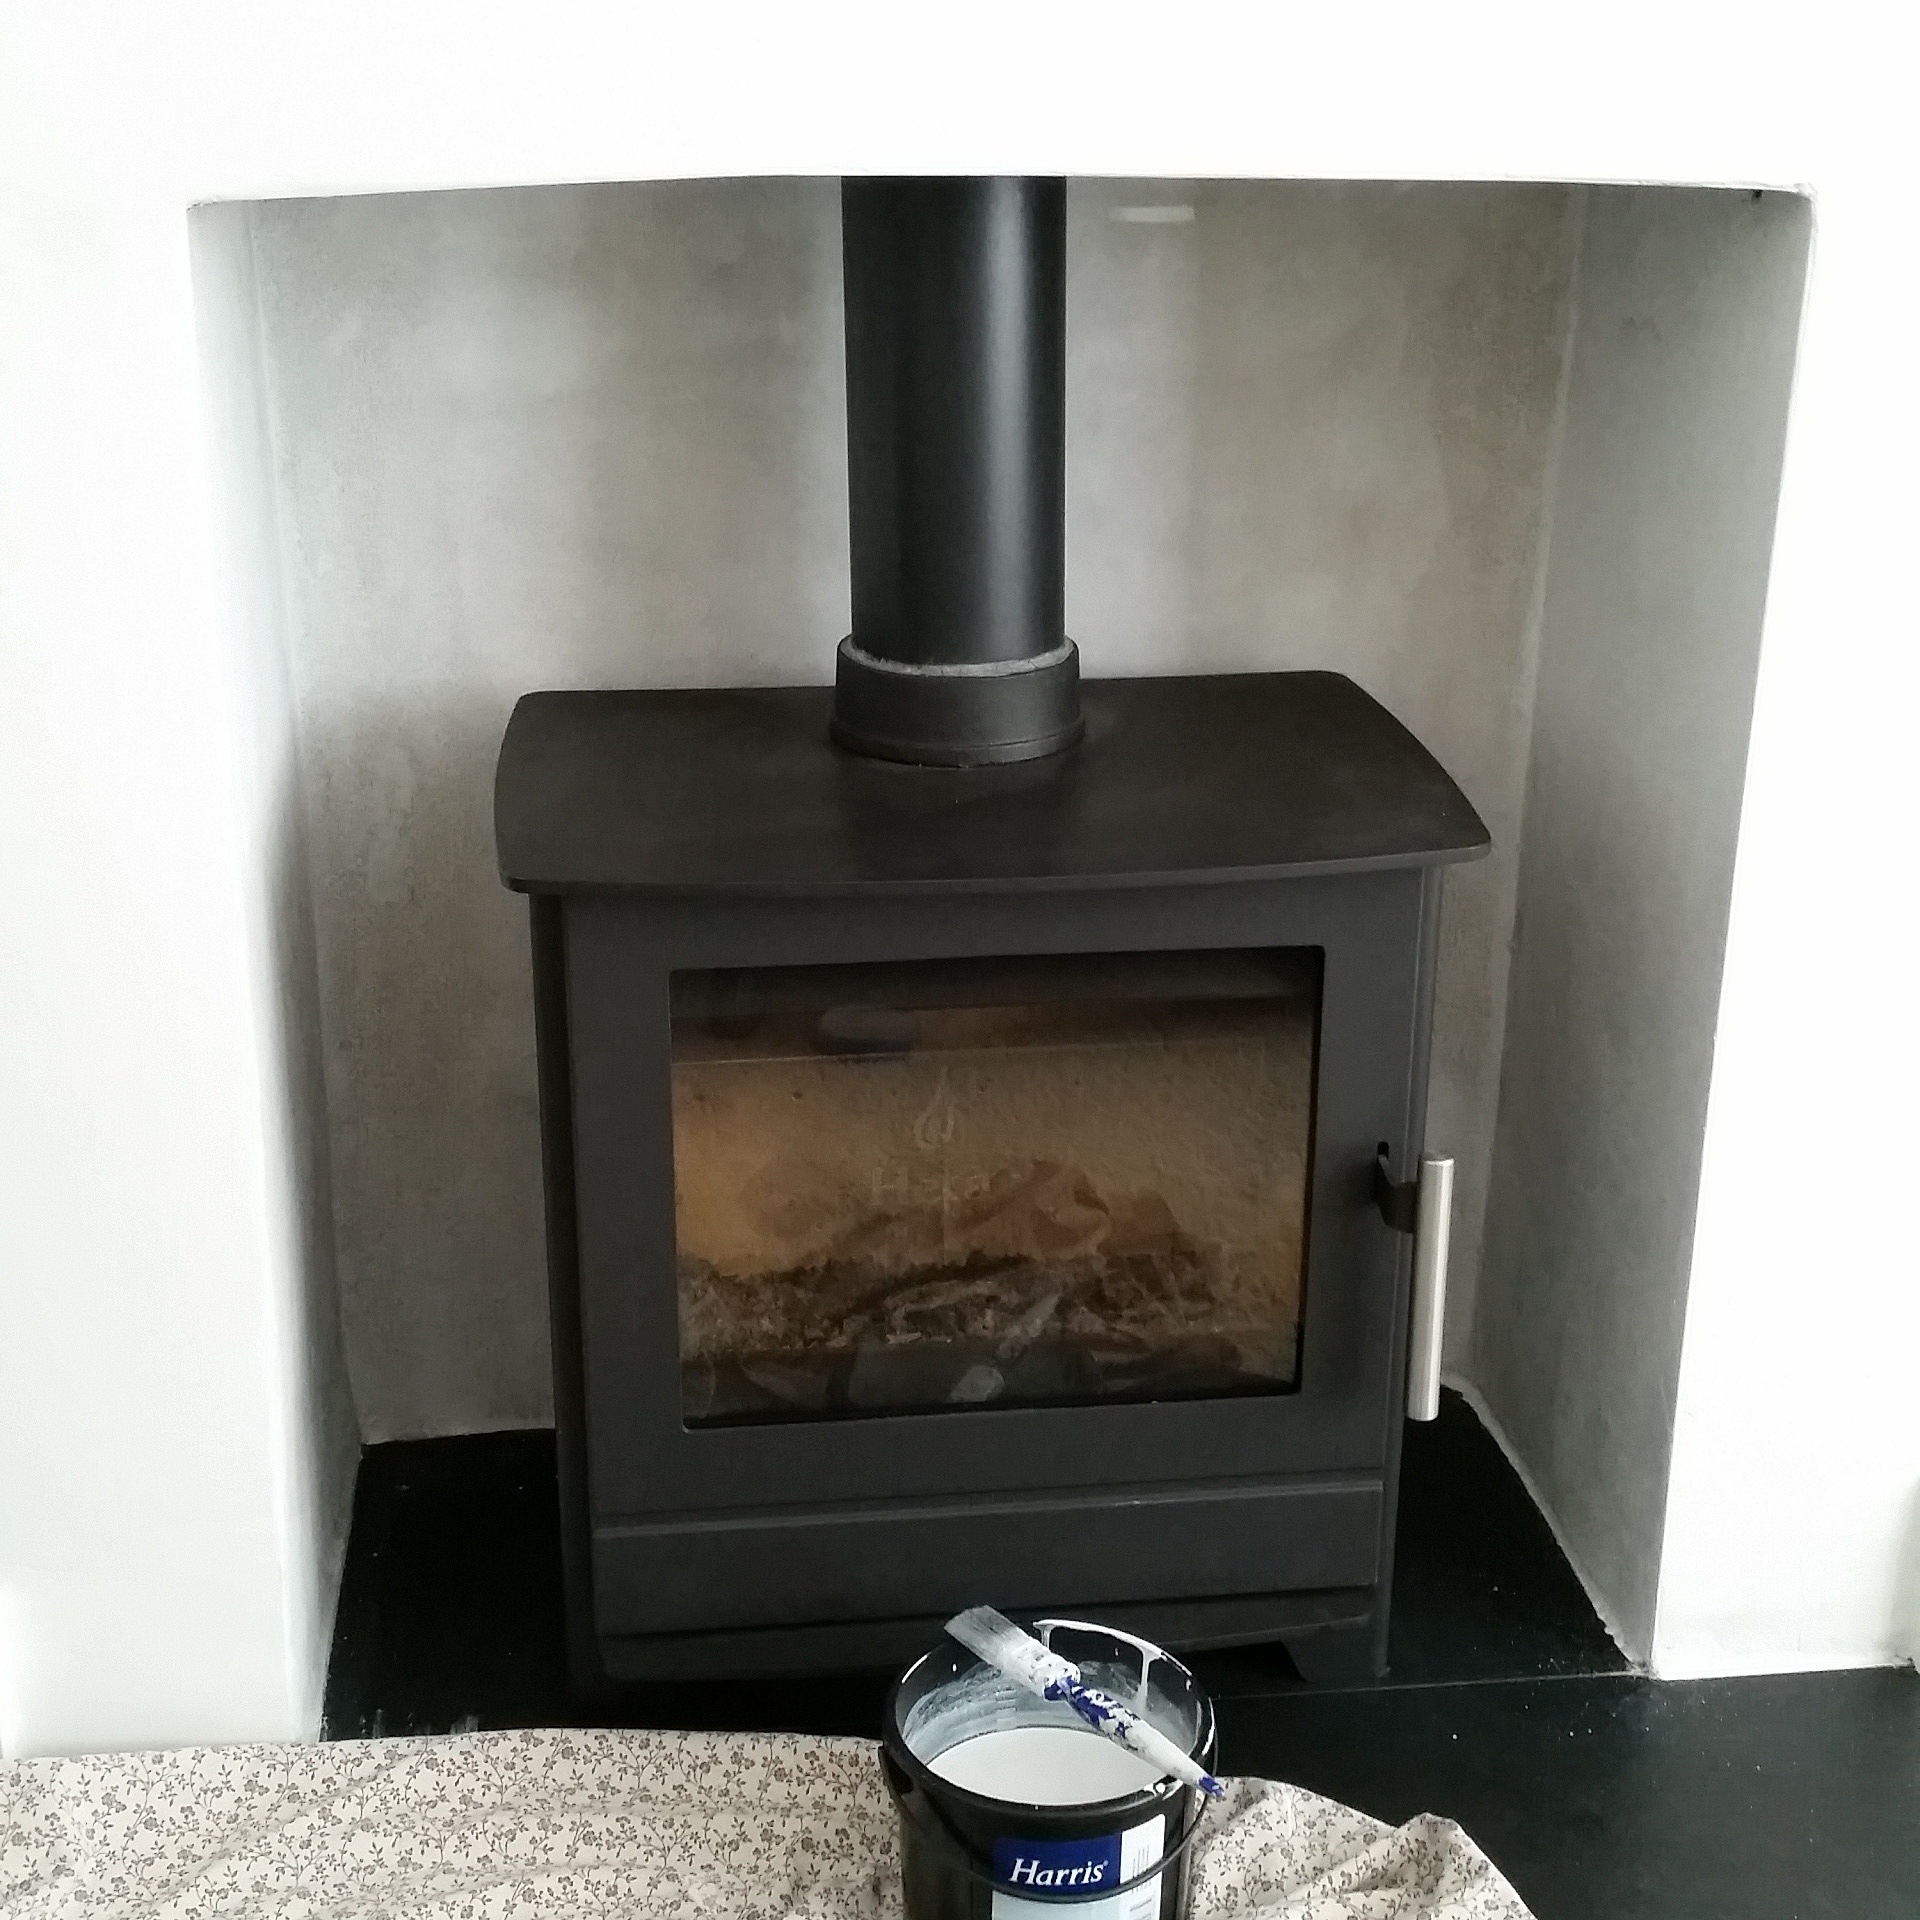

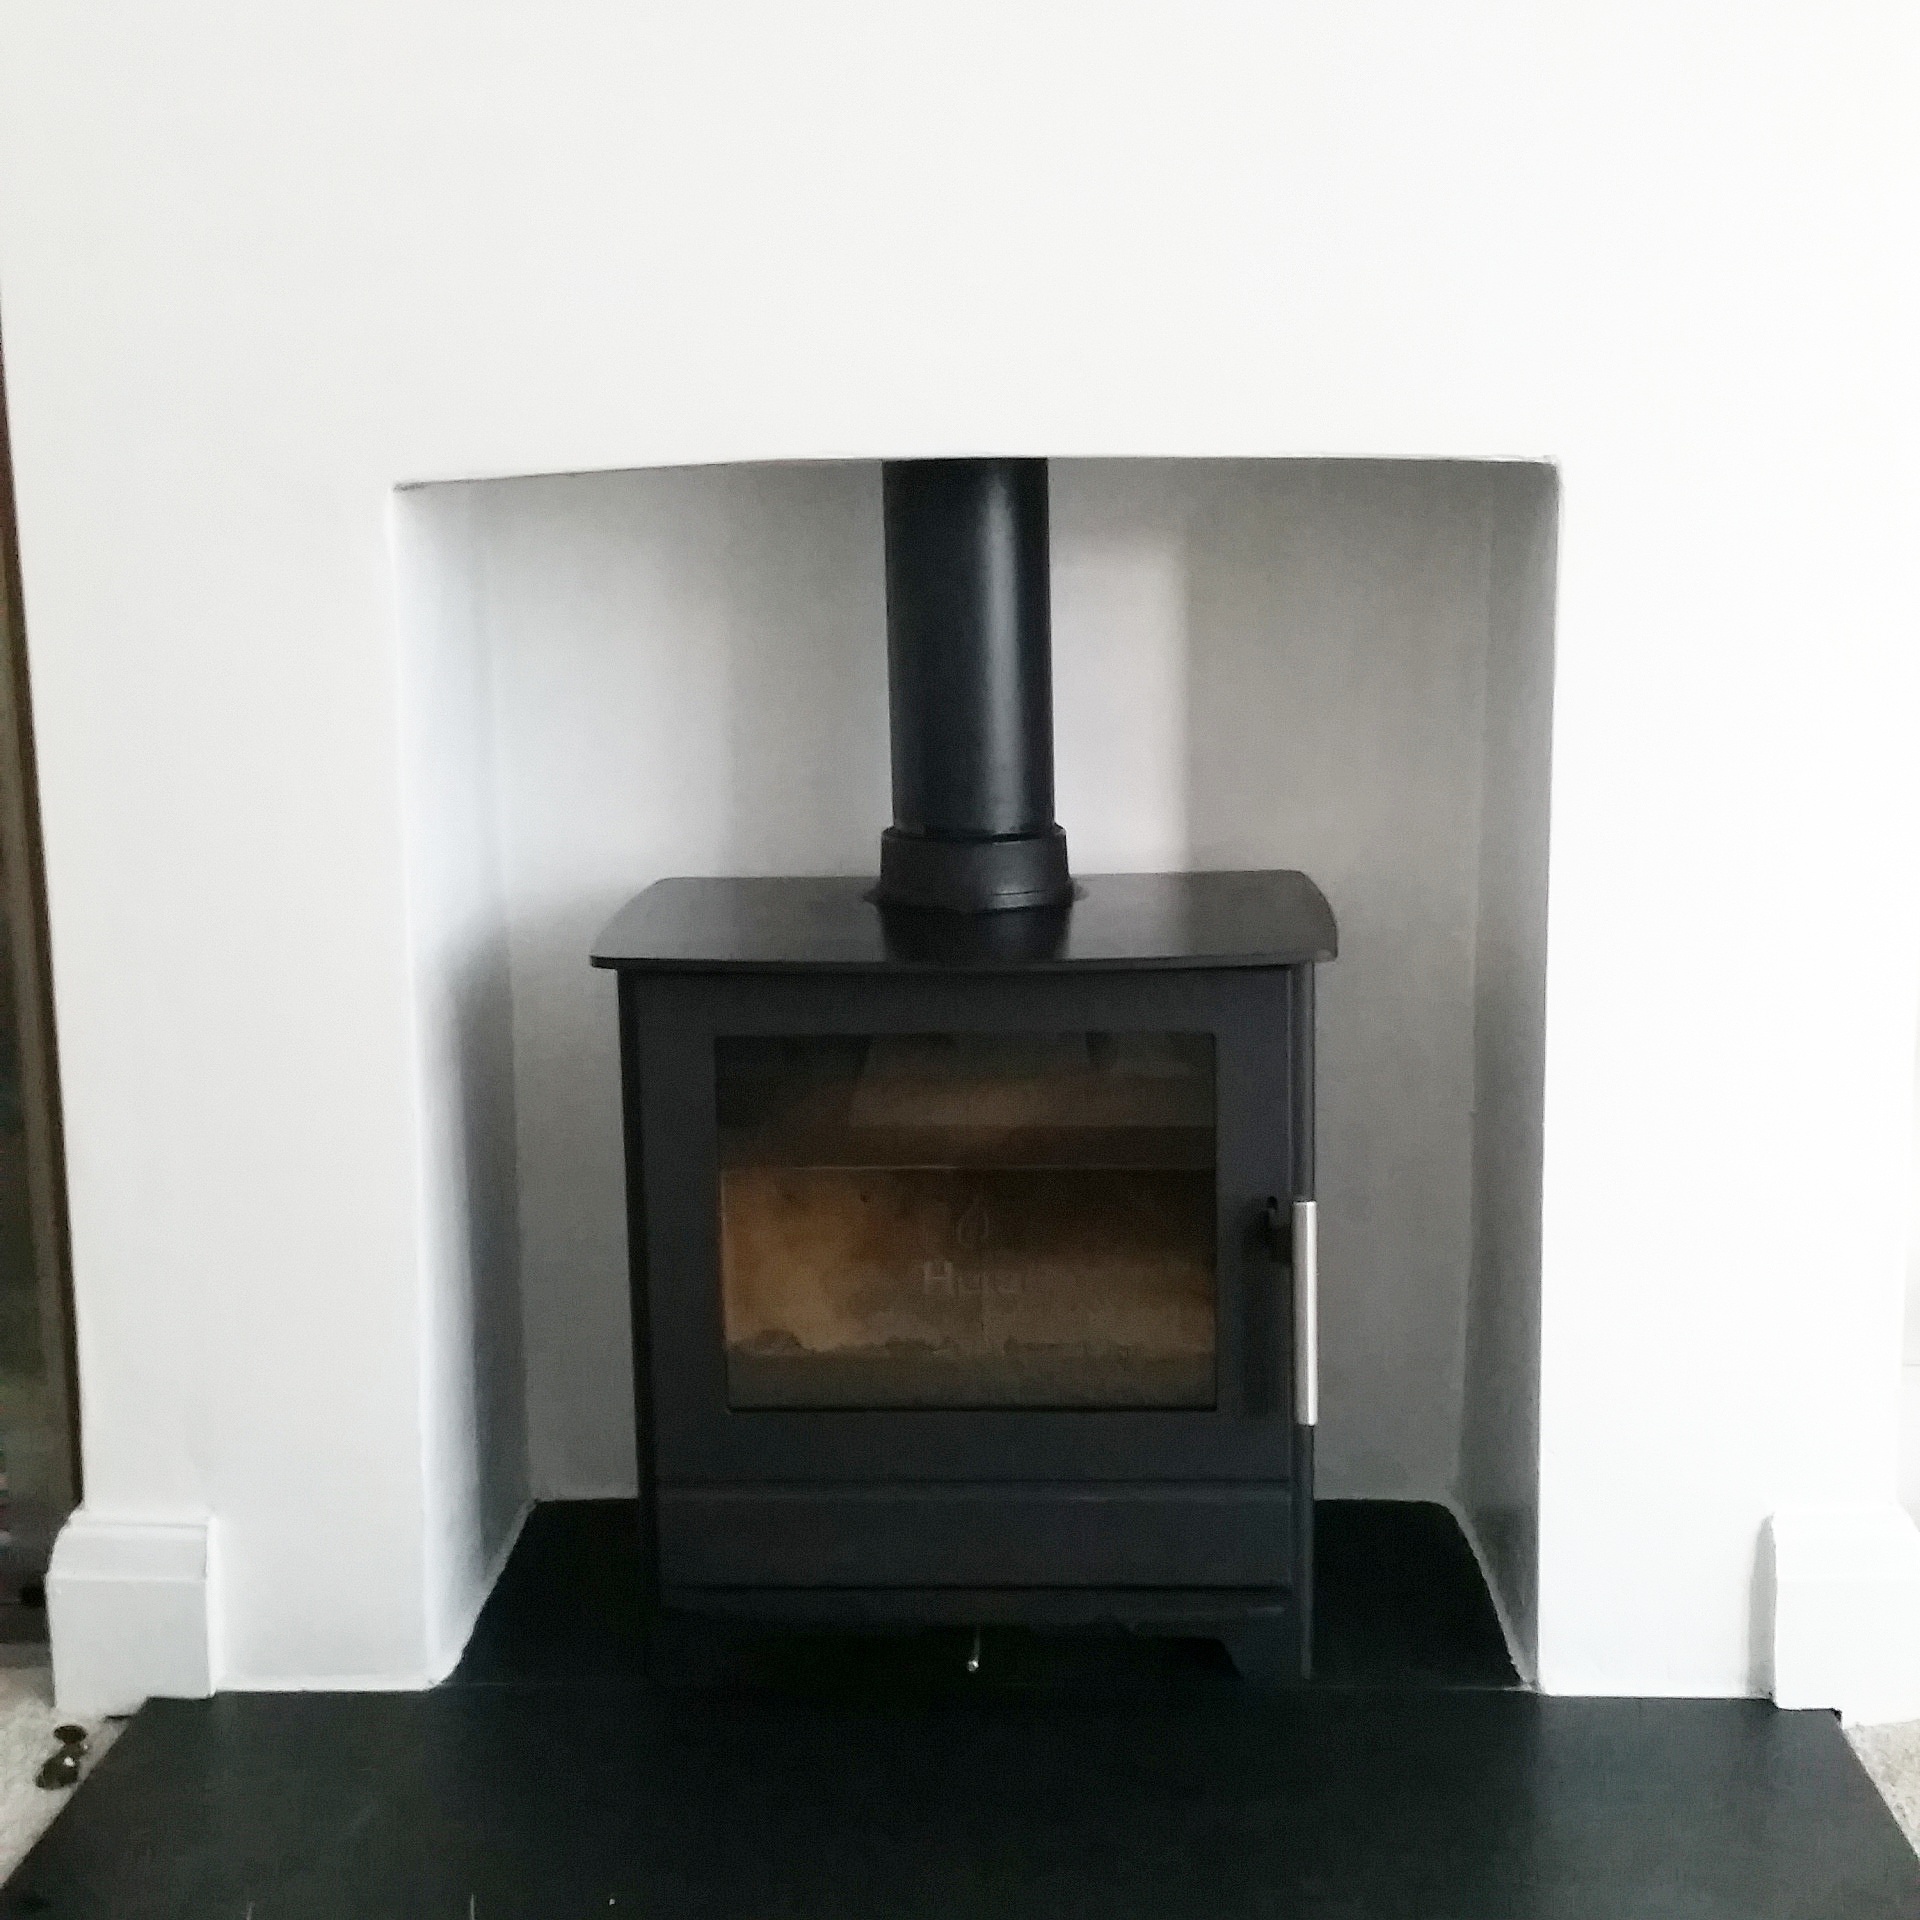
I’m totally amazed what a different painting the fireplace has made, it looks so clean and modern now. Of course, some people prefer traditional charm, and restoring period features like Victorian Fireplace Surrounds can offer a beautiful alternative. Only time will tell how well the paint reacts to high temperatures but if I need to retouch it every 6 months or so that’s the price I’m willing to pay for a more attractive feature piece.
Oh, and my cleaning hack? I DID get spatters of paint all over the slate hearth and the log burner but my ceramic hob spray cleaner and ceramic hob cloth cleaned it up an absolute treat, both available from Lakeland. Also Johnson’s baby oil is wicked at giving a nice sheen to the hearth and stove, as is WD40.
Thank you Little House on the Corner for inspiring me to keep carrying on…now if only I could finish that staircase restoration project!
Click here to visit our webshop, DaisychainBaby


Wow, so much flattery in one post. Thank you so much – totally honoured!
The transformation of your fireplace is amazing. Of course the wood burner looks amazing, but the white paint just finishes it off and makes the gorgeous stove stand out more. It’ll be interesting to see how it holds up, but I agree that a bit of touching up would definitely be worth it!
Thank you so much Lins!
Cx
I’ll have to do a little update at the end of winter once we know how it’s been! And no need for thanks, it’s all mine – I’d never have tried half the things I have without you guys! X
It looks great! When we had a quote for a wood-burner they said they lined the inside of the fireplace with some kind of metal spray painted to look like a plastered finish. You’re going to be so cosy this winter!
Ooh I really hope so Lizzie, with any luck I’ll be camping here for the next few months Xx
Oh wow! That looks amazing, what a massive difference it makes. Indeed we don’t believe everything we read in the news ha! That made me giggle. Oh your wood burner is going to be wonderful in the winter xx
Thanks so much Lisa, I think I never cease to be amazed by how much of a difference all the “little” jobs make 🙂 Hopefully cosy days lie ahead Xx
It looks great, and it seems bonkers that the heat resistant paint only comes in dark colours, so you can’t see the lovely fire..Doh! Hopefully you won’t need it just yet, but I agree repainting if you need to is a small price to pay #homeetc
Hurrah for just going for it! It looks bloomin’ fab, and as yourself and the others say a few touch ups here and there in the future will be so worth it. I love Little House on the Corner too, so many excellent posts that inspire confidence for giving things a go! x
Aren’t they great?? I really love that empowered feeling I get from tackling little projects, rather than thinking something is beyond me X
What a fab job, it really looks gorgeous now! Hope the paint holds up to the heat x
Me too, time will tell – just need my hot chocolate now 😉 Xx
WOW! Saw your photos on social media and couldn’t wait to see this! Yay and so much better and brighter! I did ours (in our old property) and I was delighted too. It transformed it. Great job and thanks for sharing 🙂 Much appreciated. Jess x #HomeEtc
Now all we need are some logs and we’ll be well away, hopefully a warmer winter. Thanks so much for hosting as always Xx
It looks amazing, congratulations you must be very proud of yourself for doing such a great job! Love it. Becky x #HomeEtc
Ahh thanks so much Becky, it’s amazing what we’re all capable of when we put our minds to something X
What a massive difference. It looks amazing. I really can’t believe what a change it makes. You must be so happy with it. Cosy nights in front of the fire now?! x
Me too, all of these little things we do around the house definitely encourage me to keep going. Now all I need are my marshmallows 😉 X
Hiya, How has the paint lasted inside the burner? x
Author
Hi Kasha, it’s been absolutely brilliant! I haven’t needed to repaint at all and now we’re a good month or so into using the logburner again this winter – so far so good!! Just let me know if you have any further questions X
How about now?! Is it still holding up. Ours is a lime based render too and needs painting desperately! Thanks. Sophie
Author
Hi Sophie, yes!! It still looks great after two winters where we’ve burned the stove pretty much every day. Go for it! X
Hello, So you just painted with normal / standard paint and it was OK. Is that correct?
Author
Hi Paul, thanks so much for getting in touch. The advice I saw (eventually) said to try a base coat of watered down emulsion. So I mixed some Dulux brilliant white with a little water to act as a base coat on the walls and prevent it from all soaking up. Then followed up with two straight coats of paint as normal. And it’s worked a charm so far. Hope that helps.
Hey, thanks for super-quick reply!
Did you use matt or silk emulsion
Author
Hi Gloria, thanks so much for stopping by, I used a matt emulsion for this.
Hi and well done I’m just doing ours now. What paint did you use for the final coat. Sorry if it’s been asked before
Author
Hi Neil thanks so much for the comment, just a regular white emulsion so nothing special. I can’t remember exactly but possibly Dulux brilliant white 🙂 Hope that helps and good luck!
Hi. So you definitely don’t need flame retardant paint? We have an old fashioned gas fire and a concrete surround and would like to paint the surround. Thank you
Author
Hi Lu, no definitely not. We’ve since tiled our fireplace but for all the years before that there were never any scorch or burn marks on just regular wall paint. Good luck!
Hi there – I love your post – can I just check whether you have now tiled because the paint cracked or flaked off, or because you just wanted a change ….
Author
Hi Charlotte, no flaking or cracking 🙂 It just didn’t feel quite finished as a painted fireplace but does now its been tiled. I’d definitely recommend painting though
A question and hopefully this post is still open.
Did you consider using a clay based paint, at least for the “firebox” area. From the online research I have done it seems to be the recommended product. Reason seems that normal PVA is not good when exposed to hire temperatures in close proximity.
I am considering Earthborn clay paint for a new installation that looks very similar to yours.
Also when you painted and then later tiled how did you move the wood burner out of the opening and if so how did you manage that?
Author
Hi Clive,
So I didn’t consider any other type of paints at the time, to be honest my knowledge then of paint wasn’t as good as it is now, but I didn’t use PVA either. I just mist coated and then used regular paint over the top I hope that helps. When it was then tiled, our tiler tiled around it, so the only part of the fireplace that isn’t tiled is right at the bottom at the back which you can’t see. I guess this would only be an issue for future owners but we don’t plan to make any further changes ourselves. Hope that’s useful.