So here we are, the first of what will probably be many, many kitchen-related blog posts. WHAT A COUPLE OF WEEKS ITS BEEN! And if you really have no idea what I’m talking about, where on earth have you been? Clearly not on earth in fact, you must have been hanging out on Mars! Only joking, but if you missed the week-long secret kitchen makeover, you can catch up with the whole thing over on the highlights in my Instagram stories.
Needless to say I’ve had many MANY questions about all things kitchen, so I thought I’d start with this post, all about the different paints I used and hope that it helps. Please do always leave a comment, email me or drop a DM on Instagram if you have any questions.
Right let’s go!
WALLS
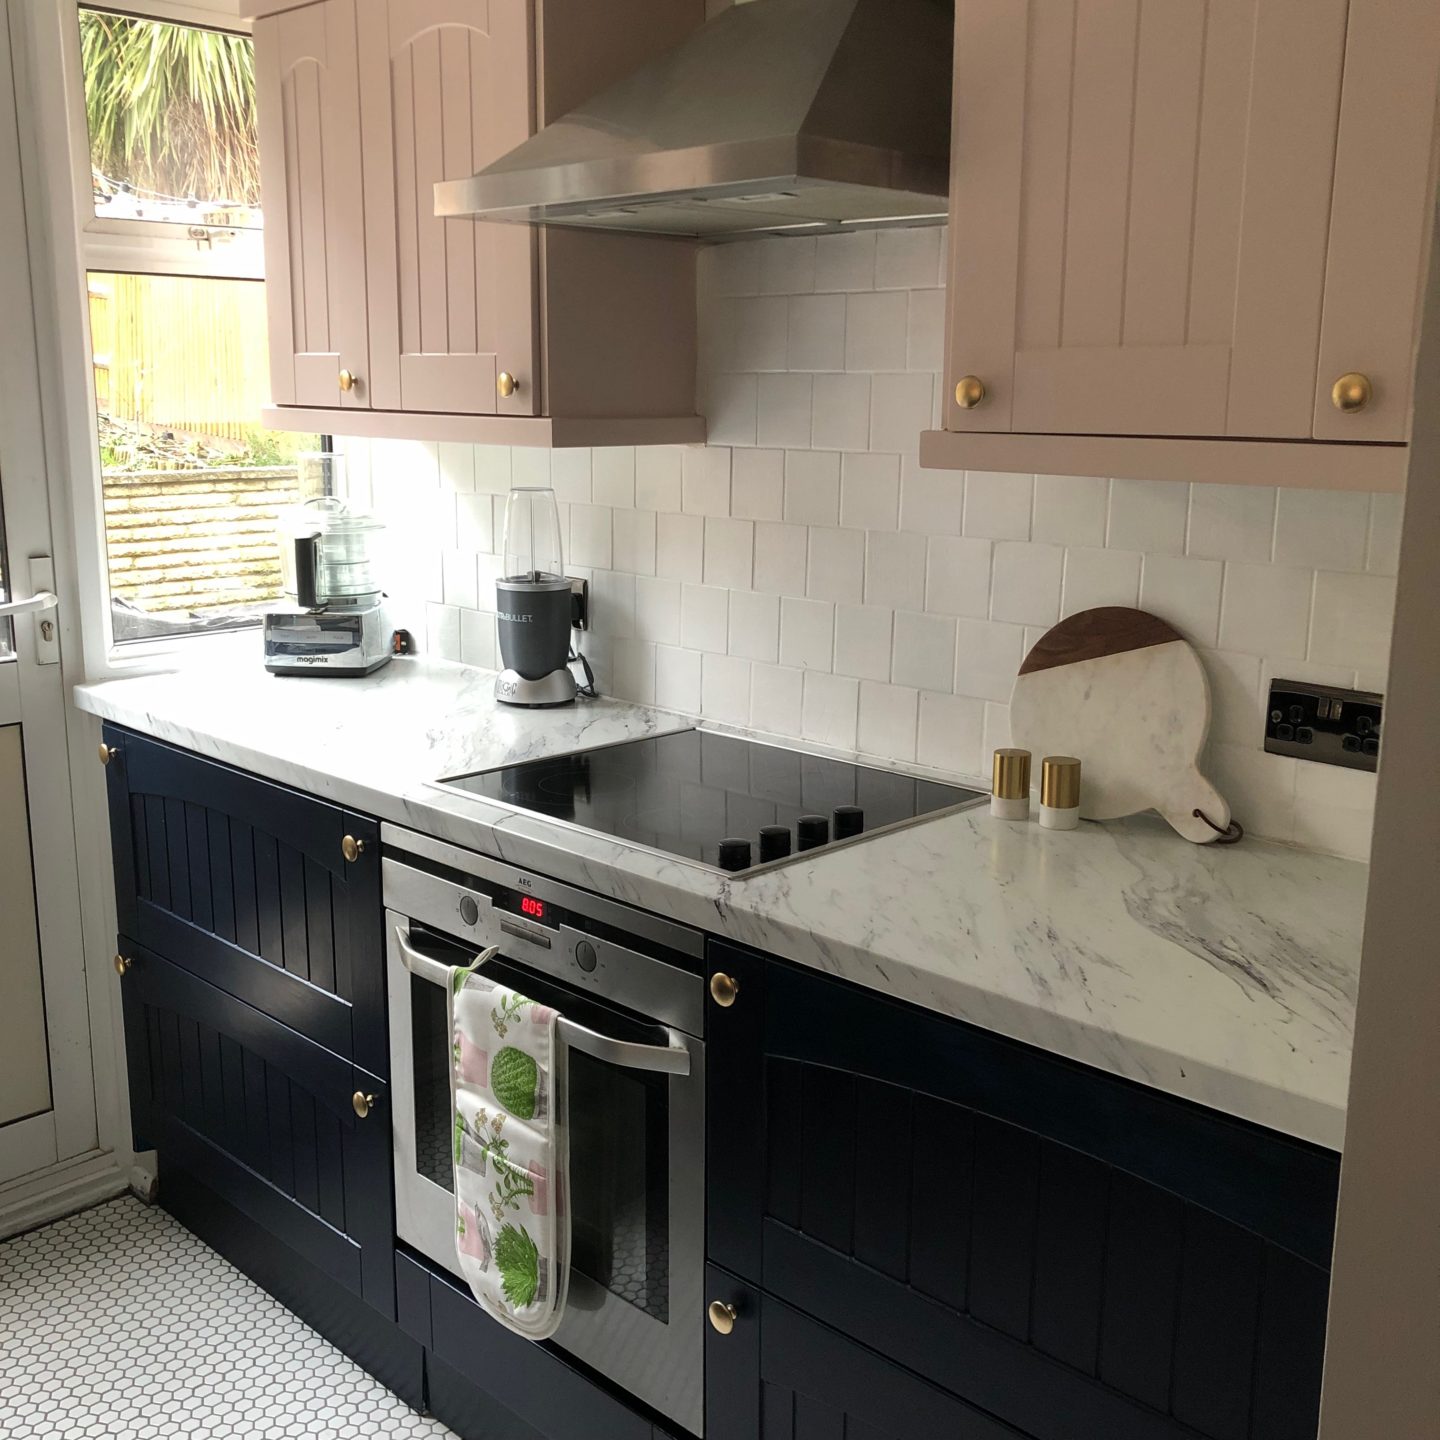
The colour I chose for the kitchen walls is ‘Ammonite’ by Farrow & Ball in the Modern Emulsion finish which is ideal for kitchen spaces as it’s mould resistant and you can wipe off marks and scuffs. It’s an off-white/soft grey, depending who you ask. Since the kitchen is a little on the titchy side, I wanted to keep the walls as light as I could whilst still giving a slight hint of colour. This was the most paint that I used even though we don’t have much wall space, I found it did take 3 coats just to get the finish that I was completely happy with.
WOODWORK
I’m a bit of an old-fashioned fuddy-duddy when it comes to woodwork and just think that you can’t beat classic white skirting, windowsills etc. I was always wedded to a Dulux satin white until our regular decorator suggested a multi-purpose paint that he uses which you can order online from Paint Shack. It’s from a brand called Caparol and is a white satin with a soft sheen and paints like an absolute dream. You know when you take the lid off most paints you have to mix them forever before you can start painting? I took the lid off this and it was just cut glass. So beautiful and incredibly versatile as we’ll see in a bit.
PRIMING
I knew I’d have to prime the cupboards as part of the painting process, it’s essential otherwise your paint won’t have anything to stick to and you’ll end up with a crappy finish. I’ve heard so many people rave about Zinsser 1-2-3 but then I saw ideally you have to leave it for a week before painting over it and well, as we all know I didn’t have that kind of time. I had a rummage around in the garage and found some Flag MDF primer from a previous project that I figured would do the job. This stuff is fantastic, it was touch dry in about 20 minutes meaning that I give a coat of primer and get my first paint coat on in the same night. More on painting cupboards later.
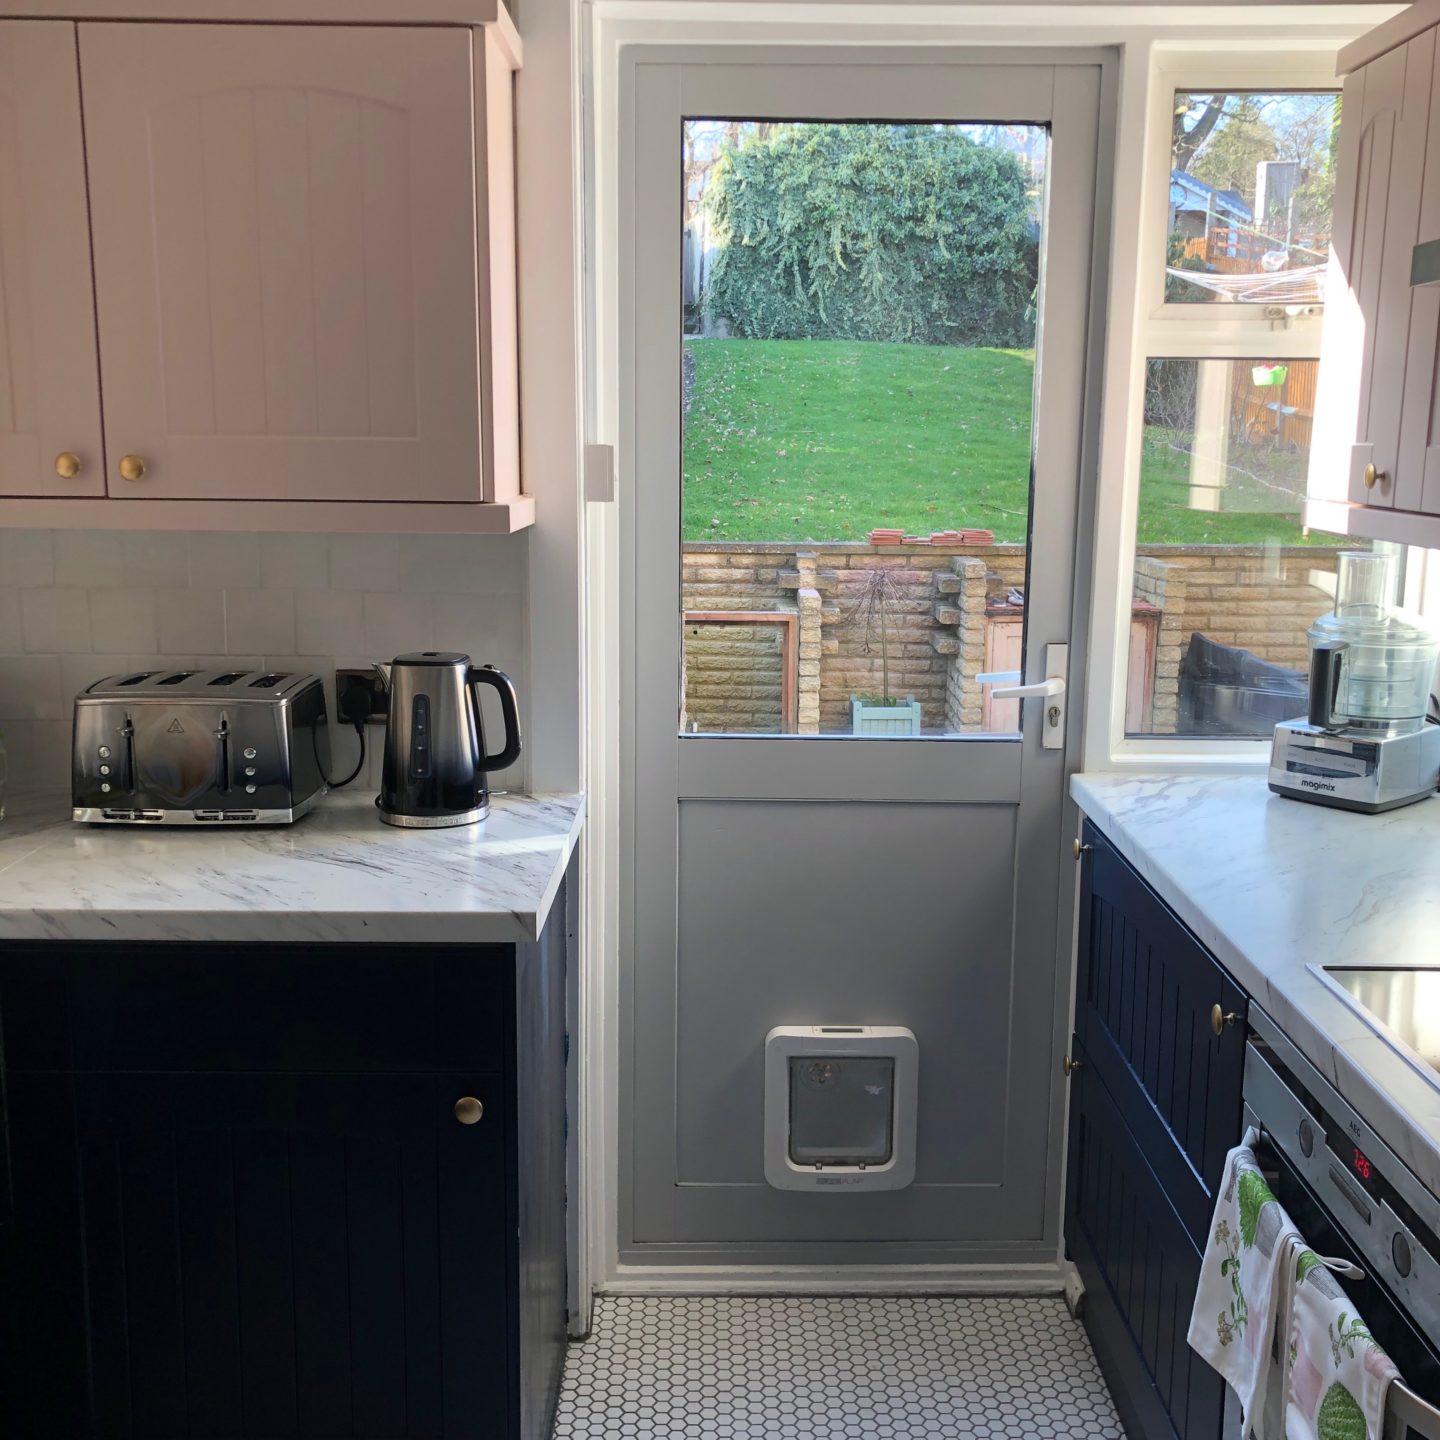
THE BACK DOOR
Is there anyone on the planet that actually likes their uPVC doors?? Literally the ugliest inventions ever known to man, especially since ours had a separate cream panel in the bottom where the rest of it is white. I’d come across quite a few people on Instagram using Ronseal paint to do a uPVC makeover and the end results were amazing but it’s oil-based and honestly I’m not there for oil-based paints. They’re tricky to work with and take forever to dry. Then as if by some kind of magical guardian angel I started seeing people saying they were using a chalk paint from French Chic to paint their exterior uPVC and it was coming up a treat. In for a penny in for a pound and I thought it had to be worth a shot. Oh my goodness what a revelation! I was inspired by homenumbertwenty on Instagram who said all you needed to do was to sugar soap the door and could then go straight on with the paint. And it’s TRUE!! It’s important to make sure that you take paint from the French Chic Al Fresco paint, they have a brilliant range of colours and I opted for ‘swankypants’ which is the closest match to the Ammonite walls that I could find. So after sugar soaping the door I just started painting and it’s amazing. Two coats would have been fine but I did a third just because and it looks amazing, such a transformation!
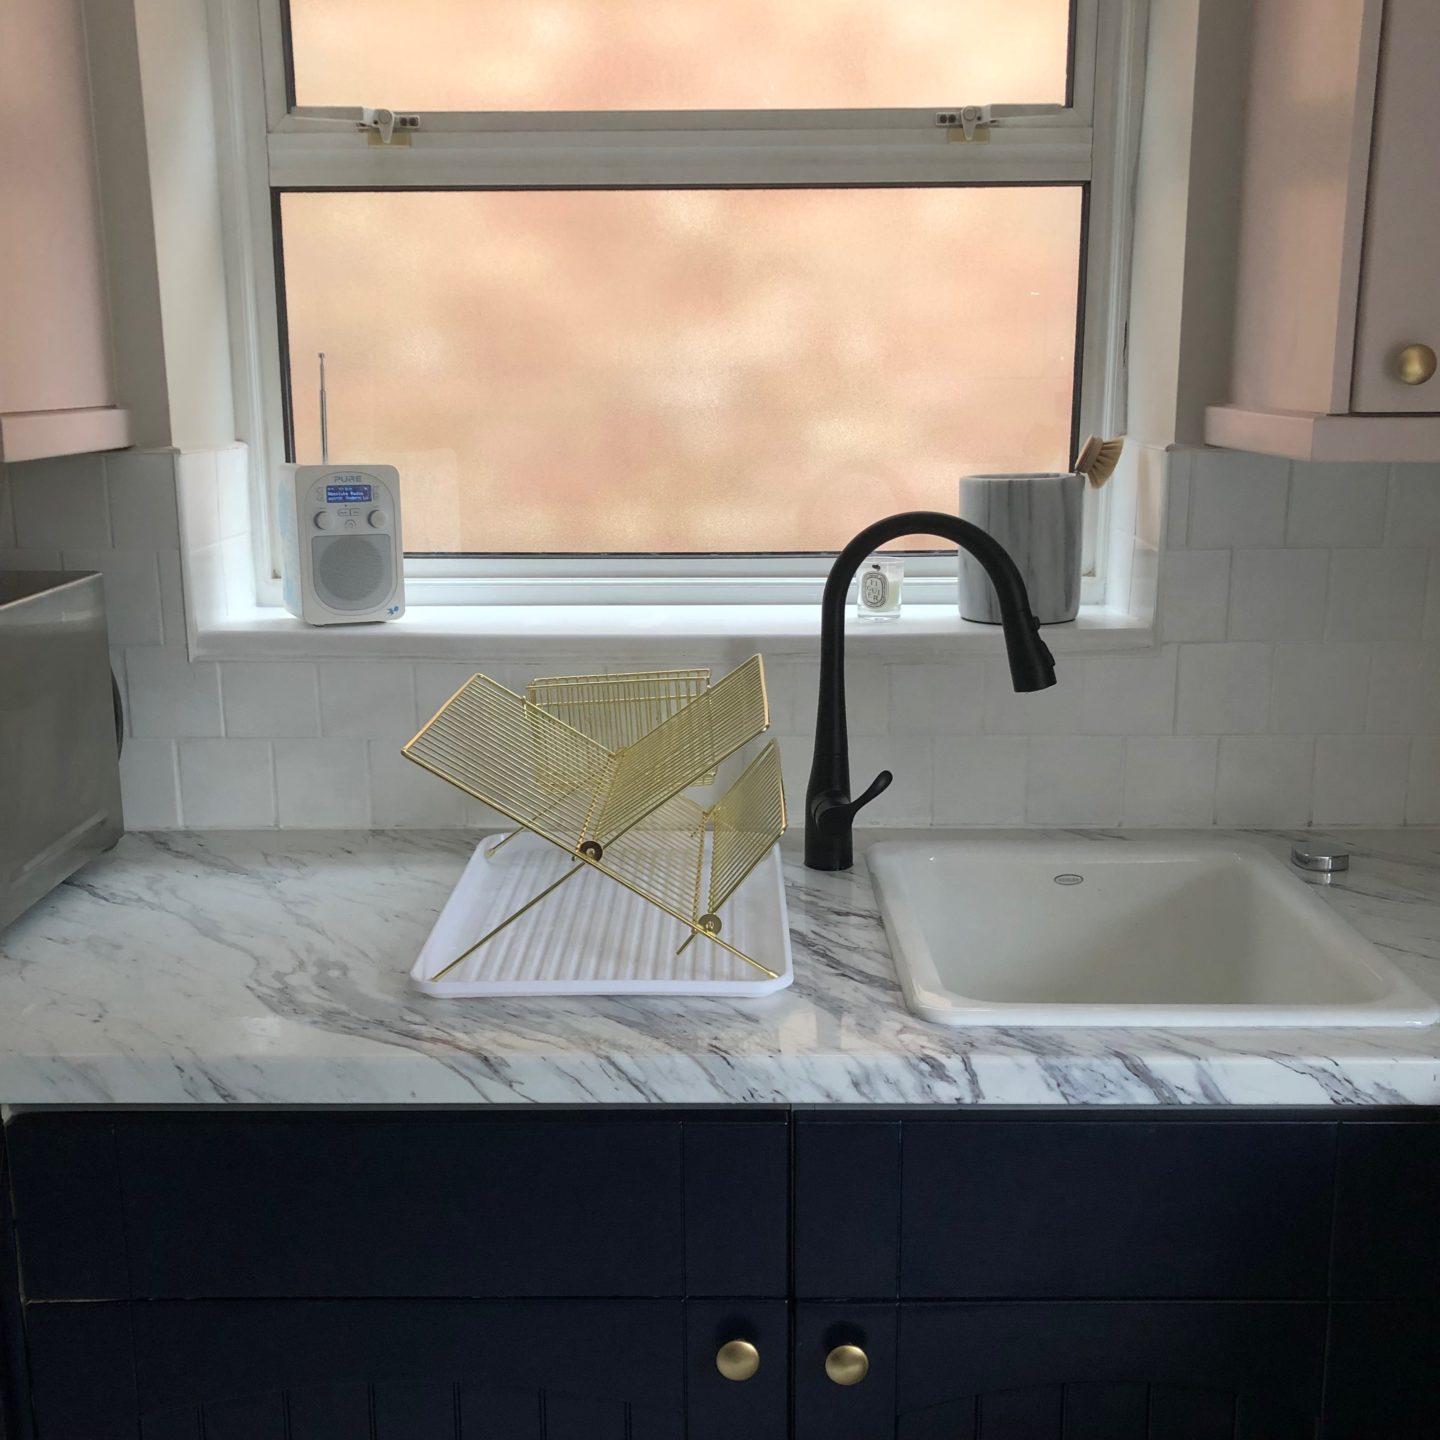
TILES
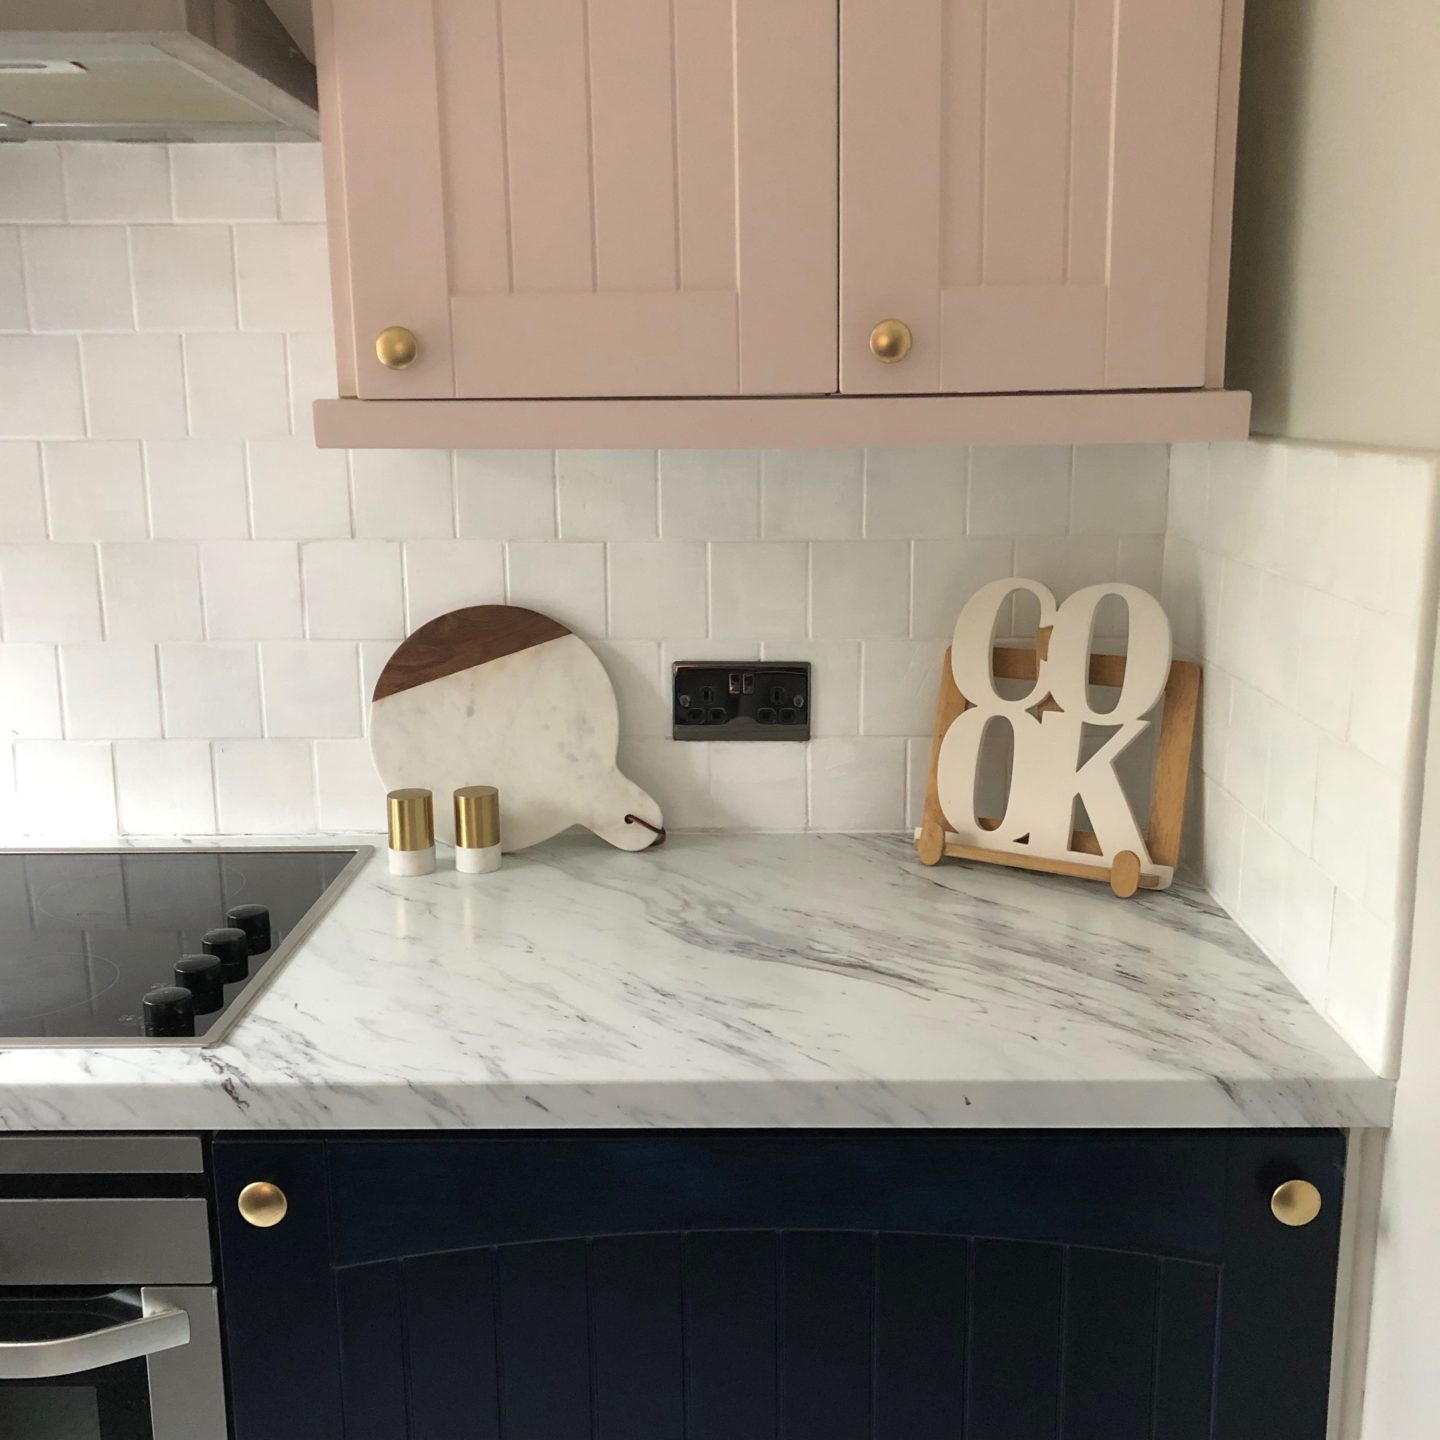
Oh my goodness, this was some serious late night painting. I started off with Ronseal ‘One Coat’ tile paint. Now let’s be clear, anything which advertises itself as ‘one coat’ is generally telling porky pies. This stuff is basically bobbins. Ok, it looked a bit better after coats 2 and 3 and most people would have been happy with that I’m sure. I tried both brushing it and also rolling it on (make sure you use a gloss roller, this is a small roller designed especially for tiles that you can pick up from most hardware shops or somewhere like Wilkos). But I still wasn’t really satisfied. And I was painting the windowsill with the Caparol I mentioned above and just decided to paint the small square patches either side of the windowsill with the same Caparol and it came up SUCH a treat. So at about 1am one morning, I embarked on painting every. Single. Tile. By. Hand. With a paintbrush. It still looked a bit patchy when I went to bed but when I came down the next day it was a transformed space and I knew it was the right decision. Seriously, that Caparol paint is a bit pricier but SO worth the investment.
KNOBS
Ha. Knobs. This was always going to be my favourite part but also the bit I left until right at the end. The existing knobs were some kind of brushed nickel and I decided to spray them gold since I knew it would with my colour scheme for both top and bottom cupboards. I’ve used metallic spray paint before when we did a mini bathroom makeover and this time used the Rustoleum Brilliant Metallic Gold. It takes no time at all but you’ll need to make sure you’re either outdoors or lay down a lot of sheets/cardboard because otherwise you’ll end up with a fine gold sheen over everything. If your knobs are wood, you’ll need to prime first before spraying otherwise the spray will just absorb straight into the wood
CUPBOARDS
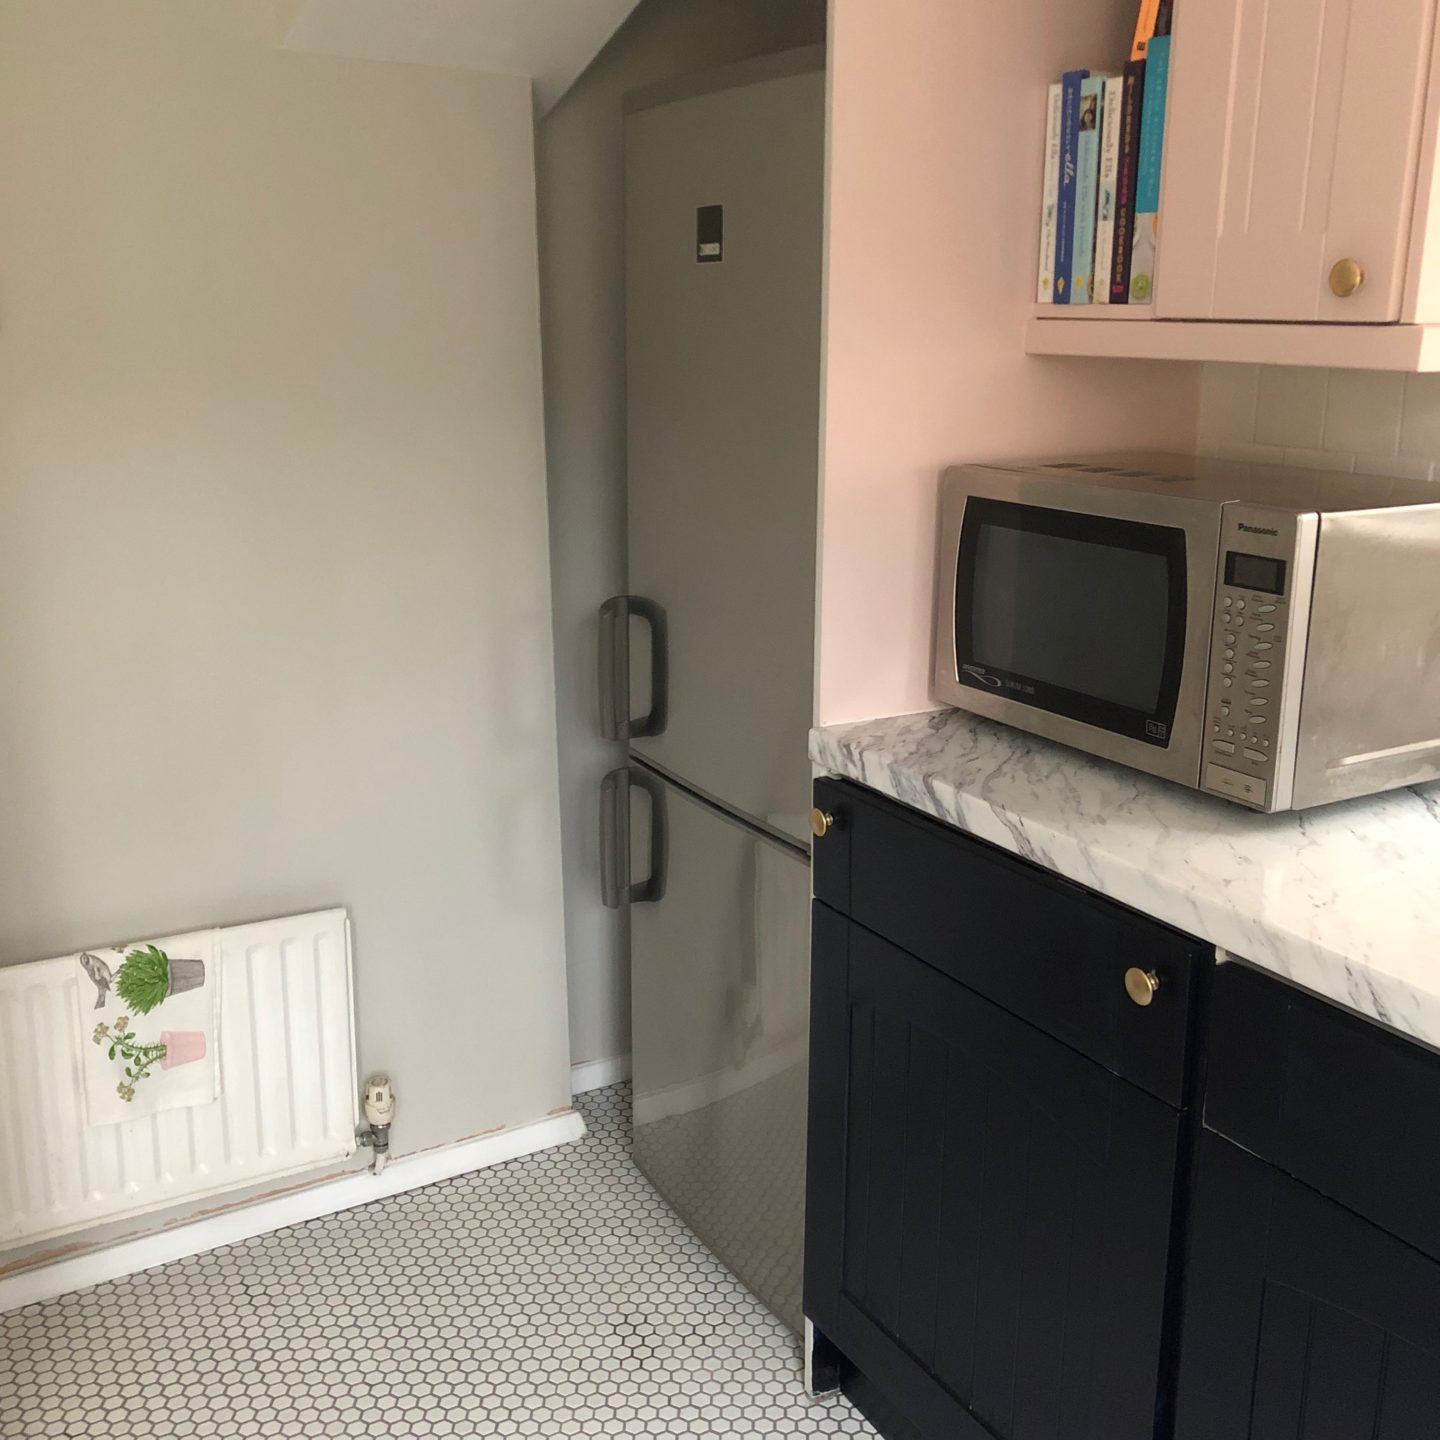
By far the biggest challenge and the part of the kitchen that I just new I had to get right. My original plan had been to paint all the cupboards a navy blue (cliché I know). And then literally on the Friday night before I started, someone on Insta shared a pink and blue kitchen and that was that. Fortunately I already had a tin of pink paint, Calamine by F&B, ready to go to paint the back of my front door and just hadn’t gotten around to it. The Calamine though I actually had paint matched by Decorating Centre Online, the lovely Helen there is so helpful and many many people on Instagram recommended her. I was super happy with the quality of the paint and ordered it in the Acrylic Eggshell, again a nice finish for any kind of woodwork/front door/cupboards.
The bottom cupboards I went for Dock Blue by Little Greene and the Intelligent Eggshell finish, to again give that soft sheen which you’d expect from a cupboard finish, versus a wall. As far as painting cupboards goes, there is an easier way if you have time and money which is to send them all of to be sprayed. But if you have neither on your side, then get painting. It really is SO key to prep properly and I’m going to link now to this amazing blog post from my lovely friends Little House On The Corner since it explains everything so clearly. I stuck to these instructions like glue and the finish on the cupboards has wowed both our regular decorator and the builder who laid the kitchen floor.
Essentially, clean the cupboards first with sugar soap. Then sand with something like a 120 grit sandpaper so your primer coat sticks. Then it’s primer time (see above for my chosen primer). Then sand again, this time with 240 or higher grit – you don’t want to take all the paint off, and it’s more like a quick buff. Then you can start going in with your paint coats. The top cupboards took me 3 coats and the bottom cupboards took 4 coats but it was so so worth it and looks absolutely unreal.
I hope this post has been really helpful but please do let me know if you have any questions at all. I’ll link now to all the products I mention so there is a useful reference guide altogether:
Walls: Ammonite, Farrow & Ball, Modern Emulsion (purchased from my local Brewers)
Woodwork: Caparol PU-Satin (ordered online from Paint Shack)
Primer: MDF Primer, Flag (ordered online a while ago)
Back Door: Swankypants, French Chic Al Fresco range (ordered online from French Chic)
Tiles: Caparol PU-Satin (ordered online from Paint Shack)
Knobs: Rustoleum Brilliant Gold Metallic Spray Paint (ordered online from Amazon)
Cupboards: Top Calamine from F&B but colourmatched by Decorating Centre Online in Acrylic Eggshell finish Cupboards: Bottom Dock Blue from Little Greene in Intelligent Eggshell finish (purchased from my local Brewers)
Follow me on Facebook | Instagram | Pinterest | Twitter


I was following the craziness over on instagram stories it is so nice to see it all done and styled up. The colour combination of the cabinets is great
Author
Ahh thank you for sharing in the madness it means so much! I’m mighty glad it’s done though now 🙂
I loved following you online and seeing pete’s reaction! What you achieved in such a short time is so inspiring. Hope you love going in here every day x
Author
Thank you so much Donna, it’s a joy every day! X
Oh my goodness lins what a beautiful job you’ve done! I’m sure you’re so pleased with the result. Everything works together so so well. Enjoy! X
Gorgeous! This kitchen looks so fresh and clean — I also love the dramatic contrast between the marble and the dark paint for the cupboards. Very unique!
Oh my goodness I can’t get over how beautiful this is!! HOW on earth did you do it in a week?! You absolute superwoman! Feeling so inspired to do something about my horrific kitchen now too! Also I’ve clearly been living on Mars as I’m not sure how I’ve missed your gorgeous IG account?! Popping over to give you a follow now!
This looks awesome! This kitchen transformation is absolutely amazing. Love the colours on the cupboards and they look like they’ve been professionally painted as well
Author
Thank you so much Annamaria, even when our usual decorator came for some separate work he was impressed with the finish. Chuffed! X
Lins what a fabulous transformation and loved seeing the whole process unfold over on Insta! Amazing inspiration and still can’t believe how you managed to get it all done in the time you had!! Now it’s time to sit back and enjoy! xx
Author
Thank you so much Maria, yes definitely not planning anything quite so epic in the near future! Xx
These tips are gold for anyone wanting to update their kitchen without changing it entirely. I’ve seen your insta stories but it is good to know I can come to the blog and refer to it if needed. Also really like this flooring!
Author
Thank you so much Marlene, there were so many questions I thought it was high time I put it all down in a post 🙂 X
I watched this unfolding on Instaram Stories and I really felt your dispair at some of the previous workmanship. Its a gorgeous transformation and done in such a short space of time. Hats off to you x
Author
Thank you so much Mary! Definitely worth all the trouble, now that it’s done X
I love this coloujr palette! The dusty pink works so well with the dark blue and metallic touches. I can’t find a before post on your blog however and I would really like to see it! could someone please link me?