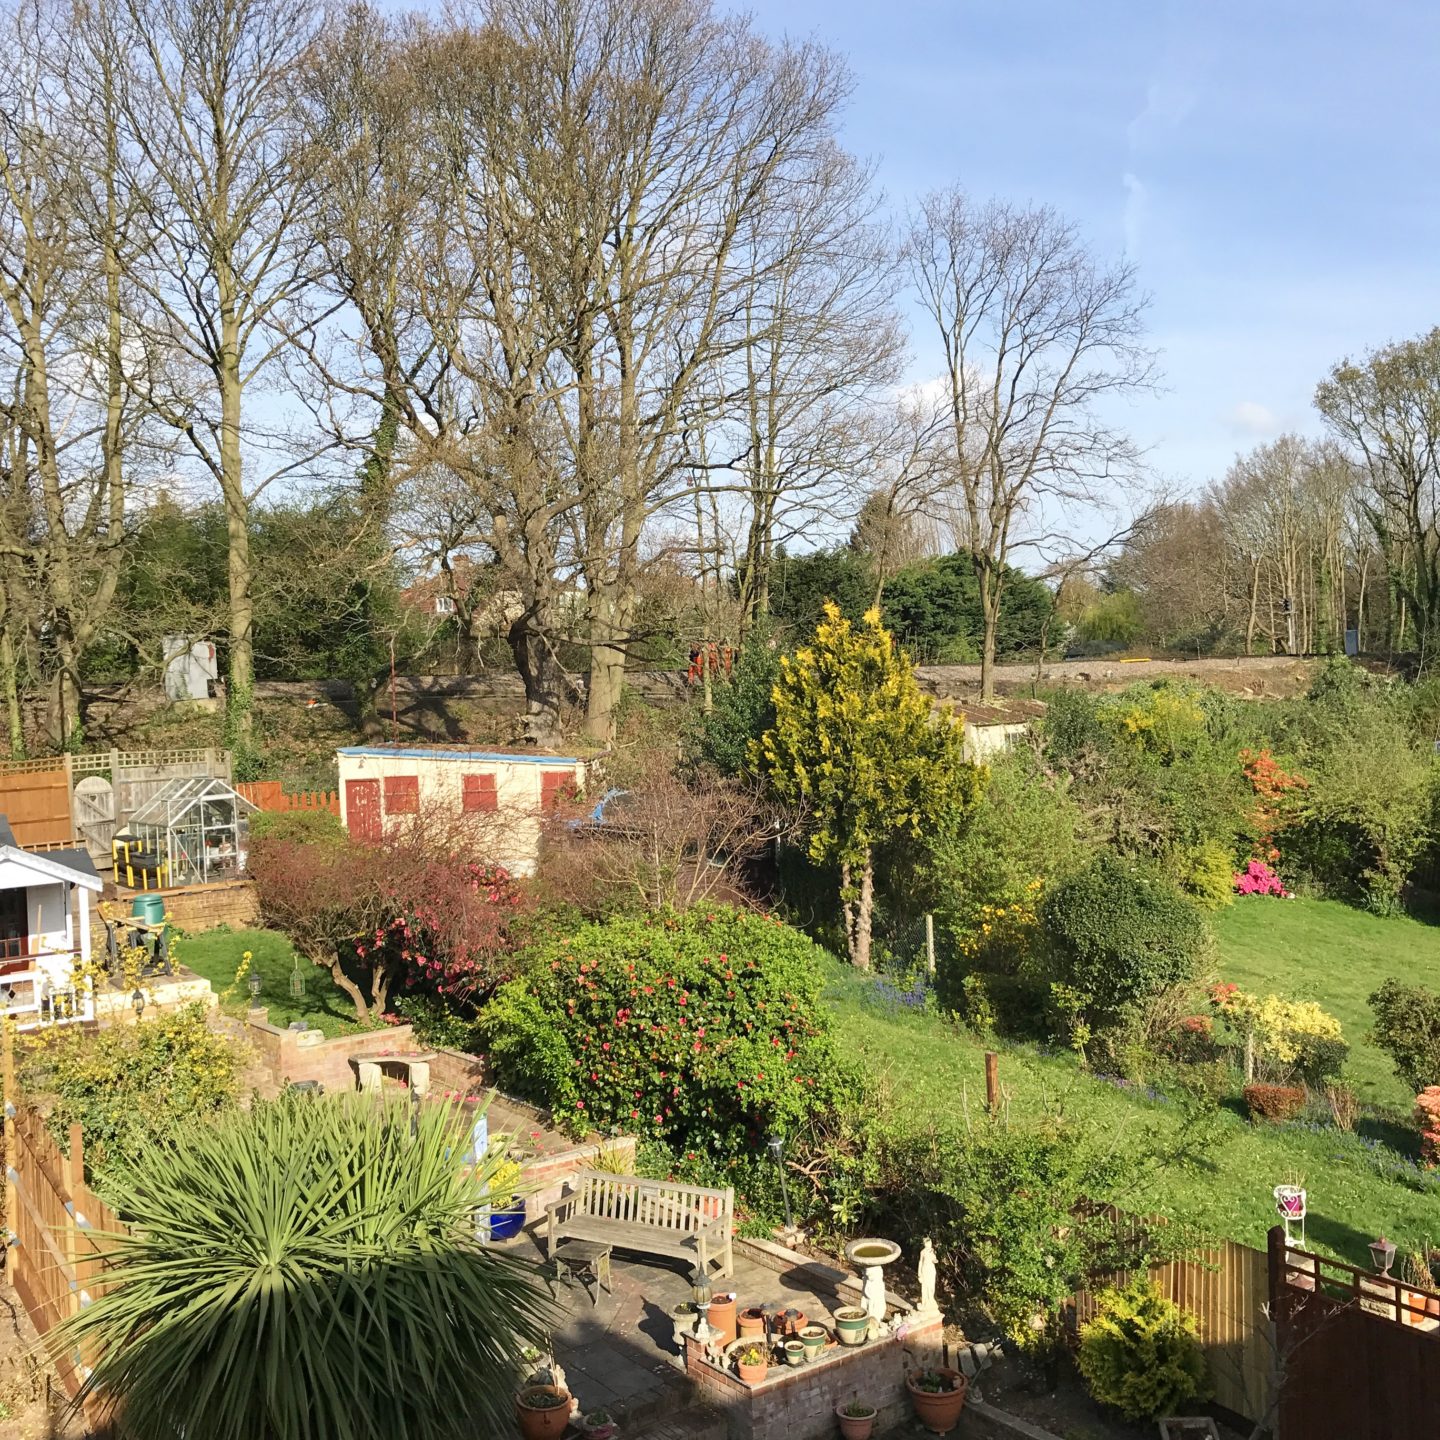
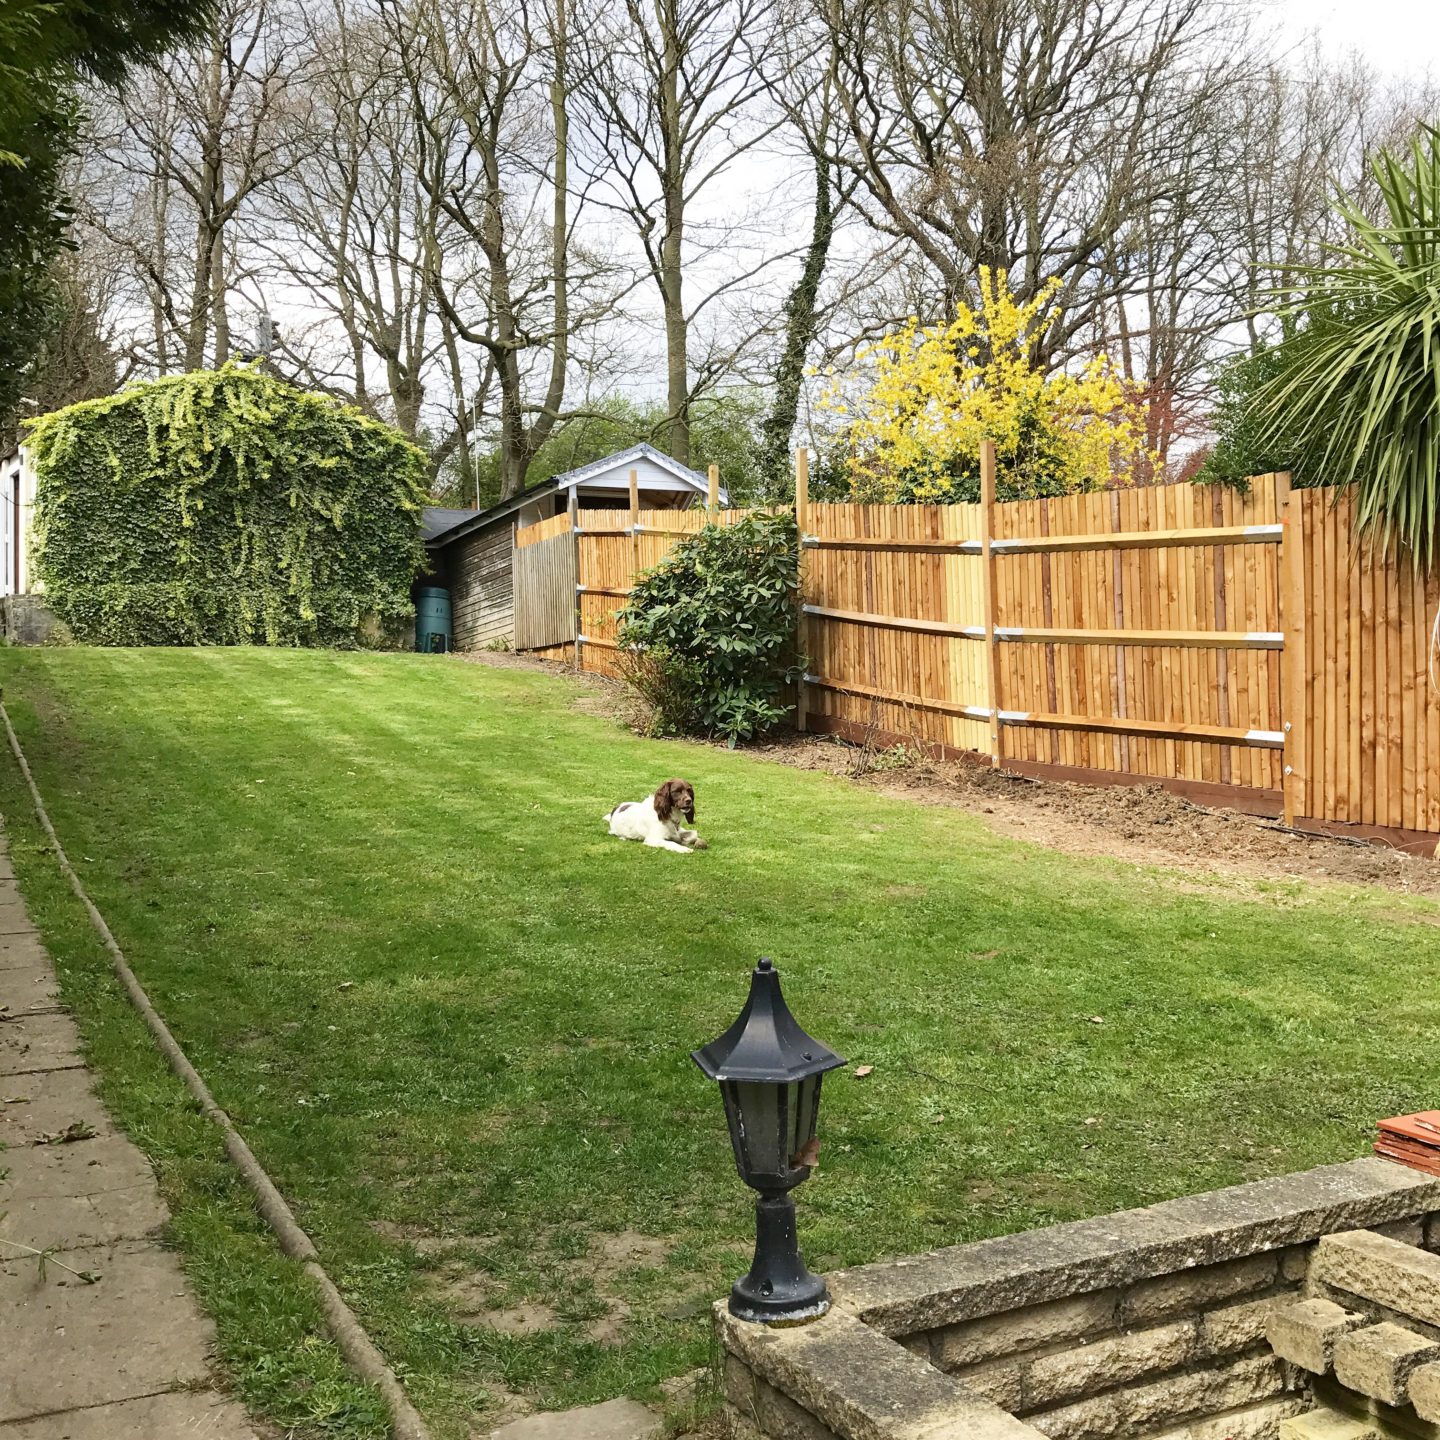
I don’t know about you, but these long grey, dark days are making me yearn for spring and summer. Maddie has successfully destroyed our garden, tearing up and down it chasing imaginary foxes and creating muddy trenches as she goes. Outdoors is looking very forlorn but the mistake I always make is to wait until it’s too late to make any changes.
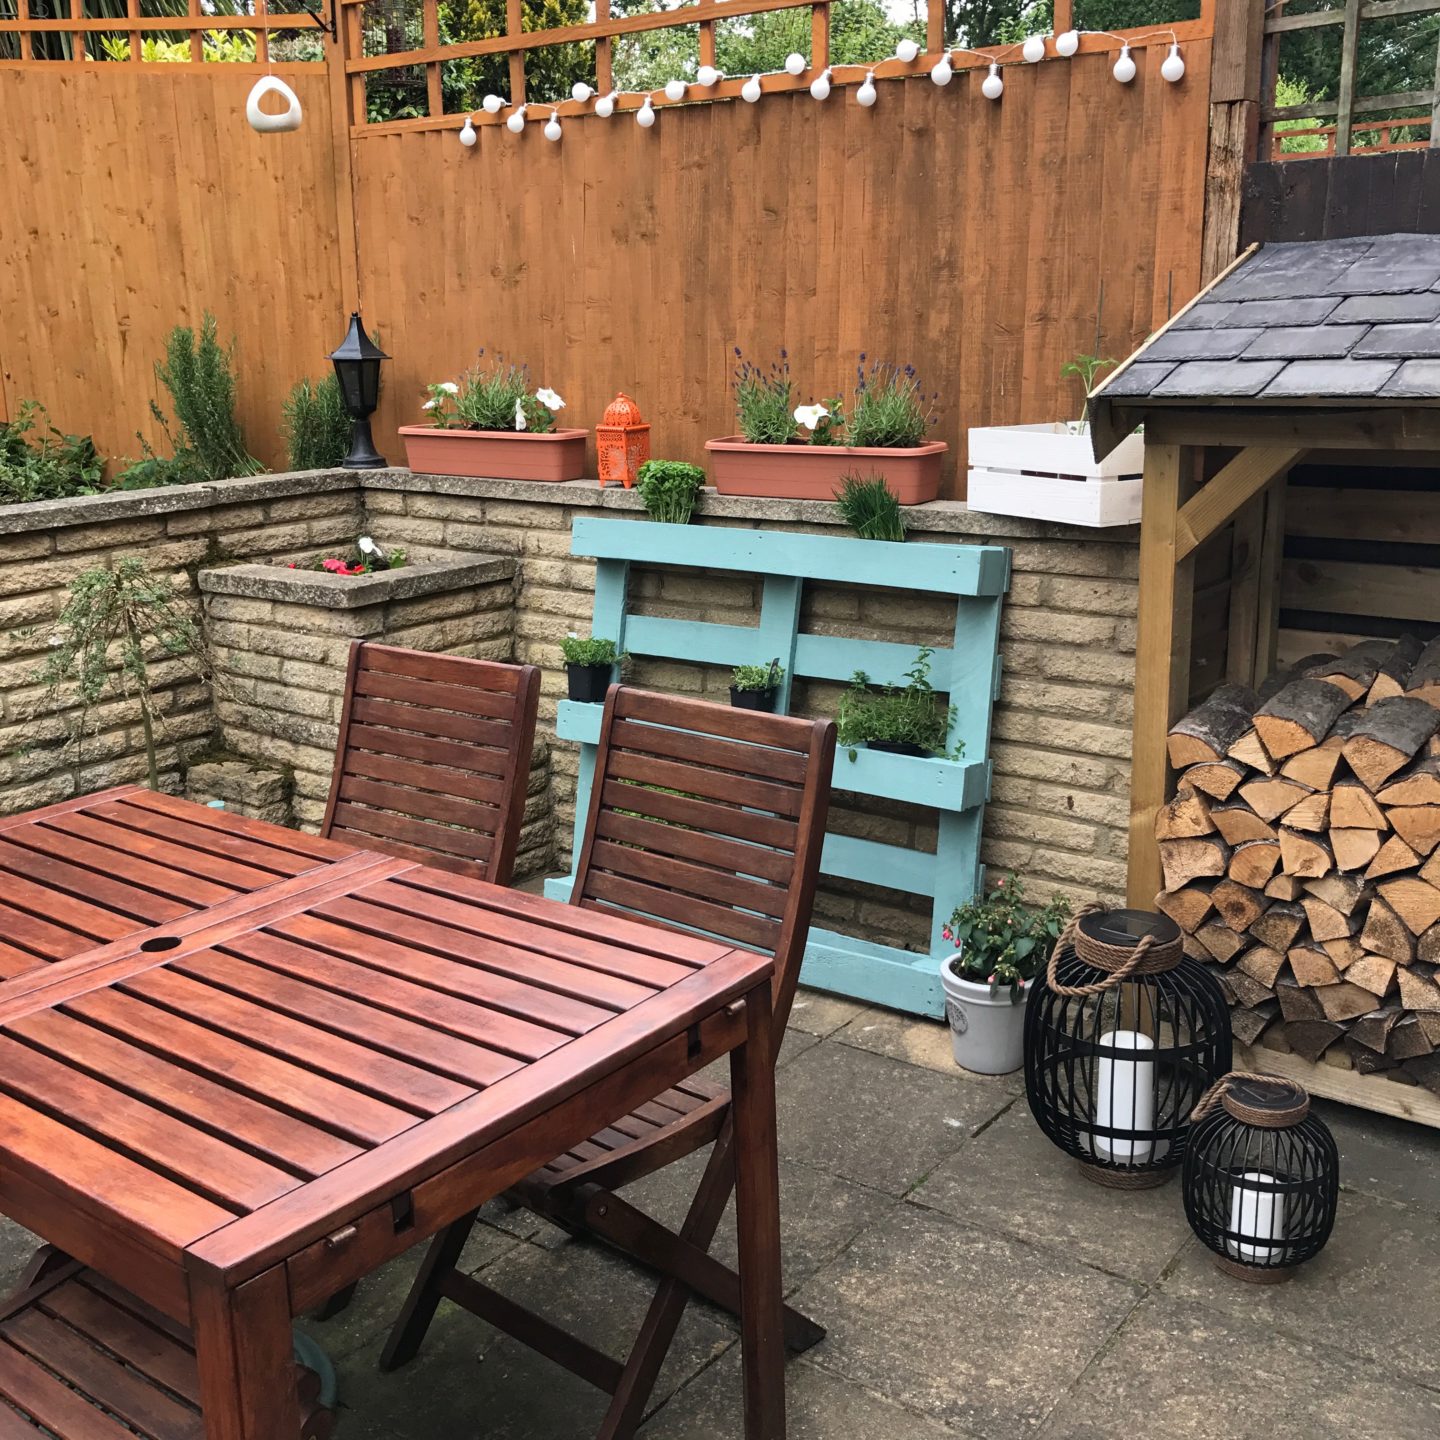
Last year I received some fabulous gardening tips from ITV gardener Katie Rushworth. One of the bits of advice she gave us was to section our long, narrow, sloping garden to draw the eye to different areas. With this in mind, we’re thinking about creating a boxwood hedge to separate the patio from the raised lawn area. Seizing the day, I’ve been gathering advice to make it work as green-fingered we’re not!
Buying The Right Plants
Quality is so important when it comes to hedging. How many times have you walked past one where some of it thrives whilst other areas have died back? Not a good look. We have some great garden centres in our local area, but you can also buy hardy boxwood shrubs from The Tree Center or other online specialists. They use their experience to grow strong plants that will improve the look and chances of creating the perfect boxwood hedge.
Lay Out The Pattern
This step reminds me so much of my lack of patience with decorating. If I had my way I’d start randomly planting but by default the look would fail. To create a chic and stylish end result, mapping out the path is key to achieving a straight line (or whatever pattern you want to create). Use string or white spray to help your creative juices flow and let your masterpiece take shape.
Getting The Spacing Right
Our idea would be to create a fairly low-height boxwood hedge, in which case the plants need to be between 15 and 18 inches apart. For a taller hedge, the distance is increased to around 24 inches. Again, just like laying out a pattern, spacing is something that wouldn’t normally occur to me. I’m definitely not a natural gardener and have so much to learn.
Time To Plant Your Boxwood
Boxwood is the type of plant which doesn’t need to be planted very deeply. The root ball should sit around 1/8 inch above the existing soil level and the size of the holes can be dug accordingly.
It also doesn’t need fertilizer since young boxwood has delicate roots that can be damaged by the chemicals in modern fertilizers. Give each one a bit of water, but be careful not to overwater them. Starting to sound a little bit like Goldilocks and Three Bears isn’t it? I am the type of gardener that has a one-size fits all approach, often forgetting that as a living organism, plants need individual care.
Late spring is the best time of year to plant boxwood, once any potential late cold snaps have been and gone (and goodness knows, we get a lot of those in this country don’t we?!) It can also be planted later in the warmer months but as I’ve said, I often come too late to the game so will be planning early this year.
Looking After The Boxwood
As with most new plants, they need careful care during the first couple of years. Again, the novice that I am thinks it’s simply about getting a plant into the ground and then walking away. However, hedges can be quite vulnerable to disease. During the first year or two, you will need to take good care of your boxwood. At this stage, your hedge will be quite vulnerable to disease, but there are some great tips out there to help with guidance once the gardening is done.
It might still be dark every evening when I get home from work but it’s not long now until the sunshine will give a little warmth and we can get outside once again to start tackling our beloved suburban jungle.
Post in collaboration.
Follow me on Facebook | Instagram | Pinterest | Twitter


Cherished these sharp summer cultivate embellishments. Decent post. A debt of gratitude is in order for sharing this post.